Easy Kids Paint Pouring Idea
Note: As an Amazon Associate, I earn from qualifying purchases. If you click on a link from Amazon or another of my advertising affliates, I will earn a small commission at no additional cost to you. Please see my full disclosure policy here.
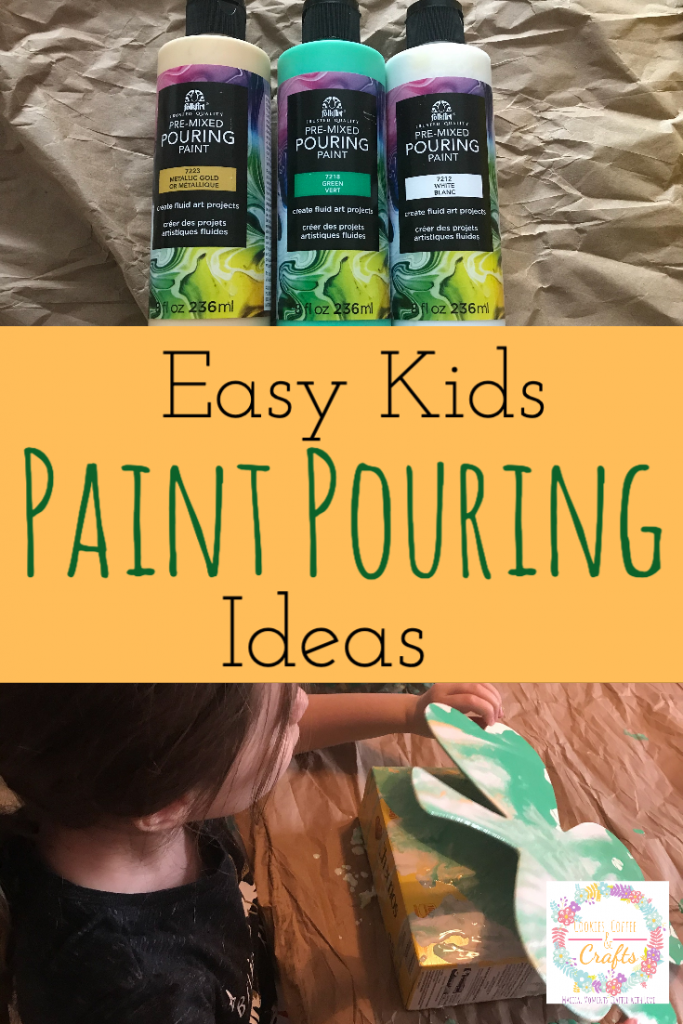
Do you want to be a super cool mom and do a creative fun paint craft with your kids? Here is the perfect project idea for you. Easy kids paint pouring is a fun and creative idea with an easy clean up too. I’m going to show you a cool way that kids can paint all kinds of things using this painting technique.
As a Plaid Ambassador, I was given the Folkart Premixed Pouring Paint to use on this project. All thoughts and opinions are my own.
To get started buy some Fokart Premixed Pouring Paint in any color you would like. This paint is premixed (with the pouring medium already in it). It’s also non toxic acrylic paint, which makes it safe for kids to use. The last step is choosing your painting surface.
Paint Pouring Canvases to Use
Wood (Dollar Tree has some great options)
Paper Mache
Paper
Canvas
Metal
Glassware
Hard Plastics
Terra Cotta Pots
Fabric
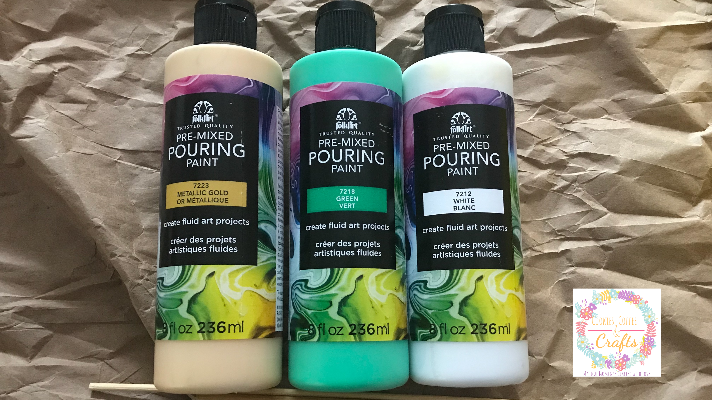
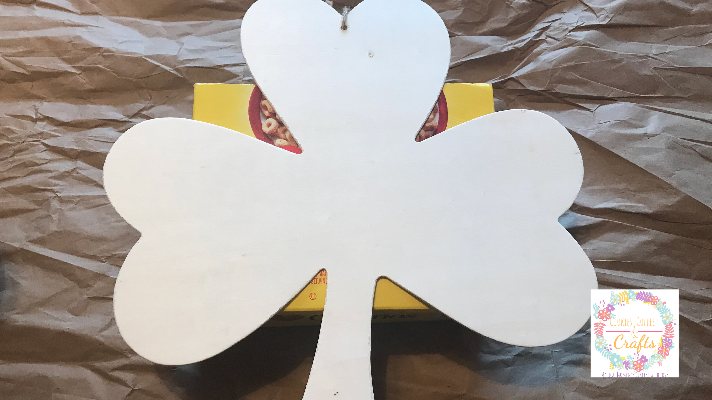
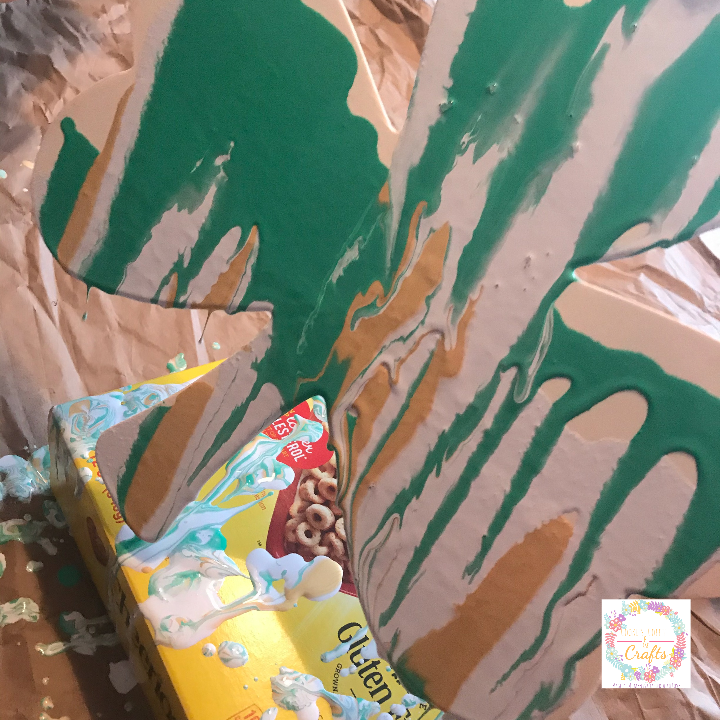
Lots of cool choices that paint pouring can be used with. I had the pre-mixed acrylic pouring paint in green, gold, and white. So it was perfect for St.Patrick’s Day. A match made in heaven to use the direct pour method on some wooden shamrocks from the dollar tree.
When using this premixed pouring paint, you don’t have to worry about consistency or preparing the paint for pouring (remember I said easy).
Let’s Create a Fun and Creative Kids Paint Pouring Project
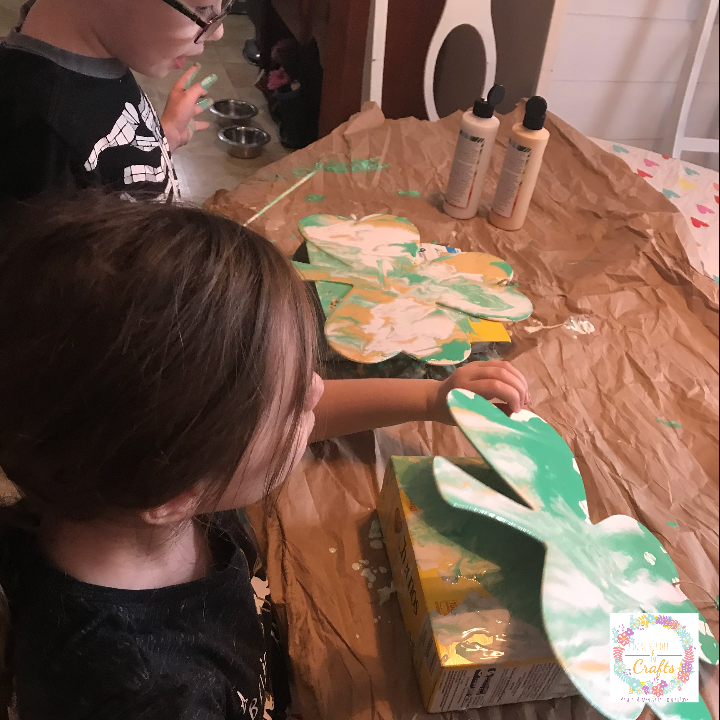
Cover the painting area with a plastic tablecloth or brown packaging paper. Then make sure your canvas (whatever you choose to pour paint on) is not touching the table, but is resting on a can or paper cup. Make sure the paint is able to drip off the sides.
My kids are 4 and 6 so I was worried about the stability of them placing it back on a can, so I cut a cereal box in half and it was perfect.
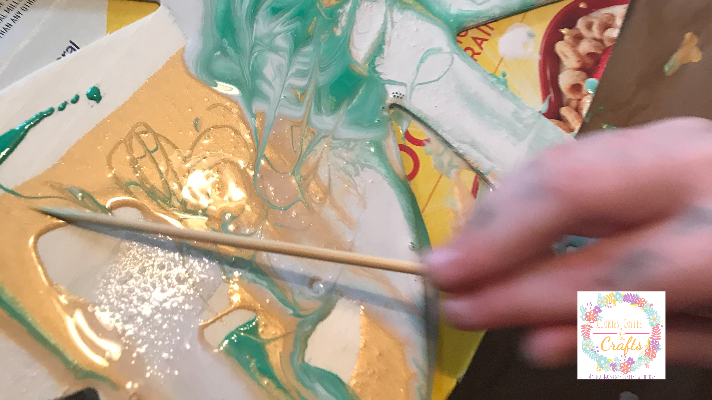
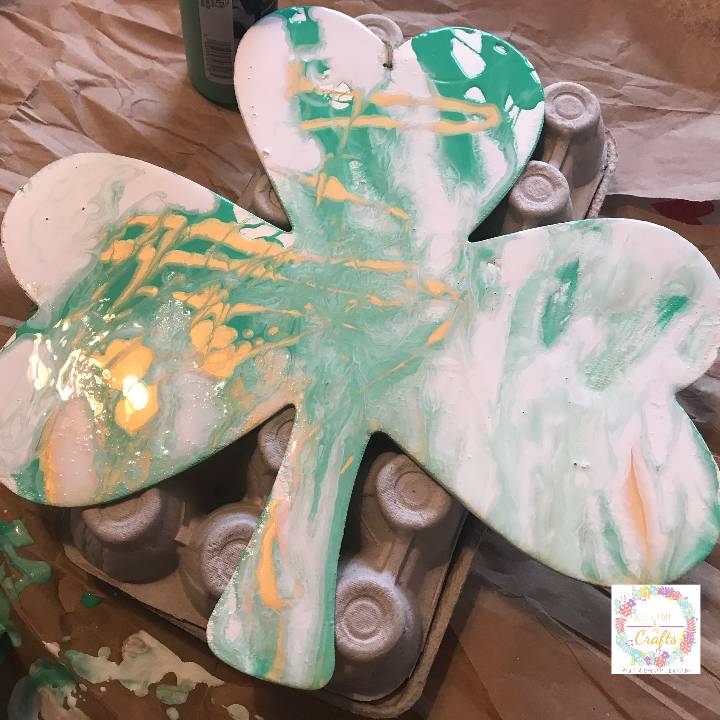
To make swirls or designs in the paints, have toothpicks or popsicle stick or skewer for each of the kids to use.
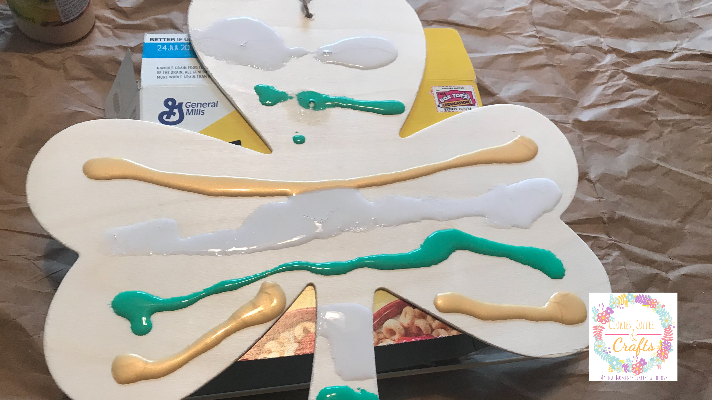
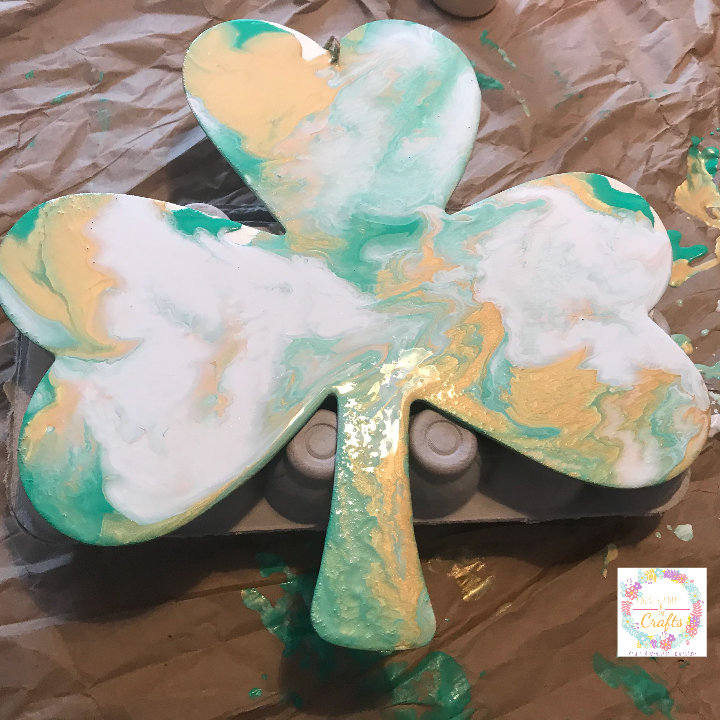
I’m new to paint pouring so on my son’s shamrock, I didn’t put enough paint for him to move around and let gravity do the work, but you can easily go back and add some more paint. Since my daughter went second with the paint pouring activity, I made sure I loaded her shamrock up with paint for her to pour.
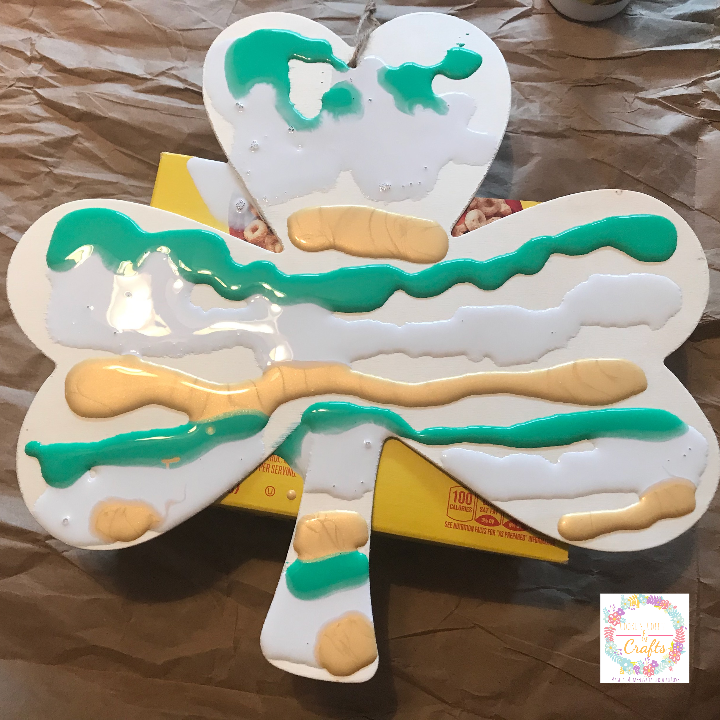
Using the Direct Pour Method Painting Technique
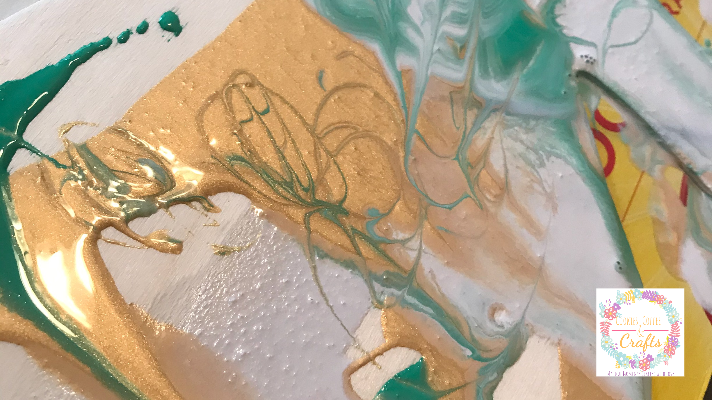
The kids loved moving the shamrock around and watching the paint swirl and touch in fun creative ways. Thanks gravity.

I should have taken a video, my son was like “get over here green paint, oh no gold.” My daughter giggled the whole time as the paint mixed and touched.
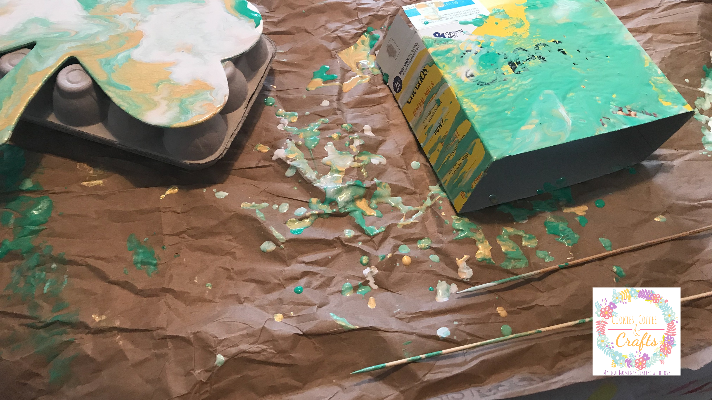
When the projects are finished, I removed them from the cereal boxes because they were so covered in paint and laid them on egg cartons (thats what I had in the recycling bin) and just moved them around every 15 mins or so until they dried.
The Folkart pouring paint should be dry to the touch in about an hour. It always depends on how much paint was used and it will need 48 hours to cure. It is recommended that you seal your project with Folkart Acrylic Lacquers or Folkart Artist Varnish because things may stick to it.
Now for the easy clean up I promised. Leave the projects in a safe place to dry resting on something so it’s not touching the surface. Next throw away the tablecloth or paper you used when the projects are dry. No paint trays or brushes here to clean.
The kids had so much fun creating these shamrocks that we all can’t wait to do it again.