Easy Step by Step Rosette with Cricut How To for Pretty Party Decor
Note: As an Amazon Associate, I earn from qualifying purchases. If you click on a link from Amazon or another of my advertising affliates, I will earn a small commission at no additional cost to you. Please see my full disclosure policy here.
I’ve been a Cricut user for awhile now and I have always stayed away from paper rosettes because I found them scary. Go ahead and laugh at me, but don’t be like me. Do you remember making paper fans when you were little? It’s pretty much the same thing, you are just more mature now and sophisticated (well maybe). I’ll show you how to make a rosette with your Cricut in a few easy steps. Once you make one, you won’t be able to stop.
Paper rosettes can be used for so many things:
-wreaths
-cupcake toppers
-Party decor
-wall decor
-banners
-centerpieces
I’m sure you can think of some more ways to use them too, but they are so fun and versatile.
I finally overcame my fear and made some because I thought the party store price was outrageous and they are perfect for my daughter’s Encanto birthday party.
Supplies for DIY Paper Rosette
Step by Step How To Make a Rosette with Cricut
Open up the Cricut Design Space file in the supplies list. This paper rosette is free with a Cricut Access Membership Plans. Your Cricut Maker or Air will do all the work for you by creating the score lines.
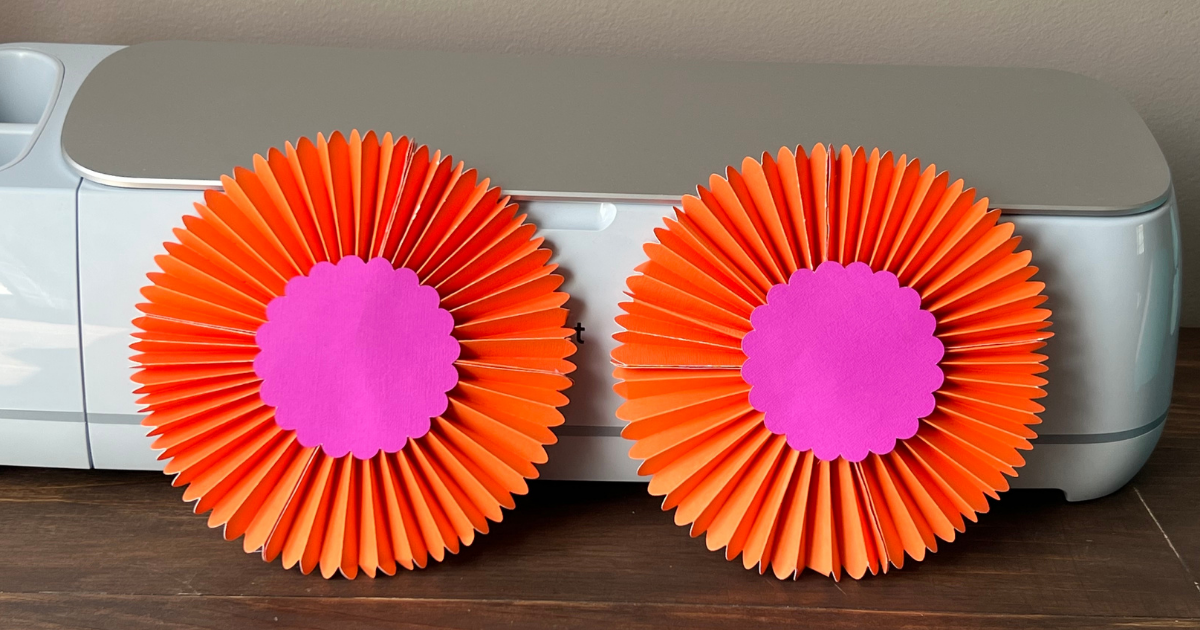
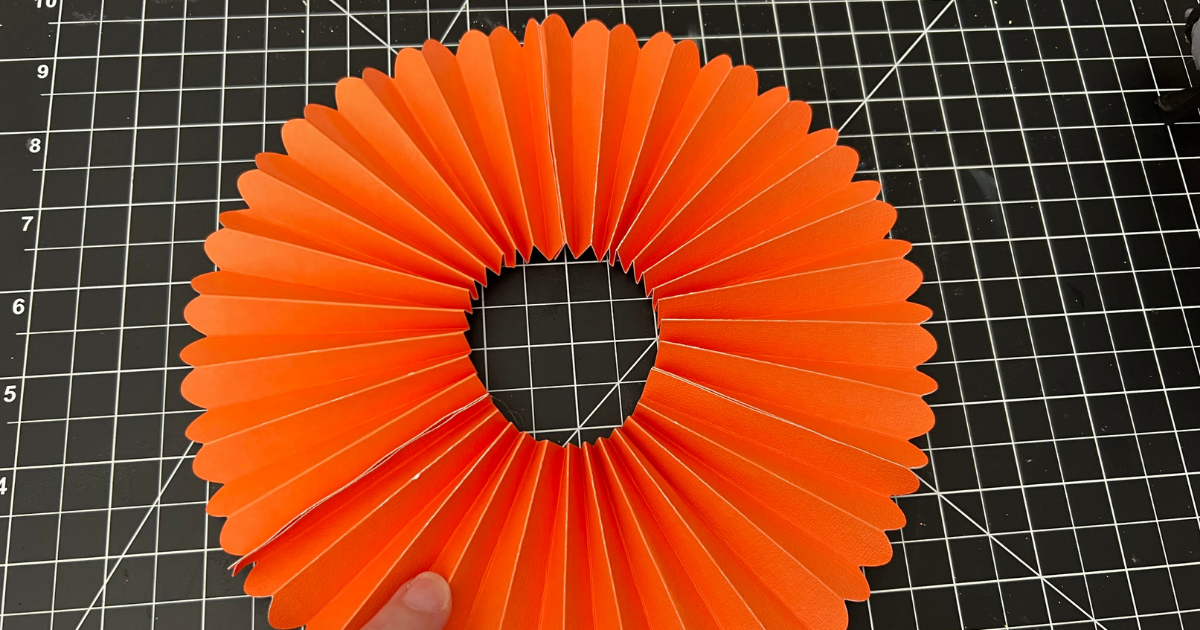
The paper rosette will be about 6.5 inches wide when it is complete. Each rosette will need 4 folded strips and a circle for the center. Each one will use two pieces of 12×12 card stock. If you want a bigger rosette then you can play with the size in Cricut Design Space™.
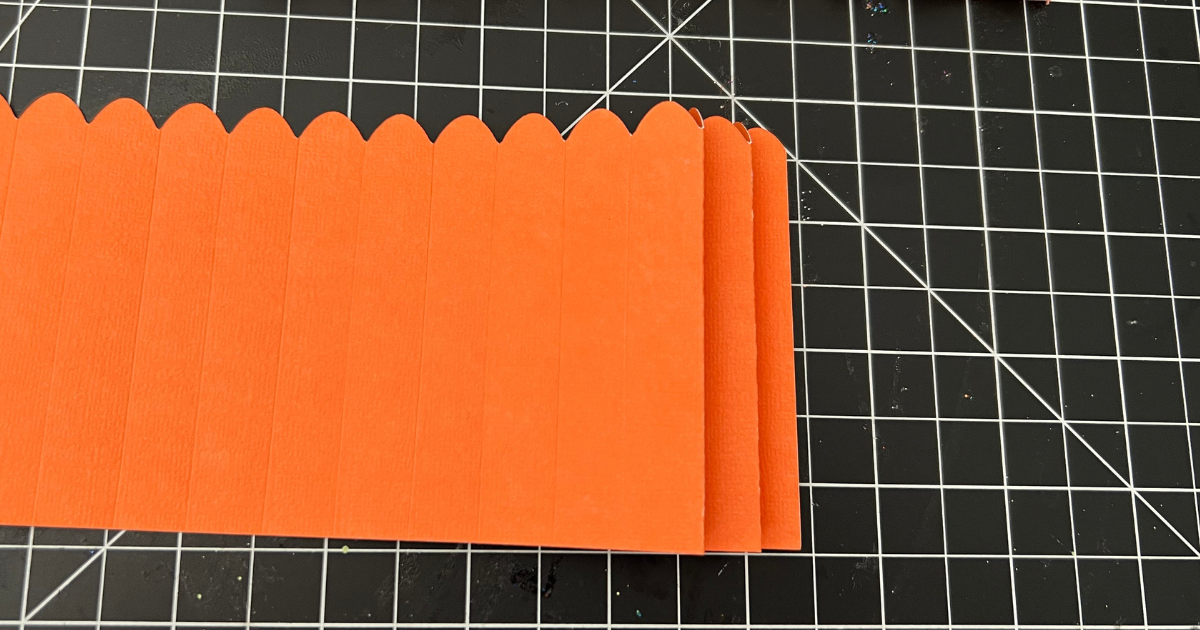
Once the file is open, I hid the circle center and cut the four folded strips. Just follow the instructions in Design Space of when to add the scoring wheel and the blade. Use a light blue or green mat for this project. Then cut the circle center. You can cut just one for the front or you can cut two to add one on the back as well.
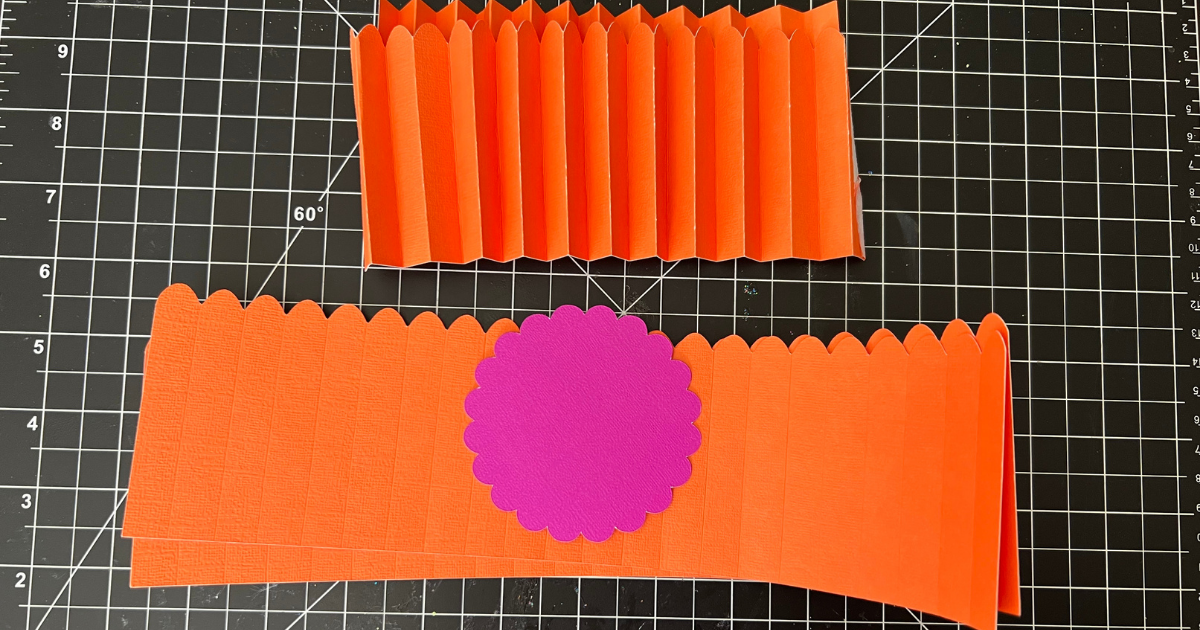
Now it’s time to fold the paper strips. Just start folding it like you would a fan (forward and backwards). Fold all four paper strips the same way.
Get your glue gun ready to start glueing the folded strips together. I was so thankful to have a cordless glue gun for this project because it made it a little bit easier. It should look like the photo below.
I like my paper rosettes to be nice and tight (it’s a personal preference) so I took scrap pieces of paper and hot glued them to the back of the rosette to hold it tightly together. Add the hot glue and paper strips and hold it all together for at least a minute until it sticks. There were a few times as I was doing this I wished I had more hands.
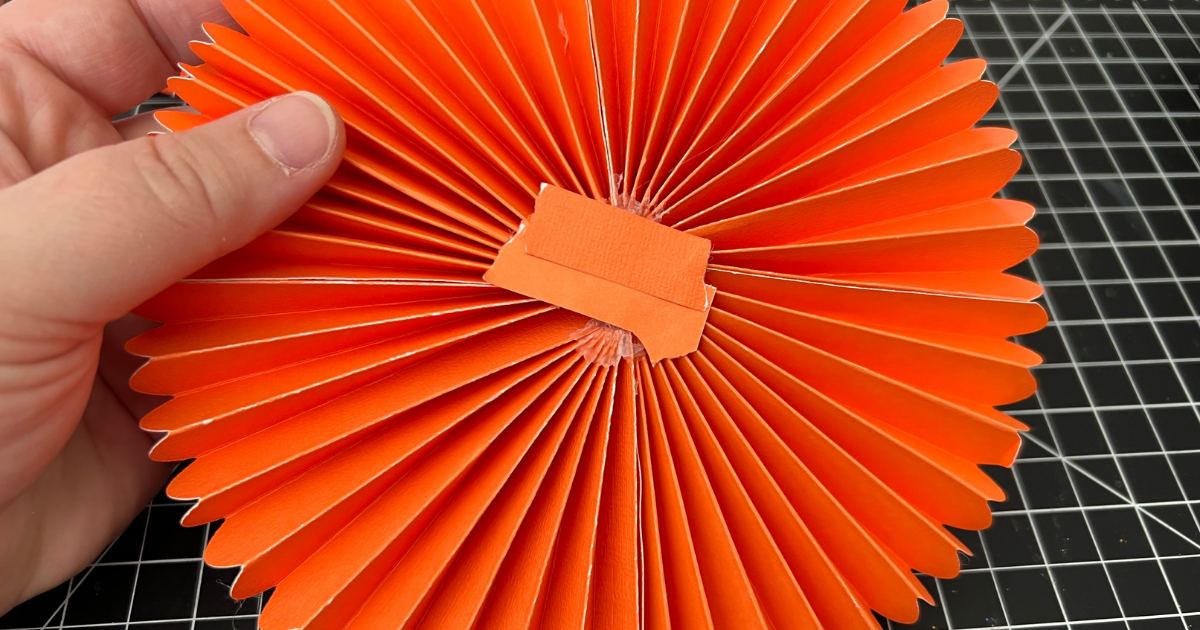
My paper rosettes are going on the wall as birthday party decor so I don’t care about the scrap strips in the back, but if the back of your rosette is going to be seen, then just cover it with another circle.

Hot glue will be your best friend when creating your Cricut rosettes. Just follow these basic steps for any rosette style because they are all put together the same. As you can see rosettes are not scary at all, but a super easy and fun paper craft.
Decorating with Paper Rosettes for Party Decor
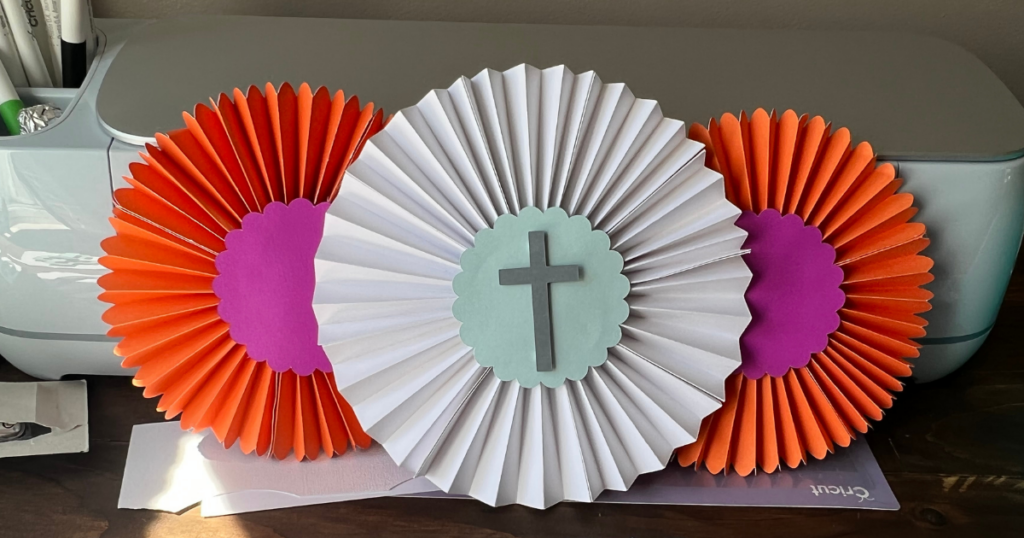
You can decorate your rosettes too! If you want to leave them plain you can or you can add a decoration to the center.
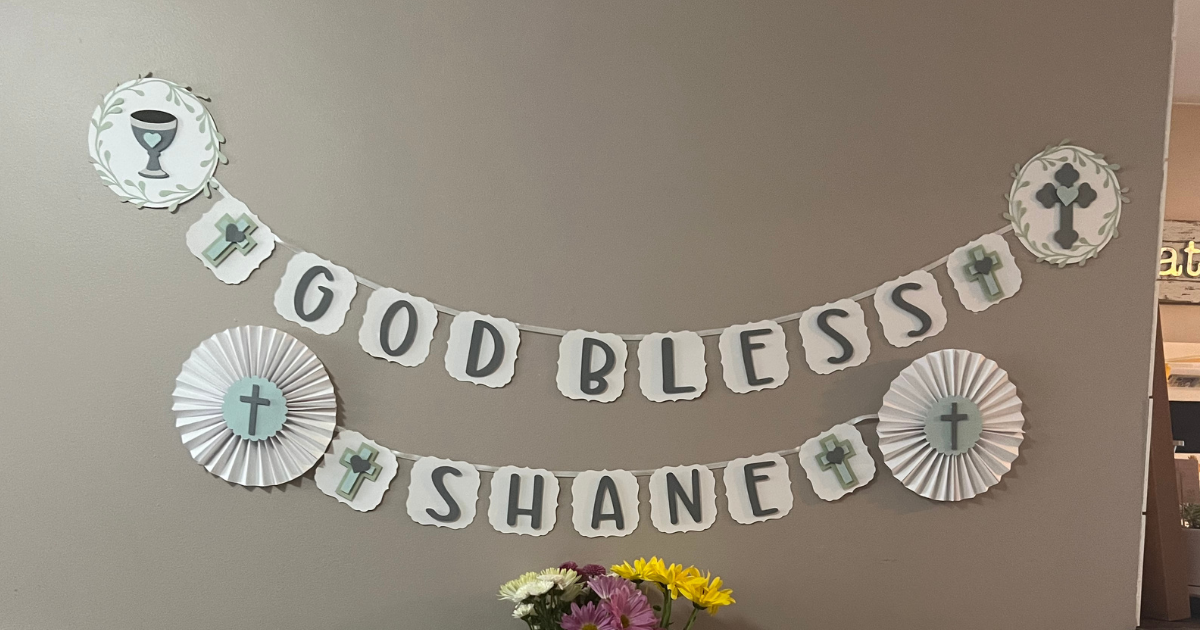
For my son’s first communion, I added crosses to the center of his, but for my daughter’s birthday I’m going to leave them plain. My daughters favorite character in Encanto is Isabella so I’m adding paper rosette flowers wherever I can.
