Glitter Mod Podge Wooden Box Project

Note: As an Amazon Associate, I earn from qualifying purchases. If you click on a link from Amazon or another of my advertising affliates, I will earn a small commission at no additional cost to you. Please see my full disclosure policy here.
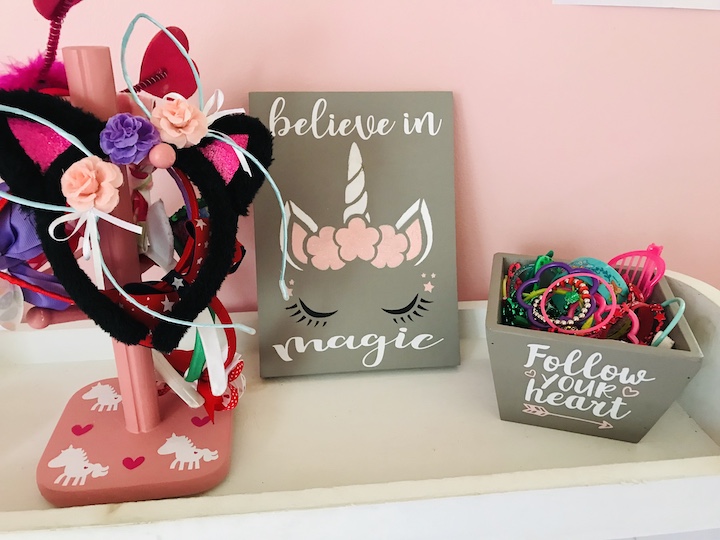
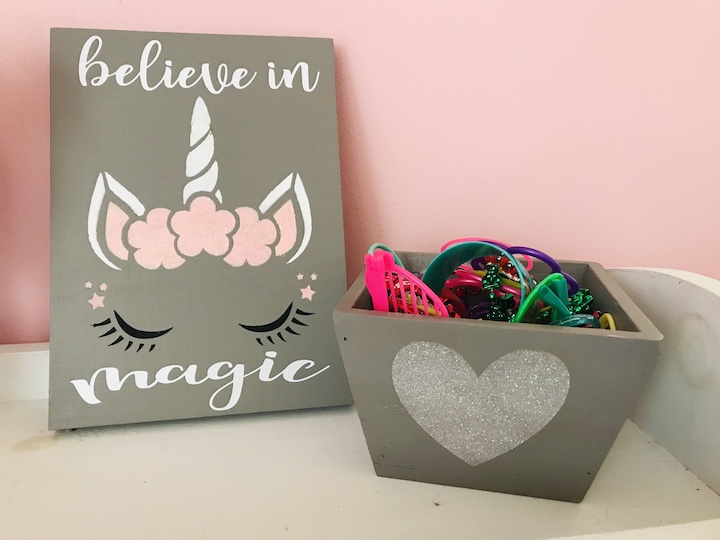
Storage for kids is always an issue. Whenever I go to the thrift store, I always keep an eye out for something that can be used for storage. I came across this wooden box that desperately needed a makeover and some paint. My daughter has so many dress up necklaces and bracelets that she needs a bigger box for them. I decided to make this wooden box to match her Believe in Magic Unicorn Sign with the grey paint and the pink glitter. What little girl wouldn’t love a glitter box for her accessories. Glitter Mod Podge Crafts are easy to make and this is how you use mod podge and glitter on a wooden box.
This post contains affiliate links which means I may make a small comission of any sale that is made by clicking on any of the products with no cost to you. Your support is greatly appreciated.

The Rules:
- Upcycle an item(s) from a thrift store, resale store, or garage sale into a new piece of decor.
- There’s no monthly theme.
- There’s no budget to stick to.
Meet the Hosts
Angela | Simply Beautiful By Angela – Gail | Purple Hues and Me – Pili | My Sweet Things – Beverly |Across the Blvd – Molly | Just a Little Creativity – Michelle | Michelle Jame Designs – Angie | Grandma Creates – Jenny | Cookies Coffee and Crafts – Amanda | Domestically Creative – Marie | DIY Adulation
And now for more thrifty goodness!
Supplies for Glitter Mod Podge Craft
Wooden Box
Sander
Grey Paint
Blush Pink Extra Fine Glitter
Mod Podge
Mod Podge Finish Spray
Heart Stencil
Painter’s Tape
White Permanent Vinyl
Pink Vinyl
Cricut Maker or Cutting Machine
To get the box ready for glitter mod podge, I sanded it down to the wood. Then I painted the entire box with Sherwin Williams Dovetail. I did two coats of paint.
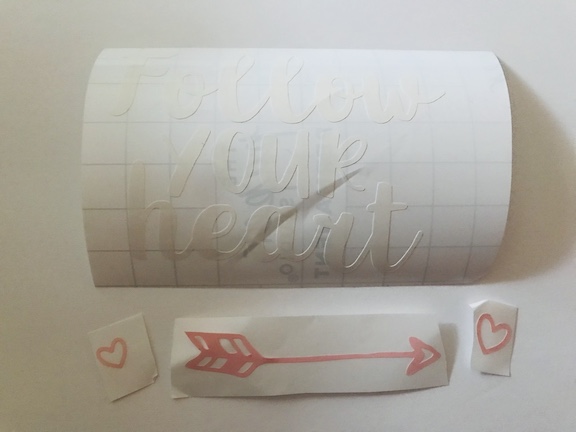
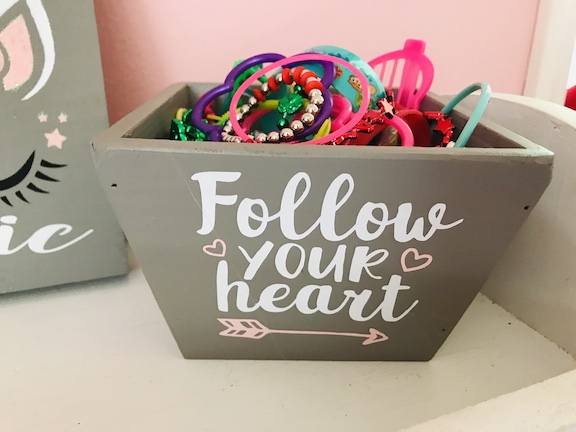
On the front of the box, I used White Permanent Vinyl to put the saying “Follow Your Heart” with an arrow from Lovesvg. My daughter has this unicorn book she loves to read and it says “Believe in Magic and Follow Your Heart” and it’s such a positive uplifting quote and perfect for a little girl who loves unicorns. I also feel like she can grow into this box as she gets older because we should always follow our hearts. It’s mommy’s advice in vinyl- haha! I really hope this is something she always cherishes.
How to Use Glitter Mod Podge on a Wooden Box
This is a really easy DIY. Just make sure you have the whole area covered since you are using glitter.
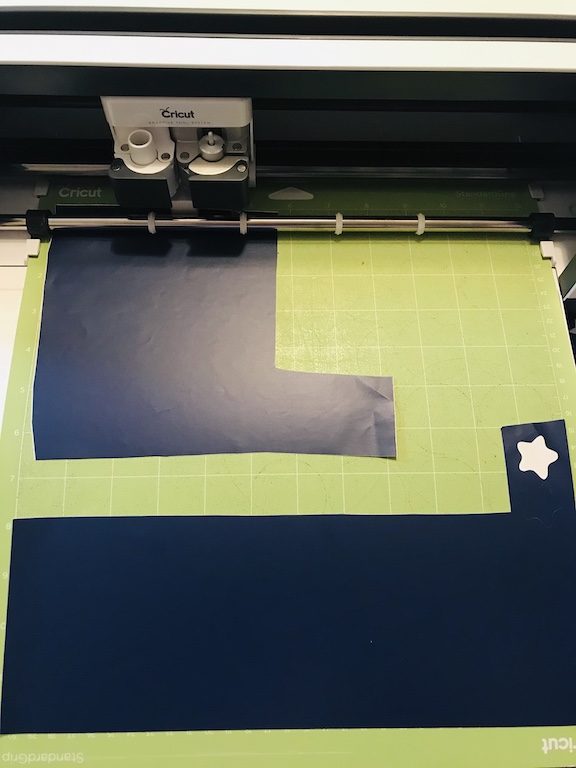
I created a heart stencil with removable vinyl with my Cricut, but you can buy a Heart Stencil Template to use. If you are using removable vinyl, use transfer paper to add the heart to each side of the box.
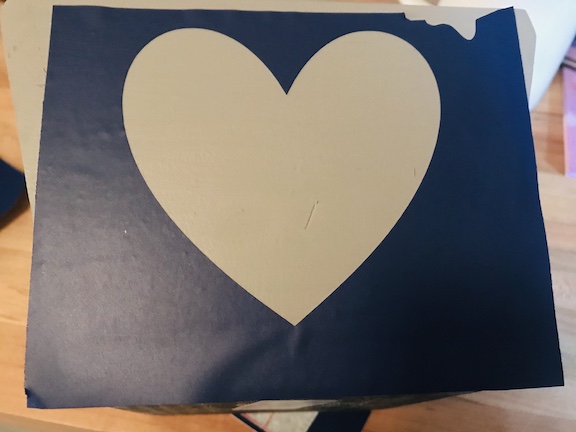
Leave the excess vinyl around the heart so glitter doesn’t end up outside of the heart all over your box. If you are using a store bought stencil, just use painters tape to attach it the box.
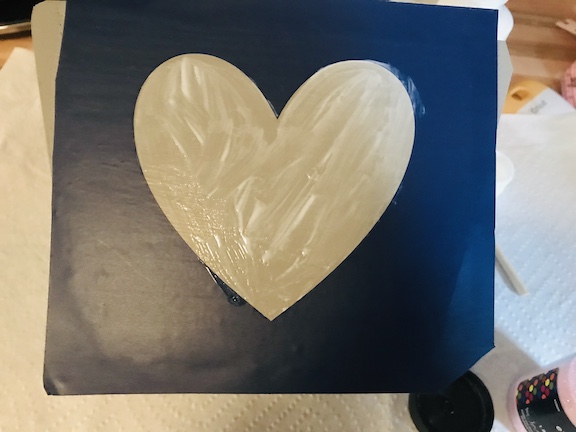
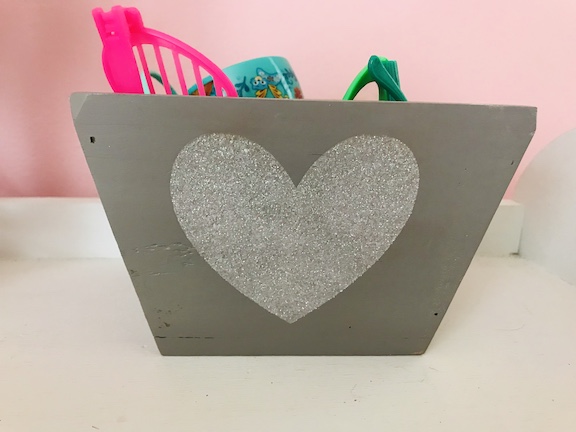
Using a makeup wedge, apply a thin layer to the inside of the heart stencil. Then add glitter too it and shake off the excess. Do this to each side of the box.
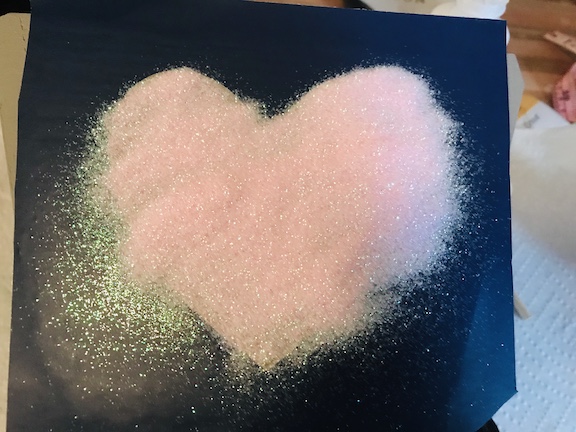
Let the glitter and mod podge completely dry and then add a second coat of glitter. The first coat of glitter just wasn’t sparkly enough.
Lightly apply a second coat of mod podge dabbing it on with the make up wedge. If you would like more sparkle, add as many coats as you want.
How to Seal DIY Glitter Wooden Box Project
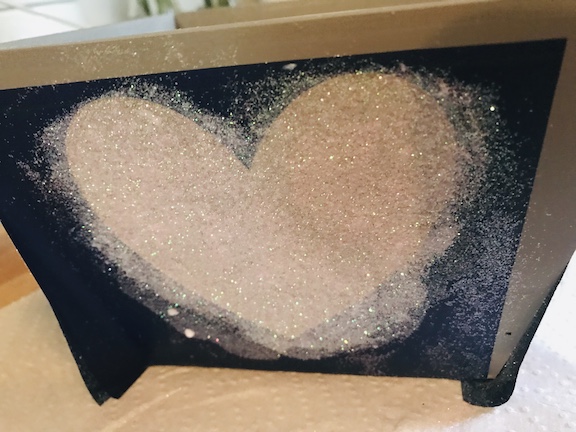
I use the Mod Podge Clear Acrylic Sealer Spray to seal all of my stencil projects. I love it! It dries clean and is super easy to use and the can last along time. After the hearts were completely dry, I removed the stencil and sprayed on the sealer. I waited 15 minutes and then I did a second coat of the spray.
Glitter Mod Podge hearts look so cute on the side of the box! I love making personalized items for my kids bedrooms. My daughter is just in love with the glitter hearts.
amzn_assoc_placement = “adunit0”;
amzn_assoc_search_bar = “true”;
amzn_assoc_tracking_id = “jsparmo-20”;
amzn_assoc_search_bar_position = “bottom”;
amzn_assoc_ad_mode = “search”;
amzn_assoc_ad_type = “smart”;
amzn_assoc_marketplace = “amazon”;
amzn_assoc_region = “US”;
amzn_assoc_title = “Shop Related Products”;
amzn_assoc_default_search_phrase = “Glitter Mod Podge”;
amzn_assoc_default_category = “All”;
amzn_assoc_linkid = “2f0b6eec0b2fb8538ae7937caae45f1c”;