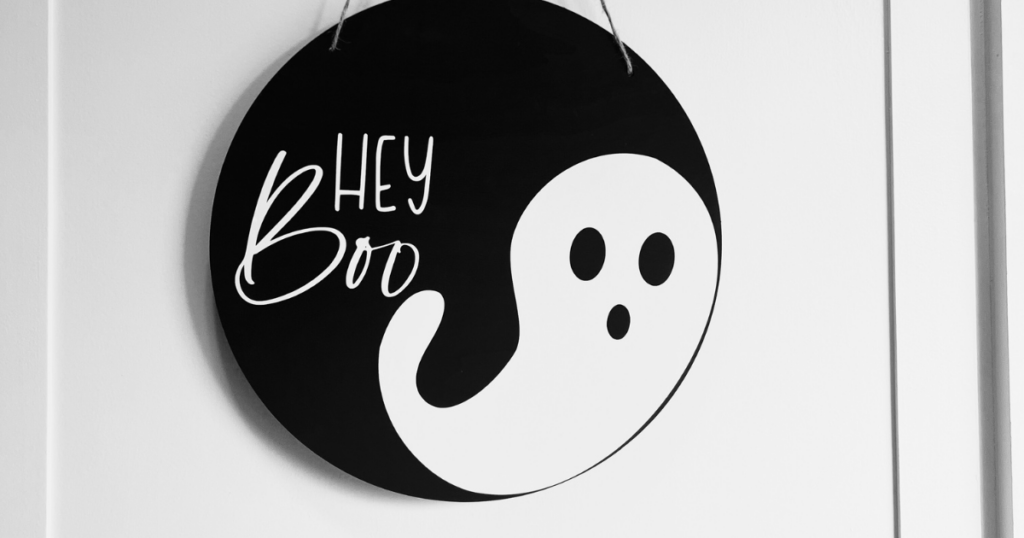
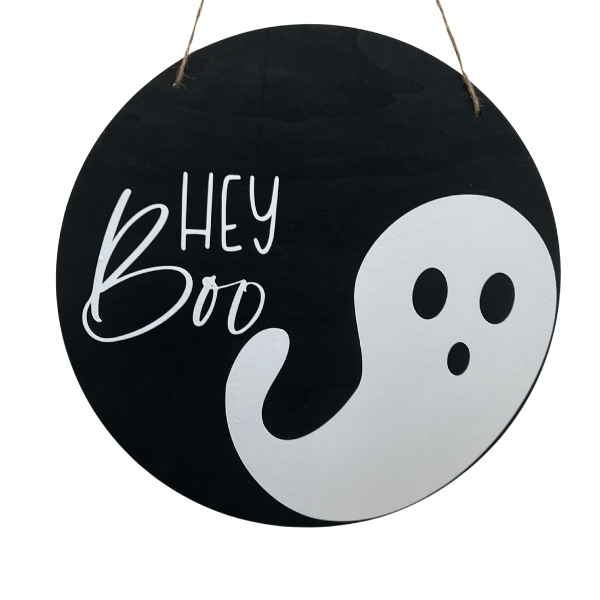
Hey Boo Dollar Tree Cricut Halloween Door Hanger
Note: As an Amazon Associate, I earn from qualifying purchases. If you click on a link from Amazon or another of my advertising affliates, I will earn a small commission at no additional cost to you. Please see my full disclosure policy here.
It’s my favorite time of the year to craft because I love fall and Halloween! It was time to make a new Hey Boo Dollar Tree Cricut Halloween Door Hanger. I made this for a family friend who is moving into their 1st apartment, but my family fell in love with it. I’m going to be making a pink one with a slight variation for my daughter and the exact same one for us to add to our Halloween decor.

Supplies for Halloween Cricut Wood Round
Dollar Tree Wood Round
Cricut Design Space Project Link (you can find it at the end of the post)
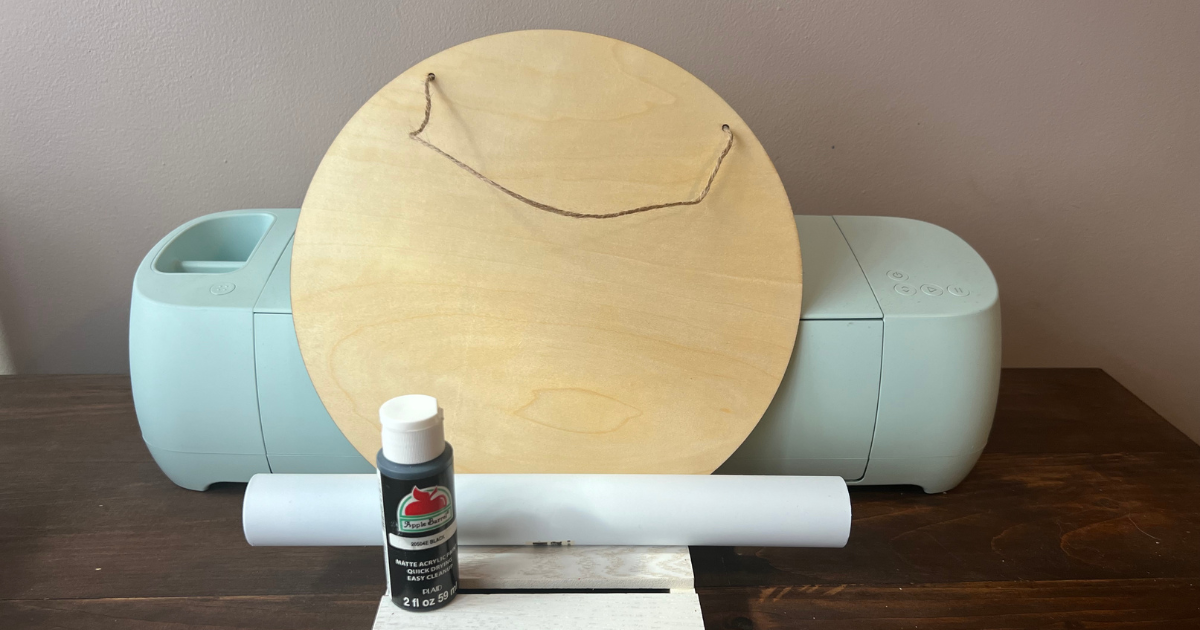
The supplies are pretty simple and most crafters will probably have these items in their craft supplies. I found the wood round at the Dollar Tree for $ 1.25. This was the first time I’ve seen them in the regular Dollar Tree sections and not in the Dollar Tree Plus.
For this Cricut Halloween DIY, you are going to need the normal size Cricut Maker or Explore in any model.
Let’s Create a Dollar Tree Cricut Halloween Door Hanger
The first step is to remove the twine string from the wood round to get it ready to paint. Always check the wood crafting blanks from the dollar store, to see if they need to be sanded or not. This one was great and didn’t need any sanding. Then I painted it with two coats of black craft paint.
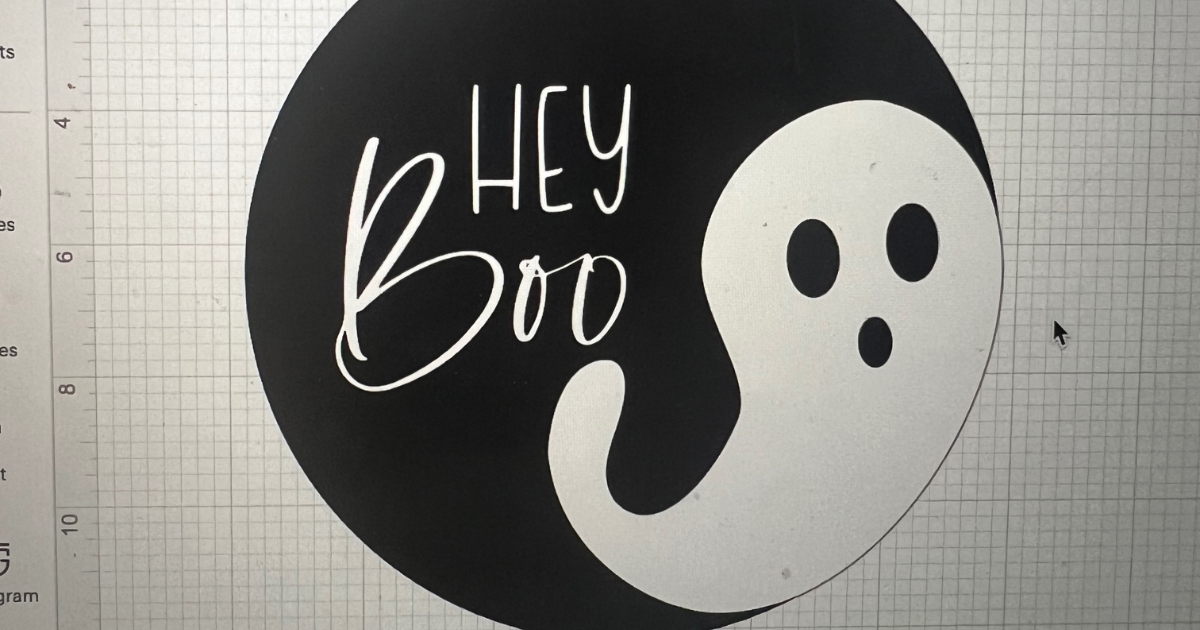
Creating the Design in Cricut Design Space
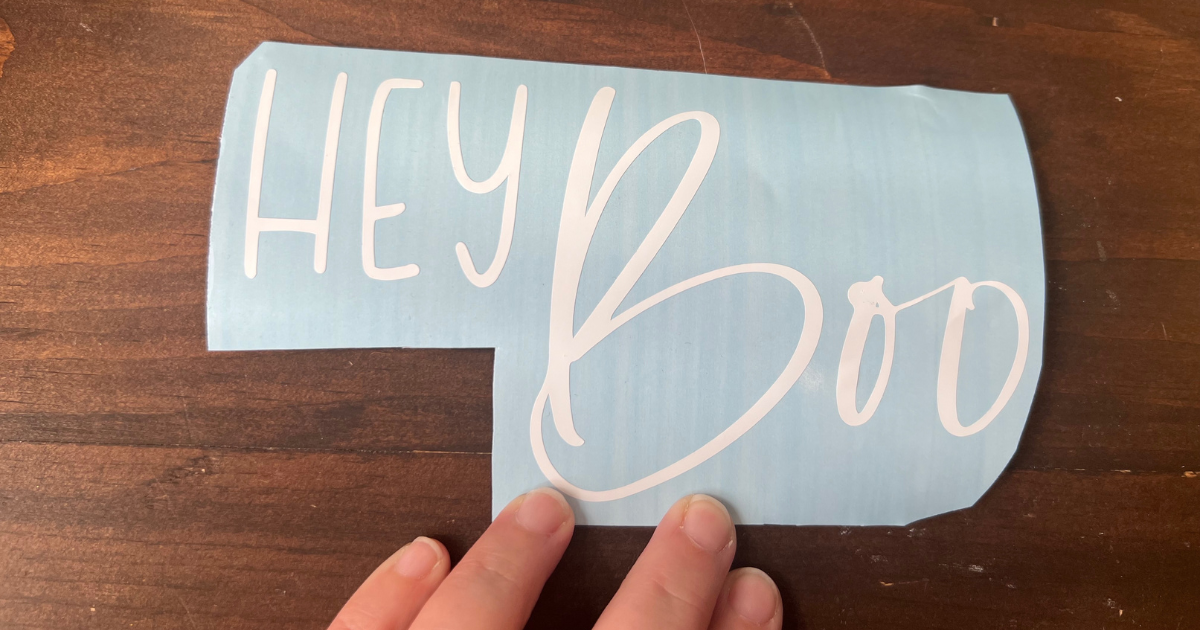
As the paint was drying, I worked on creating my design in Cricut Design Space. As a template, I created an 11.5 x 11.5 circle to use as the wood round. Then I searched for a “Hey Boo” image. There are lots of different ones to choose from. The image I chose had more ghost on it, but I only wanted the one large ghost and the words. Use the hide button for any ghost that you don’t want to use in your project. All Cricut DIY’s are about using your creativity so make it your own.
Cut the design in permanent white matte vinyl and then remove the access vinyl and weed the design. My personal favorite is matte vinyl for all my projects because I don’t like the glossy look.
Remember to pull the mat away from the material so it remains as even as. possible.
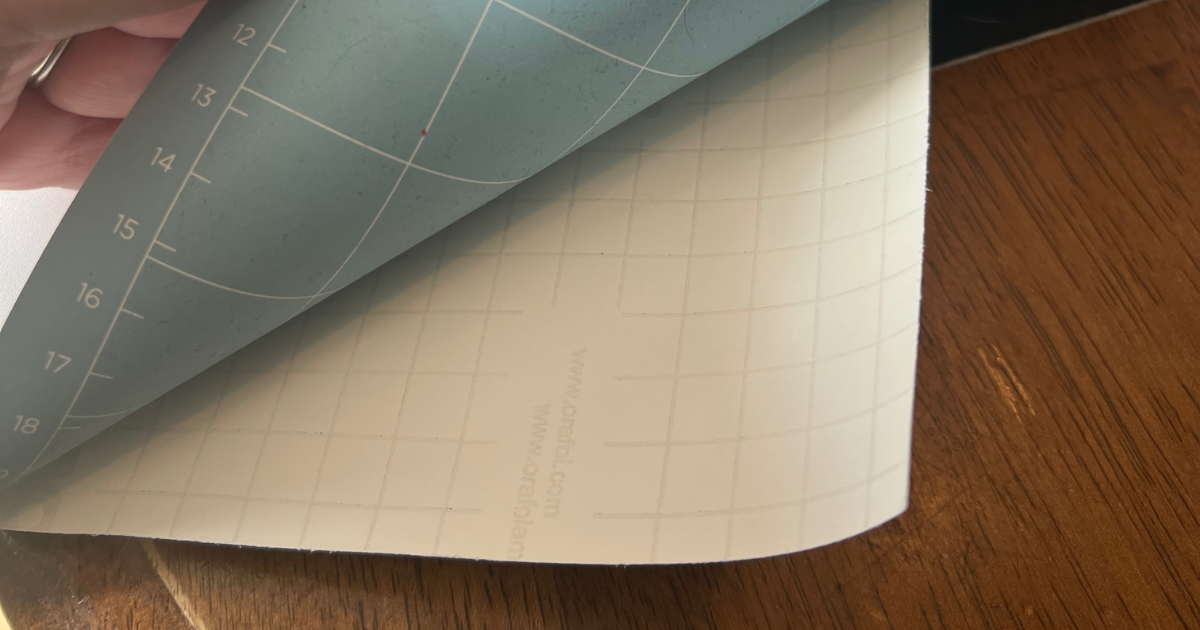
This one was super easy to weed- my favorite type of project!
When the wood round is ready and completely dry, it’s time to add the images to the Halloween Door Hanger. Start by adding the ghost first with transfer tape. Cut as close as possible to the ghost before adding on the transfer tape. This way you can see the edge and get it as close as possible to the edge of the wood round.
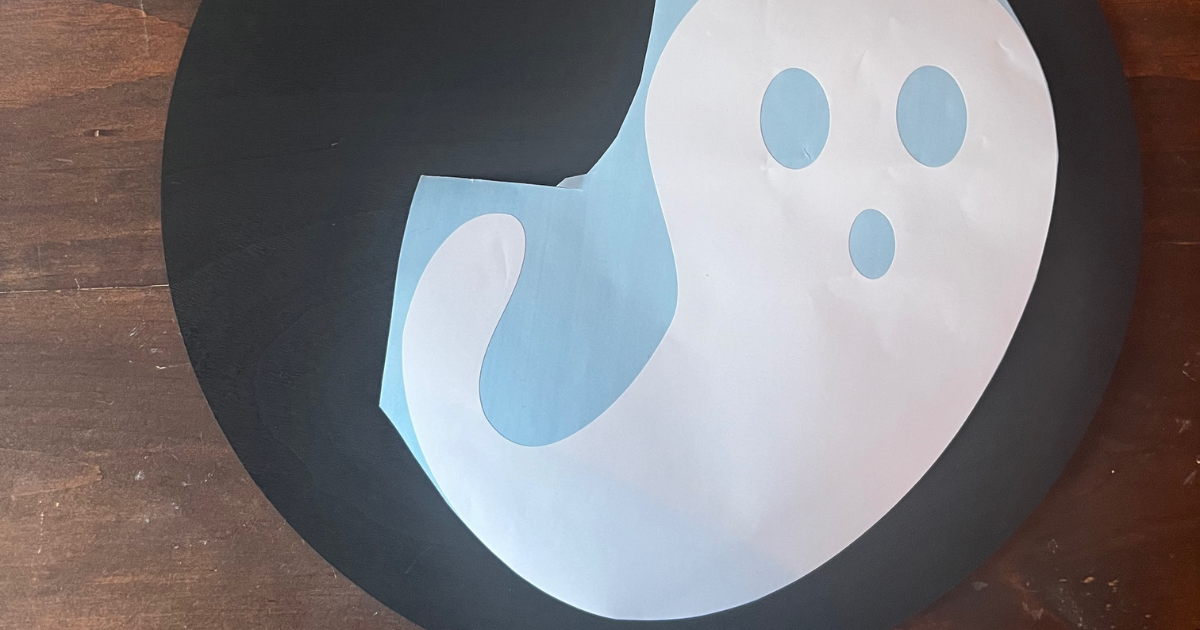
Once the ghost is in place, add on the words. I added on Boo first so that I could place it where I wanted it, then I added on the last part. Make sure when you are adding on the words, that you focus on how it will look as it hangs.
Reattach the twine differently by putting it through each hole and tying a double knot in the back so it’s one big loop. I love bows and ribbon, but I wasn’t sure if this needed a ribbon or not. I decided to leave it as is with no bow.
Hey Boo Cricut Deisgn Space Project File
With all Cricut projects, it’s always a tough choice of what image to choose and waiting on the paint to dry. Putting the Halloween Wood Round together only took a few minutes and looks spooky good!
Use my Cricut project design space link and get started today. I can’t wait to see what you make.