How to Make Small Wooden Christmas Signs
Note: As an Amazon Associate, I earn from qualifying purchases. If you click on a link from Amazon or another of my advertising affliates, I will earn a small commission at no additional cost to you. Please see my full disclosure policy here.
Do you ever just need a tiny small sign to finish a mantel, shelf or vignetter? I have the perfect solution for you today! I’m absolutely in love with these small signs and I’m going to have them all over my house soon. My kids love them too. They have each taken one. Another thing that I love is that these signs are affordable. Today for my Christmas wood decor at Deck the Home, I’m sharing how to make small wooden Christmas signs.
I made these for a couple local craft shows and they were very popular. The signs are the perfect size for a desk, window sill or any space that just needs a little something.
This page contains affiliate links at no extra cost to you. Please see my full disclosure here.
Supplies for DIY Christmas Signs Ideas
1×2
Miter Saw
Black Paint
Plaid Nylon Chip Brush Set
White Vinyl
Green Vinyl
Red Vinyl
Let’s Learn How to Make Small Wooden Christmas Signs
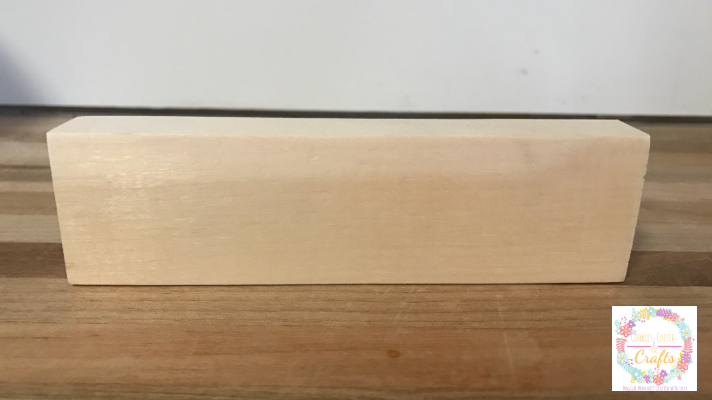
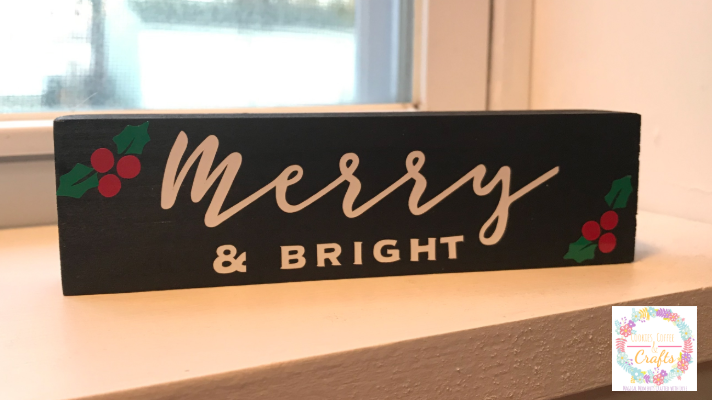
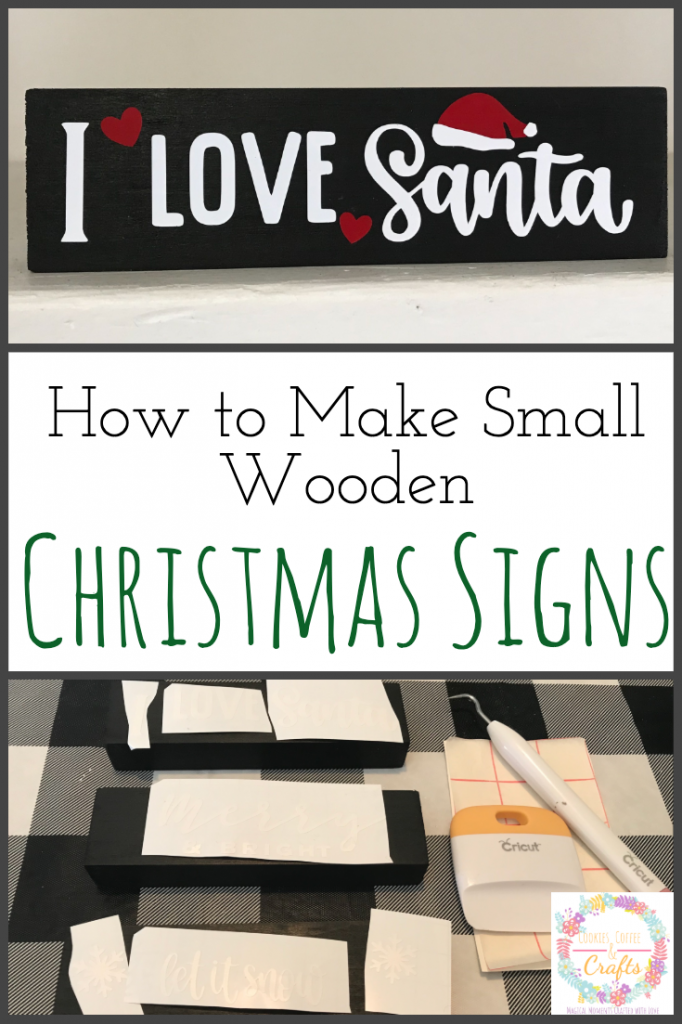
Start by deciding how many signs you want to make. I made my signs 5.5 inches long. Then cut the 1×2 with a miter saw (other saws will work too, but this is what I used). Give the ends a light sanding so they are smooth. Out of one 8 foot 1×2 you can make about 17 signs for $7.
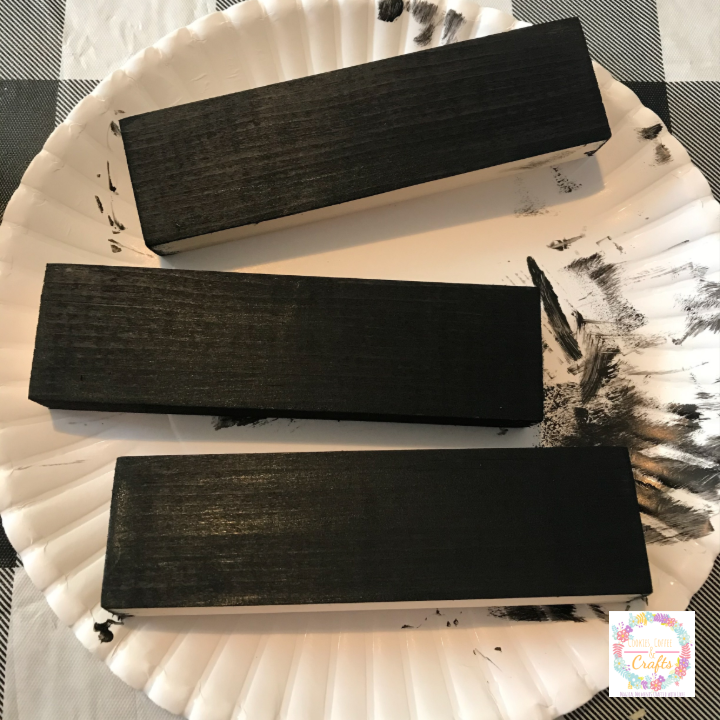
Choose your paint color and paint your signs. I used the Waverly High Performance Semi Gloss Acrylic Paint in Ink. It covered so well, it was my first time using it and now it’s my new favorite craft paint.
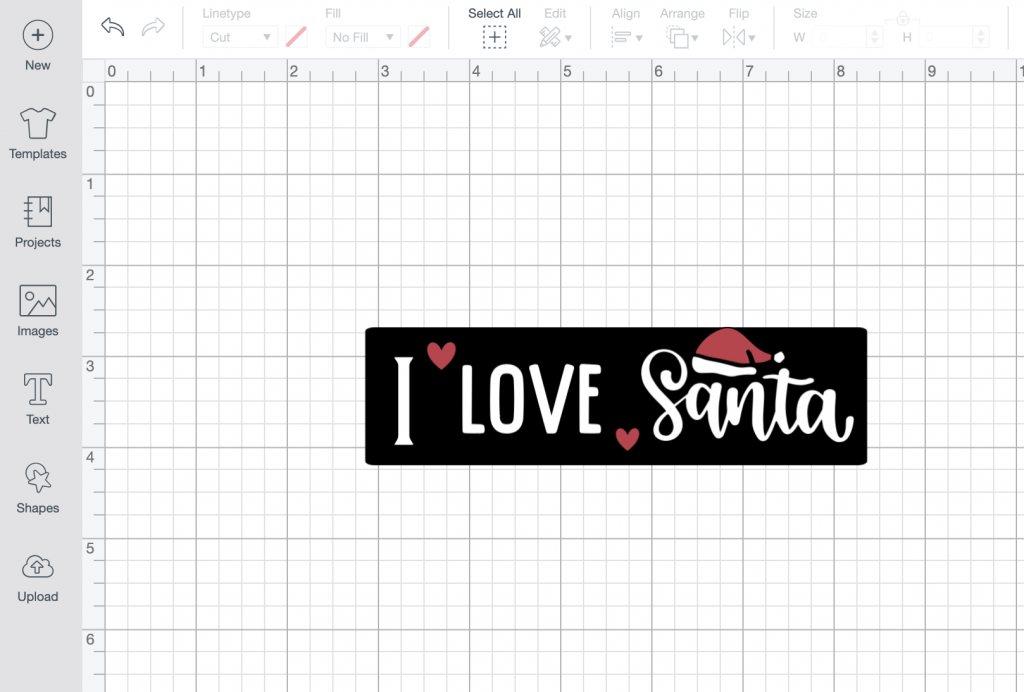
When the signs are drying, I created my designs in Cricut Design Space™. For these designs, I had to ungroup the images and contour some to make them fit the signs (since they are so small). If you are using Cricut Design space, here is my file of the svgs I created.
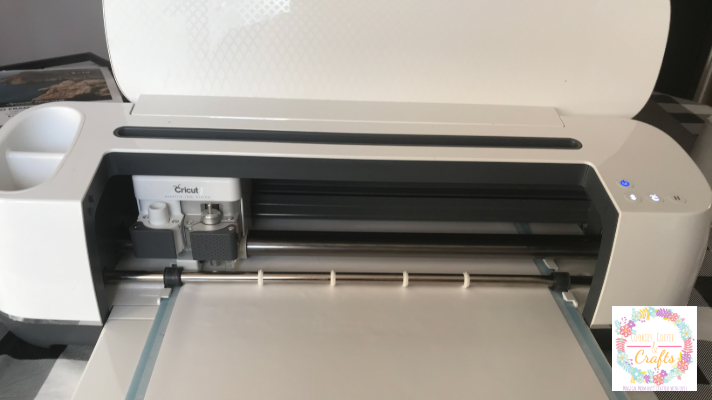
Using your Cricut Maker or other cutting machine, cut your designs in vinyl and weed the design.
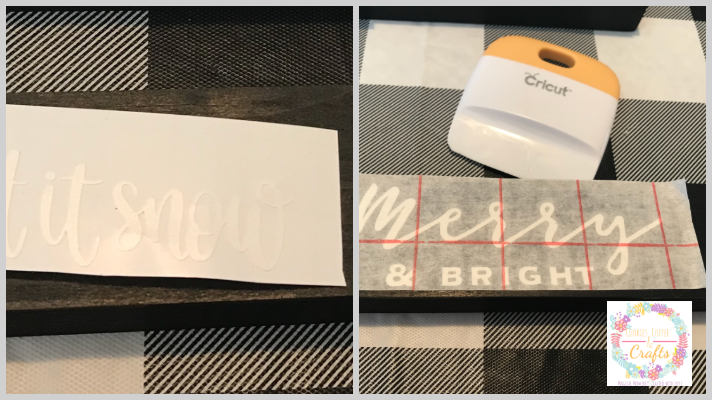
Next use transfer paper to add your designs to the sign.
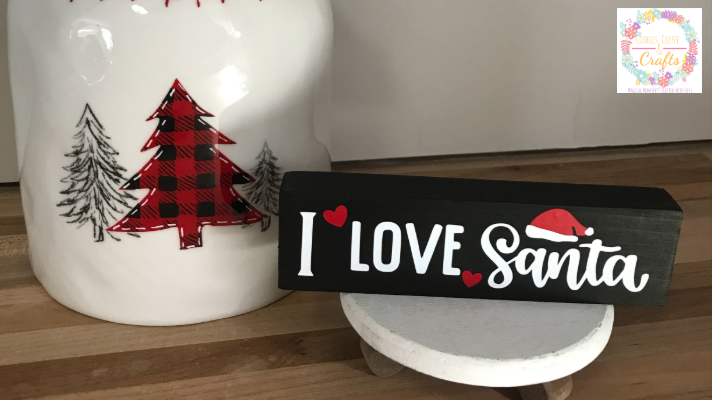
How cute are these? Can you imagine a place for them in your Christmas decor? These Christmas signs are perfect for shelves, a desk or when you just need a little something more.