How to Paint Over Vinyl on Wood with Crisp Lines
Note: As an Amazon Associate, I earn from qualifying purchases. If you click on a link from Amazon or another of my advertising affliates, I will earn a small commission at no additional cost to you. Please see my full disclosure policy here.
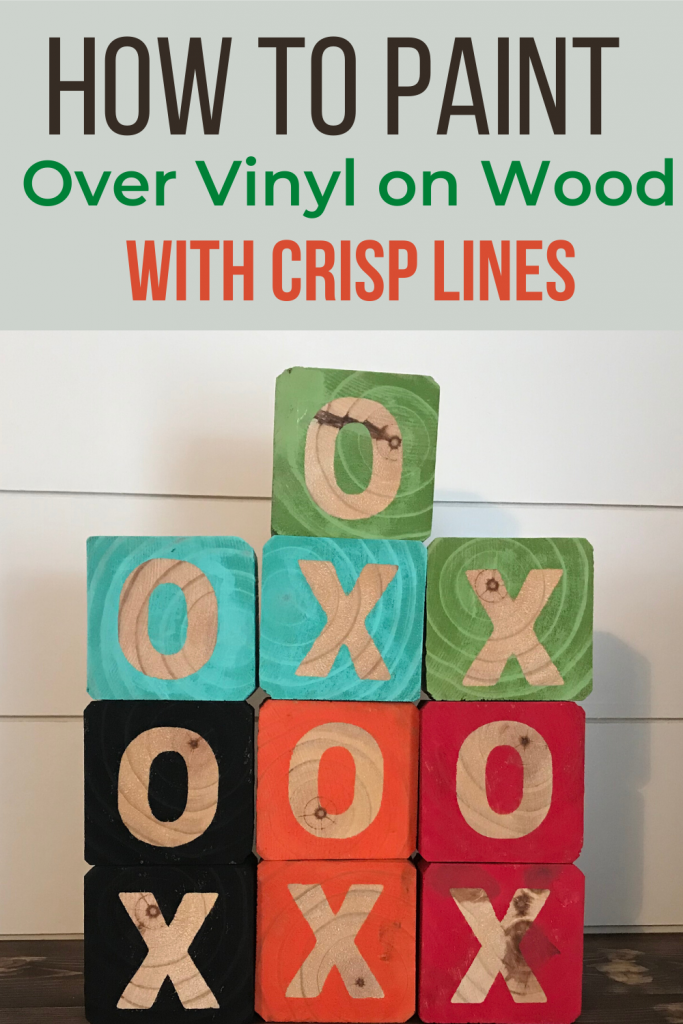
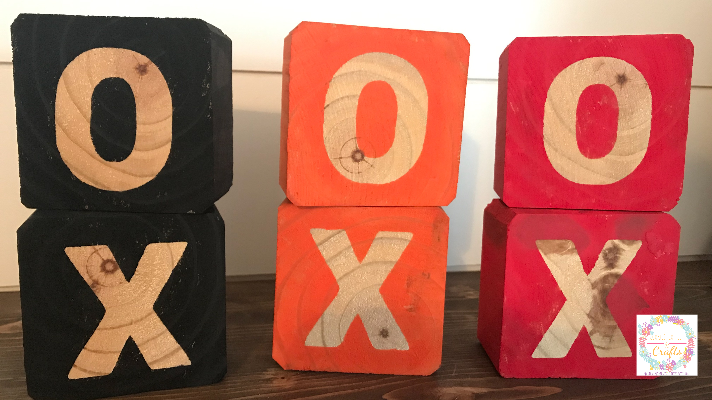
While working on an outside lawn game for the backyard, I found a new way to make signs that I’m really really excited about. I’m going to show you how to paint over vinyl on wood with crisp lines. I did this on 4×4 blocks for a wooden DIY Tic Tac Toe Game (Coming Soon), but this can be done on any painted wood.
Supplies for Painted Wood Signs with Cricut
Let’s Learn How to Paint Over Vinyl Letters on Wood
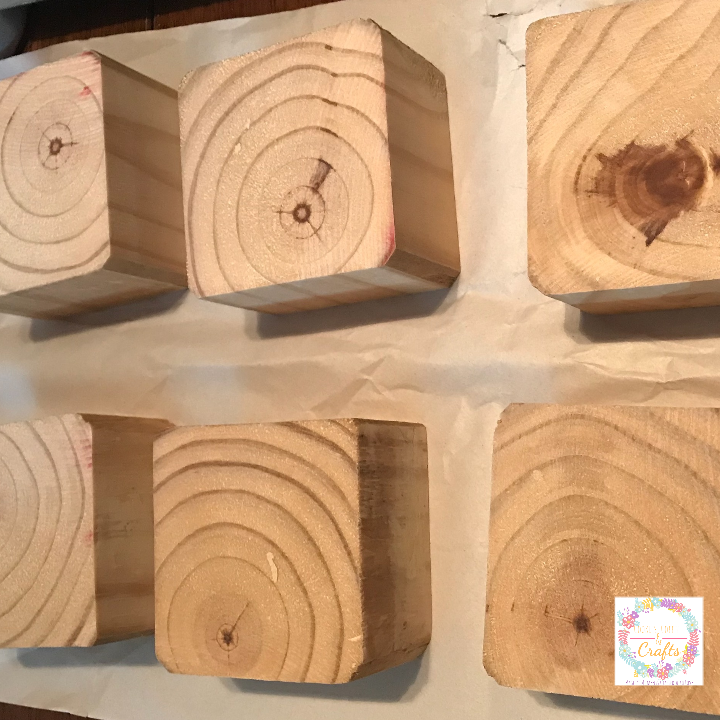
Prepare your wood to be painted by sanding it so it’s nice and smooth. The smoother the wood, the better the vinyl sticks.
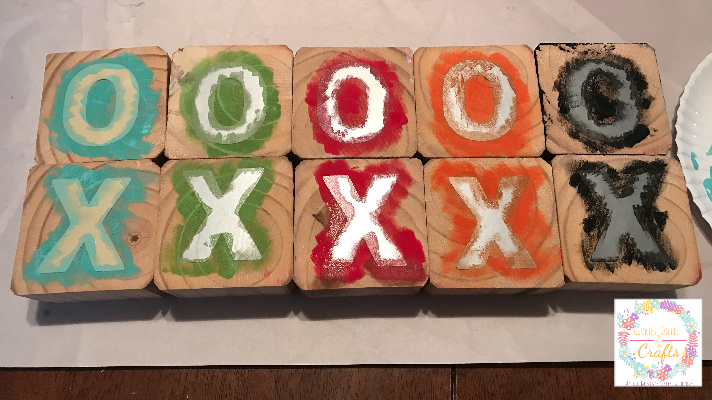
Next paint or stain the wood, the color you want your lettering to be. I chose to leave the wood natural on my tic tac toe blocks.
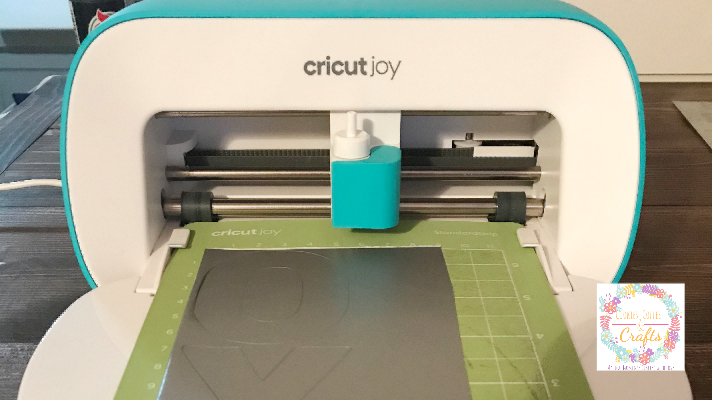
Create the lettering on your Cricut cutting machine. If the image is small (like my X’s and O’s) I use my Cricut Joy, if it’s larger than I use the Cricut Maker. For this I use removable Cricut vinyl.
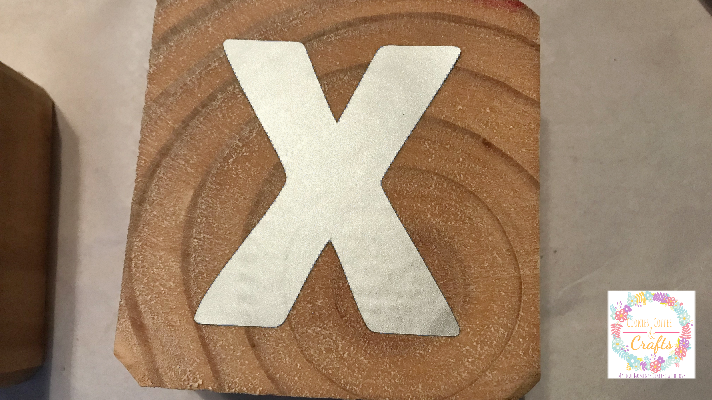
Adhere the lettering to your prepared wood. I didn’t use transfer tape because the x and o’s were a simple, easy design to transfer, but for a more complex design use transfer tape. Use the Cricut Scrapper to get the vinyl pressed nicely to the wood.
How to Get Nice Crisp Lines with Vinyl Stencils

To get nice crisp lines, my secret is using a make up wedge and paper plate. Sounds crazy and simple, but it works. Put a small amount of paint on the paper plate and dab in the make up wedge. Then dab it onto the paper plate before dabbing around the vinyl letter.
You only use the make up wedge around the letter and it usually takes two coats.
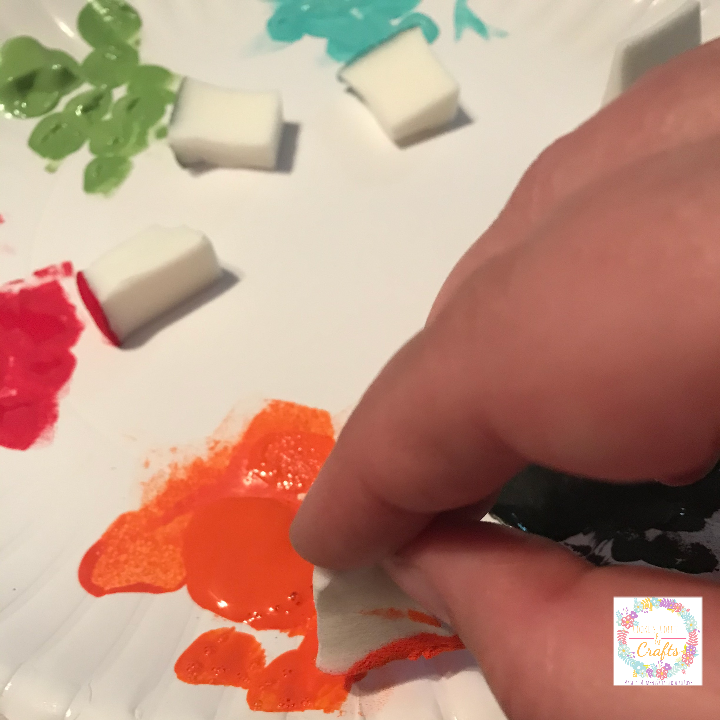
Always dab in the paint, then the plate before dabbing onto the wood. Make sure to do the dabbing slow and steady for those nice crisp lines.
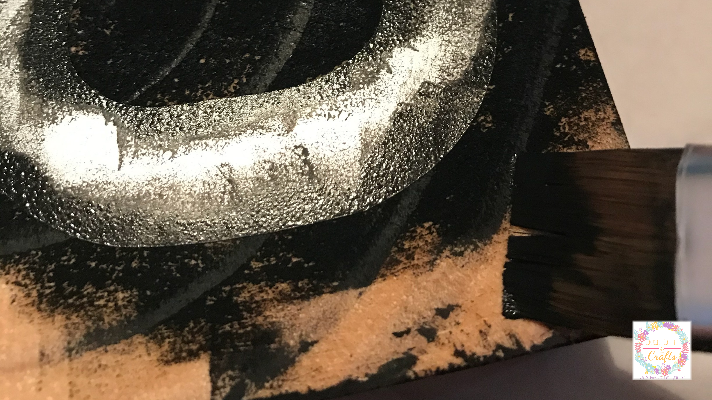
When you are done painting around the letter, use the flat brush to paint the rest of your sign or block. Don’t paint over the letter, just use it to blend in the paint from the dabbing to the painting of the sign or block.
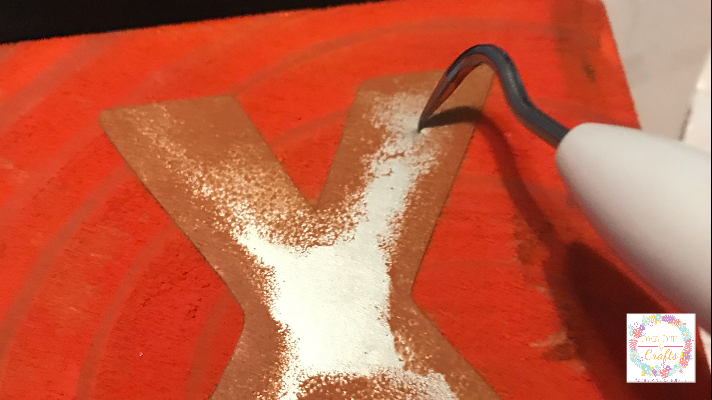
I like to remove the vinyl lettering when it’s almost dry. If you wait to long, the vinyl lettering might remove some paint. Use the Cricut Weeding Tool to pull up the vinyl letter.
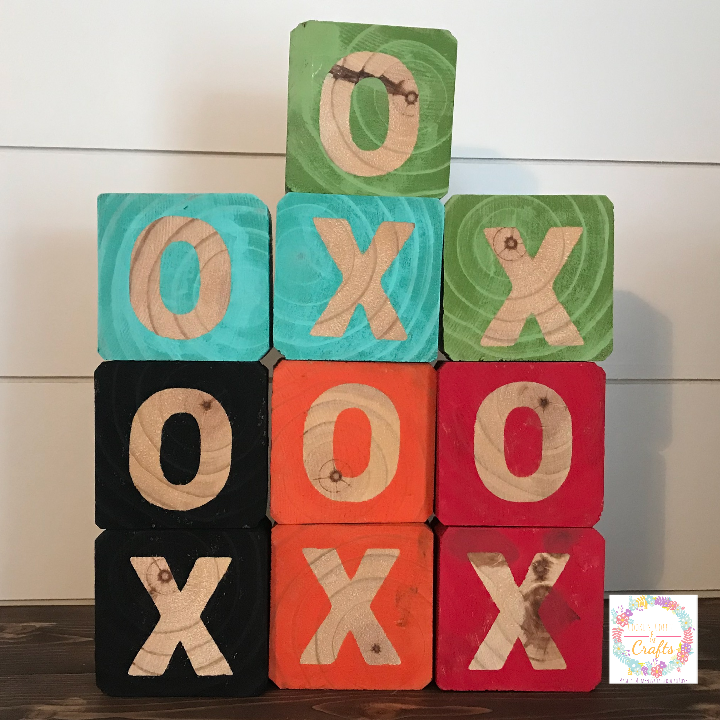
Now you know how to make homemade painted wood signs with crisp lines. I really enjoy the dabbing and painting of these signs. It’s kind of therapeutic to just sit and dab. I love removing the vinyl letters and seeing the beautiful sign or block come to life.