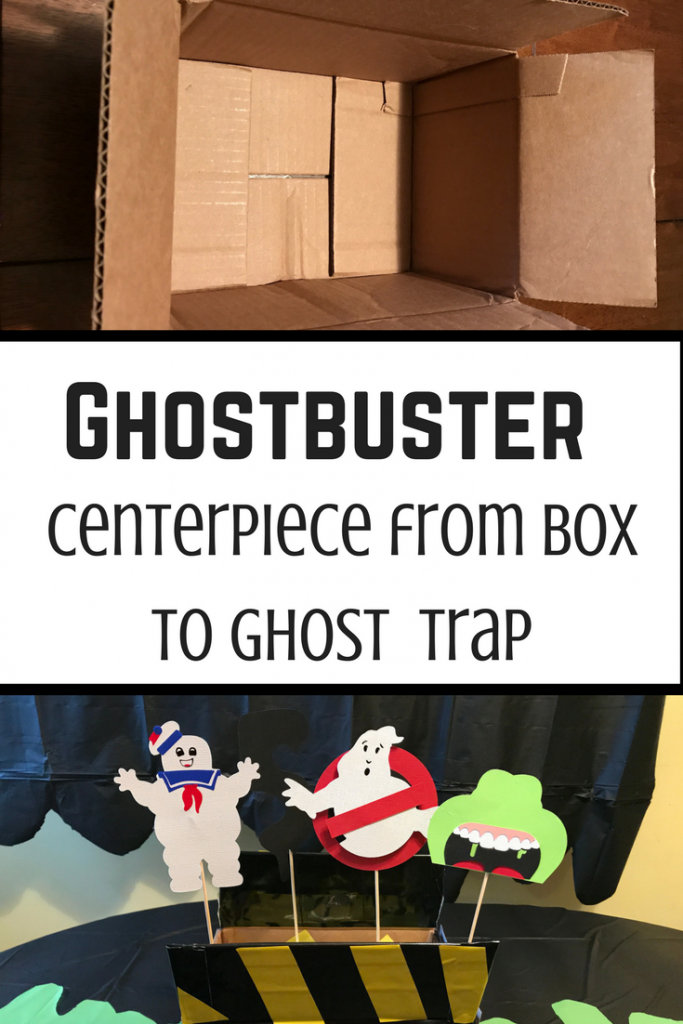
Ghostbuster Centerpiece
Note: As an Amazon Associate, I earn from qualifying purchases. If you click on a link from Amazon or another of my advertising affliates, I will earn a small commission at no additional cost to you. Please see my full disclosure policy here.
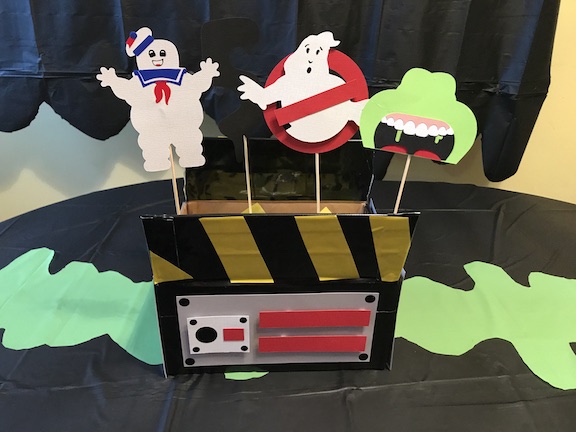
Centerpieces for parties are so important and I feel like a great centerpiece makes a party. This one is the ghostbuster trap for my son’s 5th birthday. I really wanted to create something that was different. Learn how to transform an ordinary box to a ghostbuster centerpiece. I’m not a huge Ghostbuster fan, so I had no idea what the trap looked like. Google and Pinterest helped me out and I came up with this design.
Below are some affiliate links and I may make a commission for purchases made through the following links.
The centerpiece is a combination of duct tape, vinyl and card stock. Even if you don’t have a Cricut, you can create these with basic shapes and letter stickers. I created everything on my Cricut Maker.

Let’s Create a Ghostbuster Trap Centerpiece
– find a small cardboard box
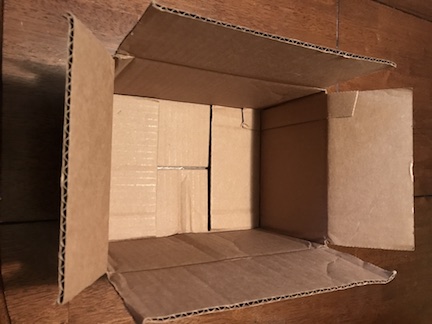
– cut off the two end top flaps

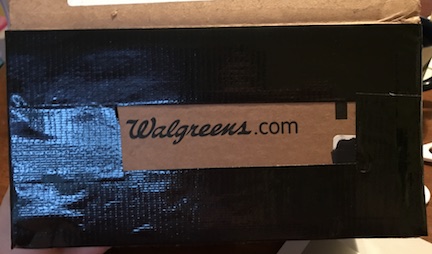
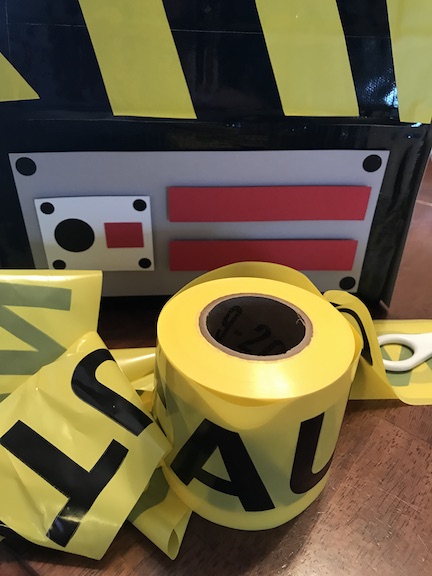
– cover it in black duct tape
– for all of the pieces to decorate the trap, the sizes will depend on the size of your box
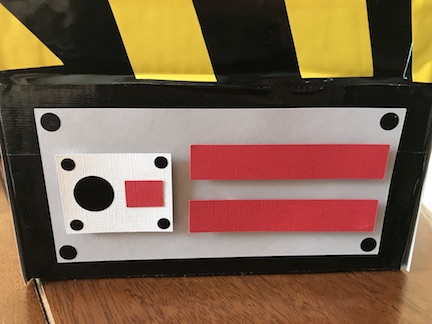
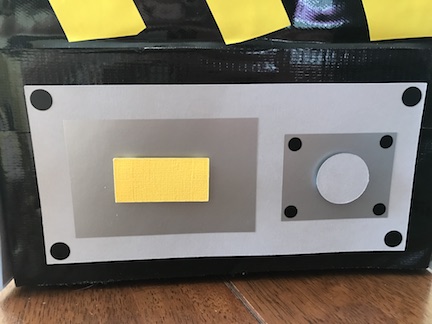
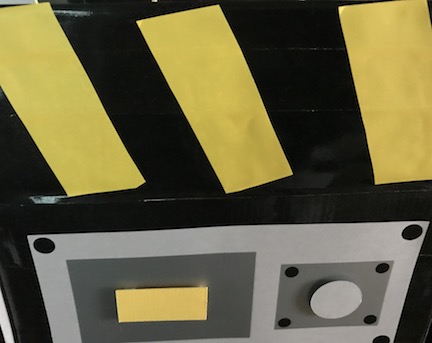
– Create the sides of the box using gray card stock rectangles. Now add the basic shapes to the gray rectangles on both sides. For the card stock elements I used 3d Foam Dots to give a 3D look to the trap.
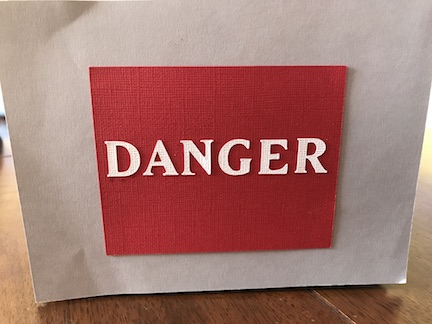
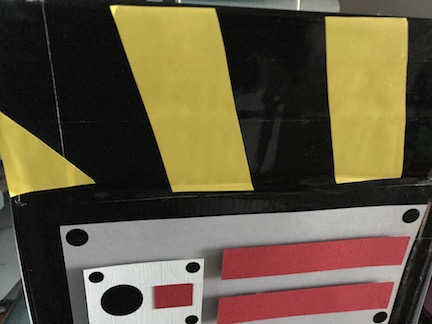
– Make gray squares in card stock to cover the end of the box. On one side add “DANGER” on a red rectangle.
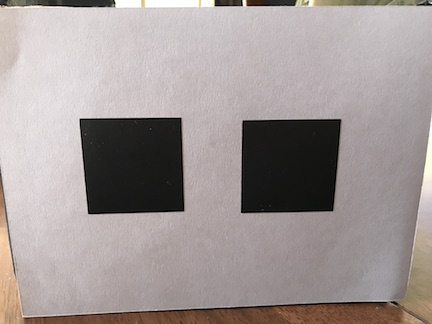
The other end will have a gray square with 2 small black squares in vinyl on the end
– On the top of the box I added the diagonal strips using Yellow Vinyl. This was the hardest part for me. I used my paper trimming board
and made diagonal lines and cut them with scissors
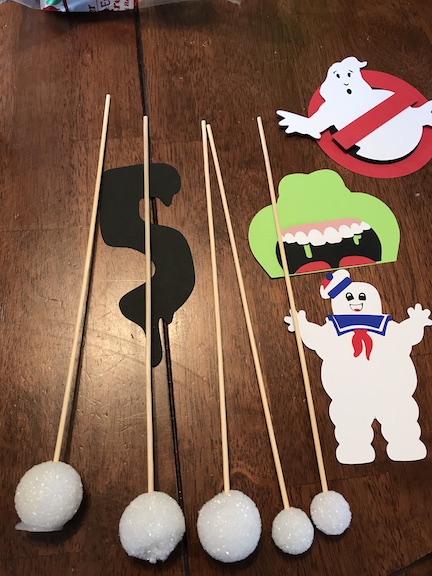
– The centerpiece has the Ghostbuster characters, that I purchased here. I purchased Slimer and StayPuff from the above Etsy shop. I found the ghostbuster symbol SVG here. For the cool slime number I used the bacon font.
How to Put it Together
I used Glue Dots to attach the characters to the kabob sticks
. I used small foam balls from the Dollar Tree (I had these leftover in my craft stash) to stick the kabob sticks in.
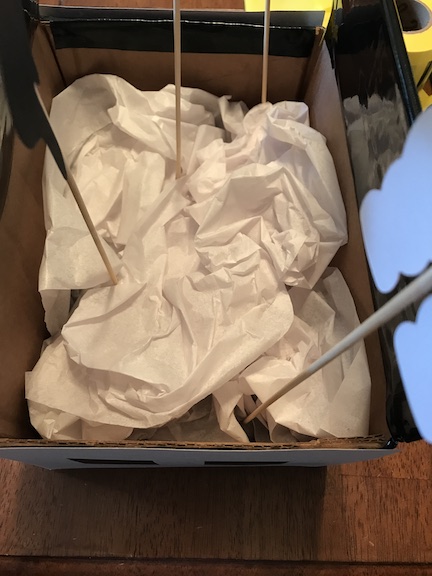
Once I decided on where to place the characters in the trap, I hot glued the styrofoam balls to the bottom of the box.

This centerpiece is really deep so I filled in the box with white tissue paper.
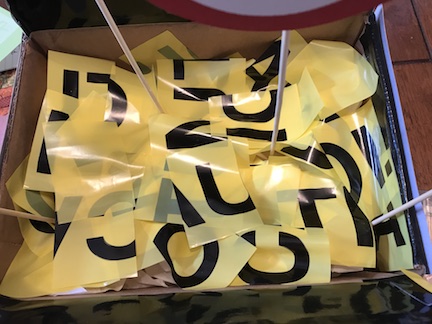
I have a whole roll of caution tape
(plus I forgot the shredded paper at the dollar store) so I created my own with the caution tape.
I cut about 2 inch rectangles and added them to the top of the box.
The ghostbuster centerpiece is ready for a ghostbustin good time. It looks awesome in the center of the table with the slime table runner. I added google eyes to Slimer, but I didn’t have a chance to take more pictures.