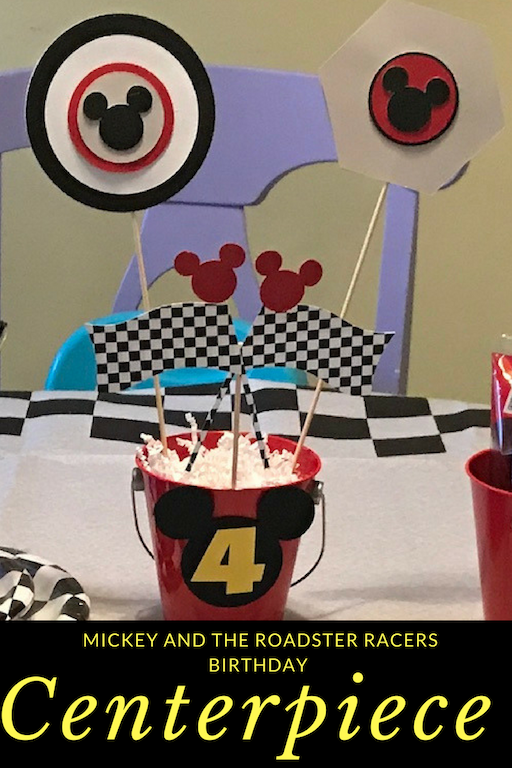
Mickey and the Roadster Racers Birthday Centerpiece
Note: As an Amazon Associate, I earn from qualifying purchases. If you click on a link from Amazon or another of my advertising affliates, I will earn a small commission at no additional cost to you. Please see my full disclosure policy here.
Here is another addition to my son’s Mickey and the Roadster Racers Birthday Party. The centerpiece is simple and easy. I used ideas from the DisneyJunior website and also images from the show and recreated them using my Cricut Explore. I created these images in Cricut Design Space™ using my Cricut Access Premium membership. This can also be created by just printing the images from the DisneyJunior website and creating the centerpiece.

Below are some affiliate links and I may make a commission for purchases made through the following links.
Materials:
Dark Red Card Stock
Black Card Stock
White Card Stock
Gray Card Stock
Yellow Card Stock
6 pack Metal Bucket, Metal Bucket Black Solid Colors 4.3×4″ click and pick color and size.
Festive Solid Color Paper Shreds and Strands Party Supply, White, , 2 Ounces
Smoothfoam Ball for Modelling, 1″
Woodsies Dowels 12″-3/16″ 20/Pkg
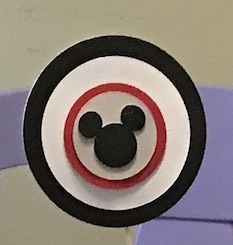
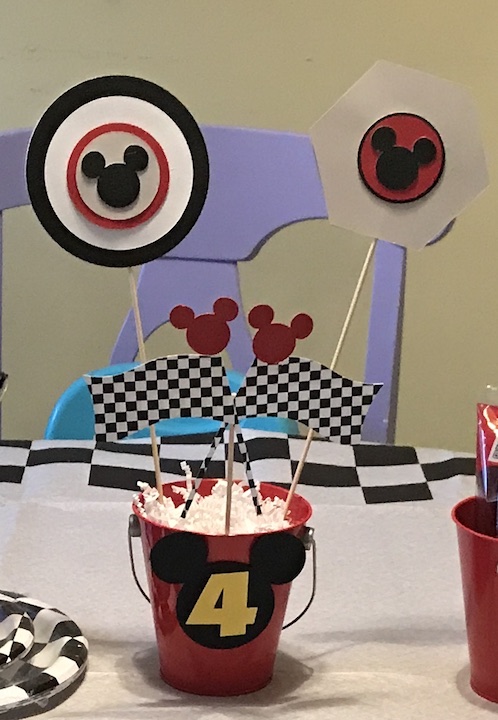
To create the centerpiece I made checkered flags with paper from and added the deep red Mickey ears to the top of each flag. Then I made the tire image (this one is used on the show) using 3 different size circles, largest in black cardstock, next size white cardstock, then red cardstock, then grey cardstock with black Mickey ears in the center. After creating the tire I glued the tire onto the wooden dowel and then created the same tire image on the other side of the dowel, so now your centerpiece is two-sided.
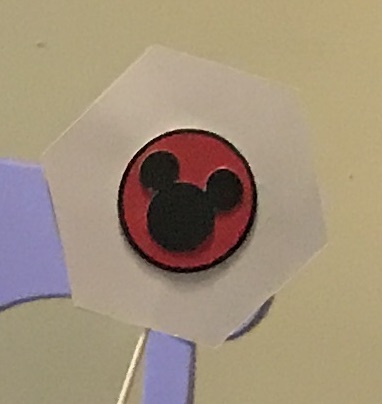
For the other part of the centerpiece, I used grey cardstock to create a nut and bolt (I think thats right, I’m not a nuts & bolts experts), then in the center of the bolt, I glued the black circle, then I layered the red circle on the black and glued the Mickey ears in the center. To make this image two-sided I just added the circles to other side (the same as the front).
For the last piece of the centerpiece I did black Mickey ears in cardstock and added the number four in yellow cardstock because that’s how old my son will be.
I used hot glue to glue everything together. Just remember to go over all the pieces when your done to get off all the tiny pieces of glue/strings. In the bottom of the red bucket, I glued styrofoam balls to the bottom of the bucket once I decided how I wanted my centerpiece to look. At first I was going to do checkered flags on each side of the centerpiece, but I decided I just didn’t like it and only put one in the front. You will use one styrofoam ball for each dowel.
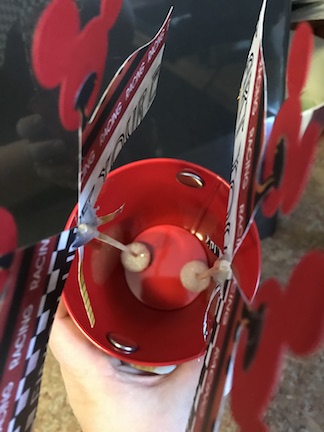
Then add the shredded paper and your centerpiece is complete!
Here are more post about creating a Hot Rod Diggity Dog Mickey and the Roadster Racer Birthday Party!
Photo Booth:
https://www.simplycraftylife.com/mickey-and-the-roadster-racers-birthday-photo-booth/
Water Bottle:
https://www.simplycraftylife.com/mickey-and-the-roadster-racer-birthday-idea/
Birthday Banner:
https://www.simplycraftylife.com/mickey-and-the-roadster-racers-birthday-ideas/
Happy Crafting!
