Happy Valentine’s Day Sign with Cricut

Note: As an Amazon Associate, I earn from qualifying purchases. If you click on a link from Amazon or another of my advertising affliates, I will earn a small commission at no additional cost to you. Please see my full disclosure policy here.
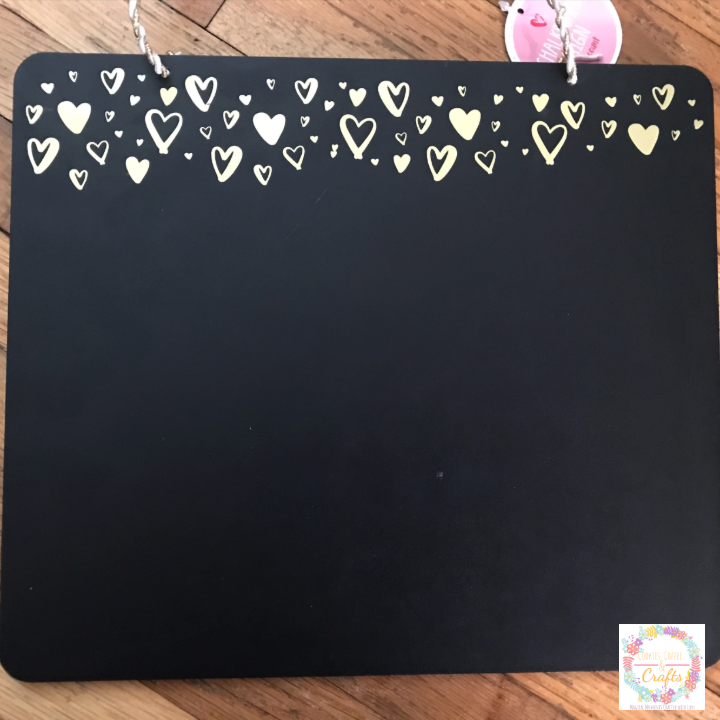
Valentines’s Day is usually always shades of red and pink. This Happy Valentine’s Day sign is a twist on the traditional. When I was talking my slow walk around the Target dollar spot (my favorite part of the store) I saw this black chalkboard with the gold hearts. Of course this would make a perfect sign and I had a friend in mine to make this for.
This page contains affiliate links at no extra cost to you. Please see my full disclosure here.
Let’s Create an Easy Cricut Happy Valentine’s Day Sign
In Cricut Design Space™ I uploaded the Happy Valentine’s Day SVG. Since this is for a friend I went for a classic Happy Valentine’s Day SVG.
Then size the SVG to fit your sign. I made this SVG 9.601 by 7.1. I wanted it to fill the sign.
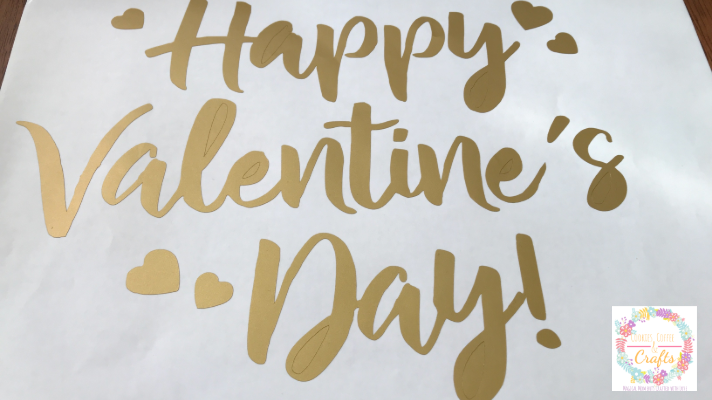
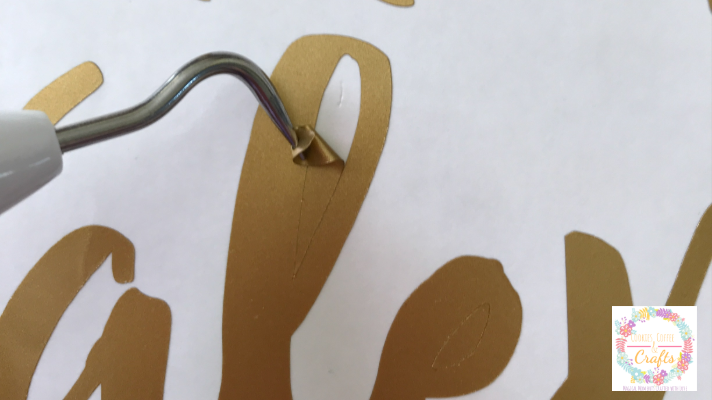
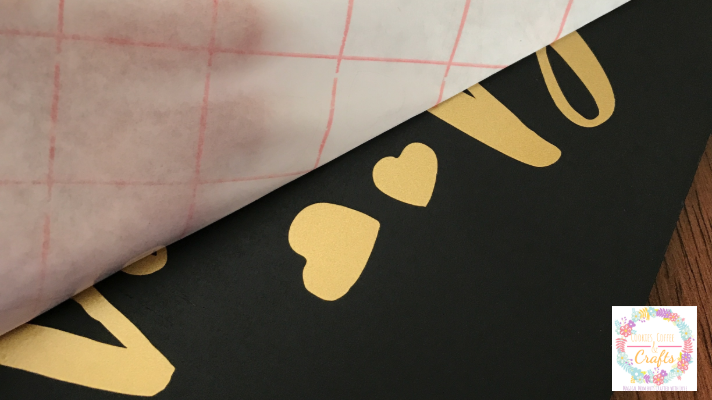
For this I used Gold Oracle 651 Vinyl. Cut your image (make sure your setting is on vinyl) and then weed the extra vinyl. This SVG was very easy to weed, which I love.
Then transfer your vinyl to the sign. Remember to pull the transfer tape slowly as you peel the transfer paper off with the vinyl on it.
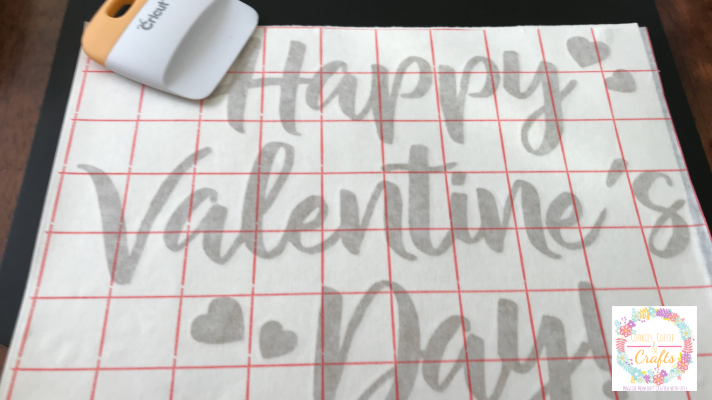
Place the transfer paper on the sign where you would like it, lay it down gentle at first to make sure that is where you want it. Then once it’s in the correct place, press the transfer paper down and use the Cricut Scraper to rub across the transfer paper to make the vinyl stick to the sign. Peel the transfer paper slowly as you remove it from the sign.

DIY Gold Happy Valentine’s Day Sign
This sign is perfect for anyone who loves gold. It’s sophisticated, pretty, and not your typical Valentine’s Day sign. I can’t wait to give it to my friend. I love giving homemade gifts and making someone smile. It looks great hanging on a door or could be used on a plate hanger.