How to Make a Fabric Banner with Cricut Maker
Note: As an Amazon Associate, I earn from qualifying purchases. If you click on a link from Amazon or another of my advertising affliates, I will earn a small commission at no additional cost to you. Please see my full disclosure policy here.
Have you tried cutting fabric yet with your Cricut Maker? Are you unsure about what to do? What blade to use? What mat to use? No Worries- I’m here with all the answers (only for cutting fabric with your Maker thought). I will take you through step by step of how to make a fabric banner with Cricut Maker.
Once you know how to cut fabric, you will be able to make many different things. I don’t sew, but I love no sew banners, garlands, and using fabric for different projects and the Maker is perfect for this.
This post contains affiliate links which means I may make a small comission of any sale that is made by clicking on any of the products with no cost to you. Your support is greatly appreciated.
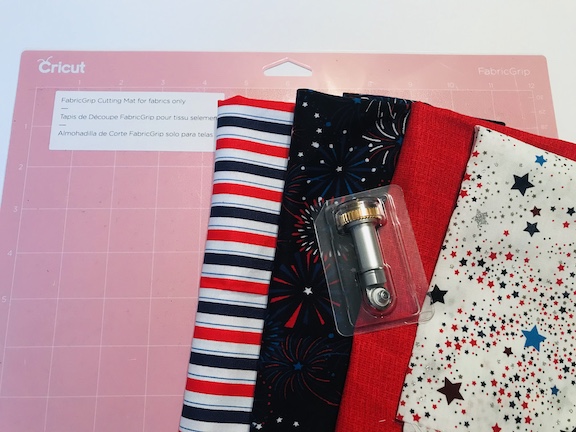
Supplies for Cutting Fabric with the Cricut Maker
Fabric Grip Cutting Mat
Cricut Maker
Rotary Blade
Fabric
Scissors
Let’s Create a No Sew Fabric Banner with Cricut Maker
In Cricut Design Space™ I created the banner. I searched for a pennant and chose this one. I chose to make the pennant for the banner about 8 inches long by 7 inches wide. Remember the cool thing about Design Space is you can make it the size you need for your banner space.
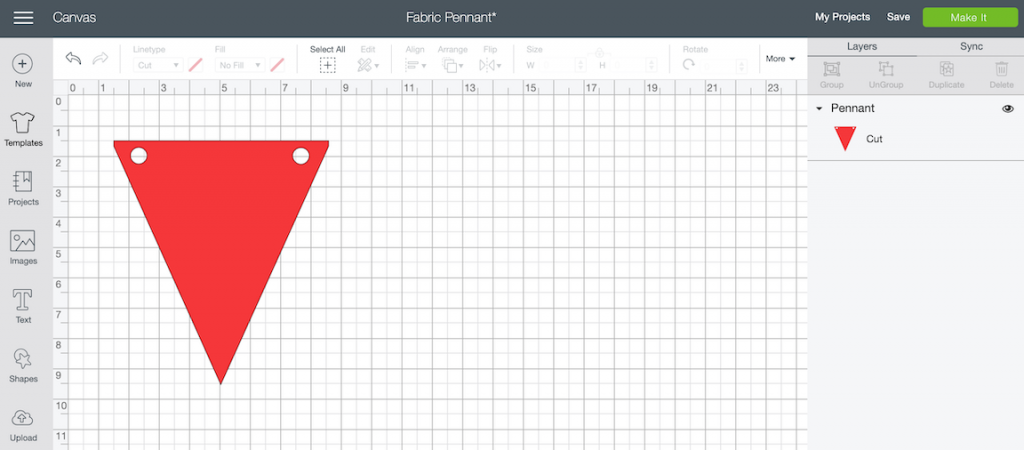
I only created one pennant because I cut one at a time. When I hit “Make It”, it will only cut one banner on a piece of 12×12 fabric. The one piece of 12×12 fabric will actually make 2 banners, you just have to cut it once and remove that banner. Then place the leftover piece of fabric onto the mat and cut again. It was easier to just cut pieces of 12×12 fabric in each design.
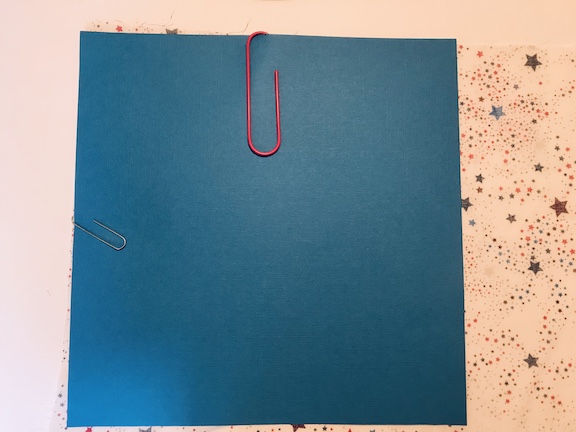
How to Cut with the Fabric Grip Mat for a Fabric Banner
When using the fabric grip mat, you want to make sure the fabric fits inside the lines on the mat. To make sure my fabric fits, I use a piece of card stock. Attach the card stock to the fabric with paper clips, then cut around the card stock for a piece of 12×12 fabric. It works great!
When placing your fabric on the fabric grip mat, make the sure the design side is facing down.
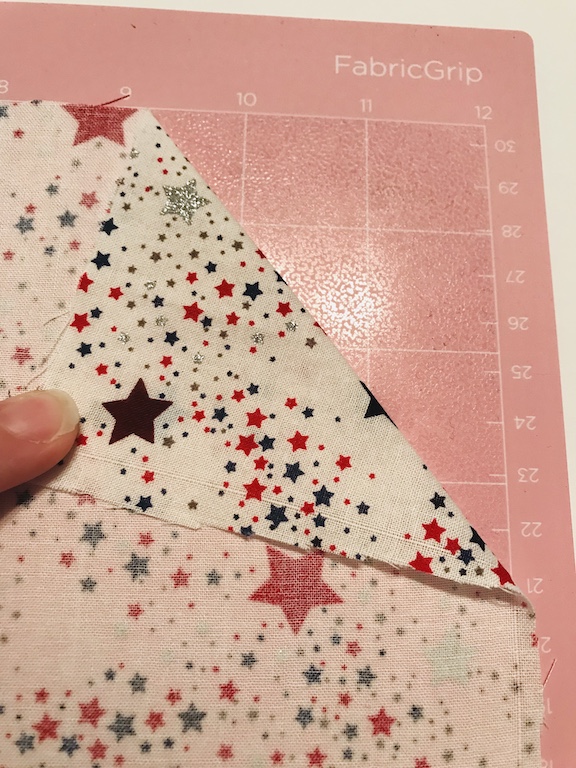
The Cricut Brayer is the best tool ever and it’s perfect for rolling out wrinkles in your fabric. The brayer works great with paper and vinyl too and makes unstucky mats completely useable. It’s my favorite Cricut Tool and was a complete surprise as my Mother’s Day gift.
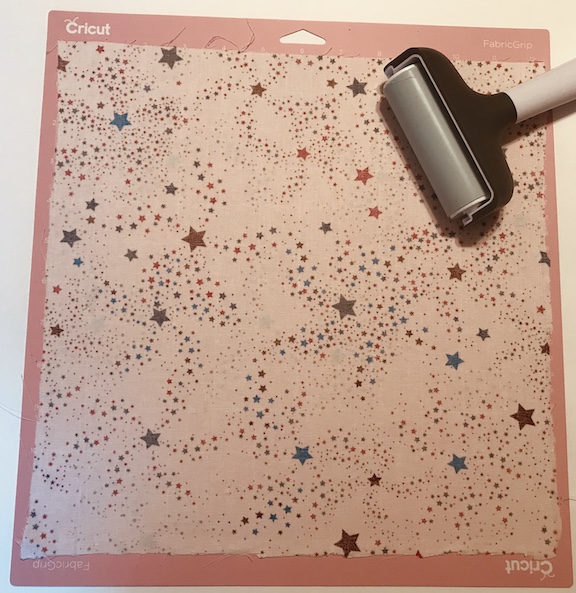
How to Cut Fabric with the Rotary Blade on the Cricut Maker
Now that your fabric is cut, it’s time to change the blade on your Cricut Maker. Put in the rotary blade (it came with your maker). Just open the blade housing and place it in. It’s so easy. If you forget to change the blade, when you hit make it and choose fabric, the Cricut will remind you to change it. How awesome is that!
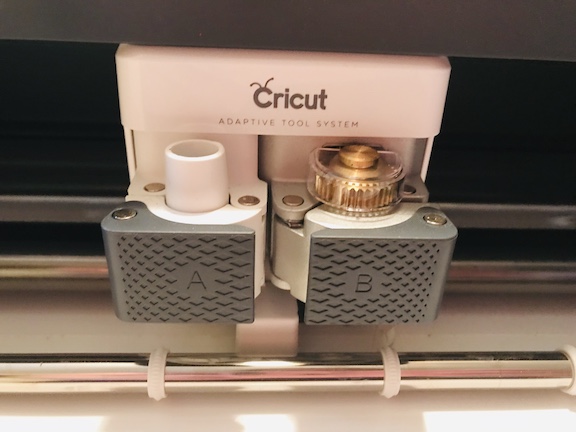
Your fabric is ready and your machine is ready so let’s cut some fabric. In Cricut Design Space, hit make it, choose fabric (I did medium fabric because it was all cotton material), load your mat and watch the magic happen.
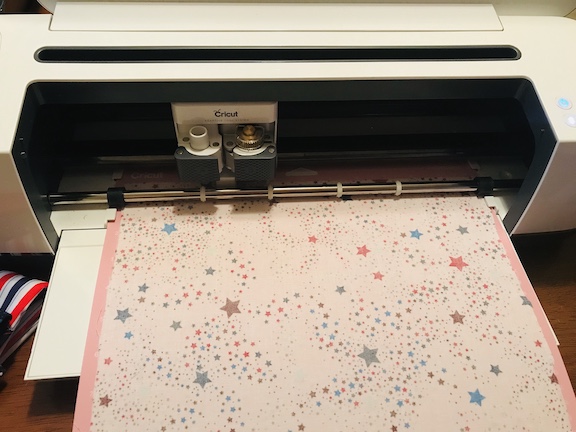
Here is the first pennant for your fabric banner. Honestly it will look like the fabric is not cut at all, but it is. Gently pull away the extra fabric and take your pennant off the mat.
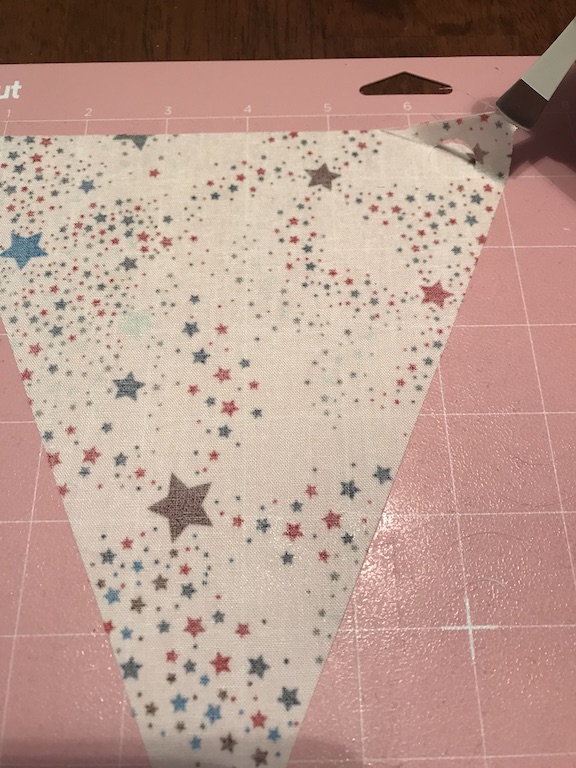
Keep cutting the pennants until you have enough for your fabric banner.
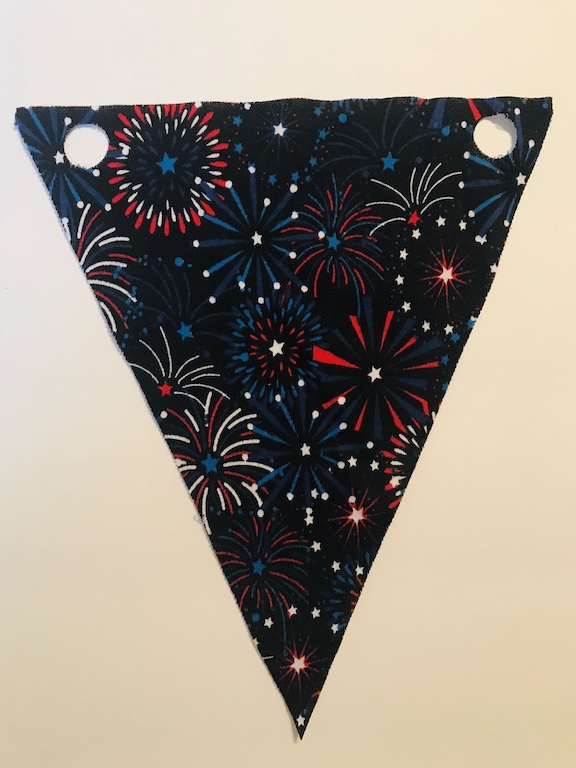
When all my pieces were cut, I ironed the pennants before I strung them on the twine. String your banner on twine or ribbon. I did add some glue the attach the pennants to the twine so they stayed nice and straight.

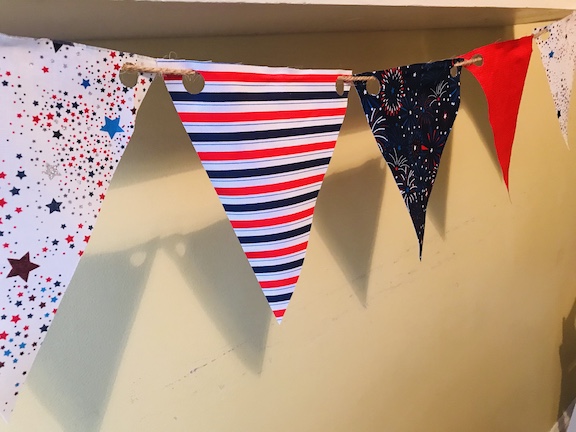
What a great addition to my 4th of July decorations.
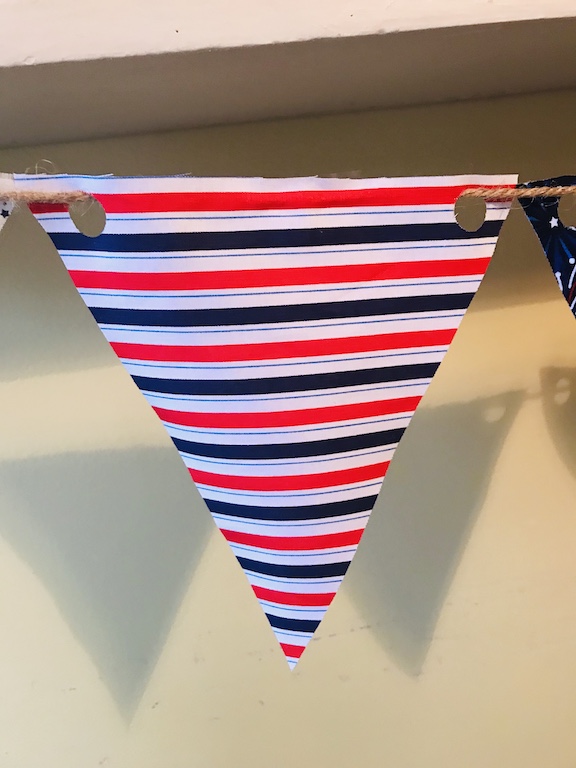
Cutting fabric with your Cricut Maker is easy! This no sew fabric banner is perfect for the holidays and birthdays. Just follow these steps and you will be a pro in no time!
