How To Use Smart Vinyl on a Sign
Note: As an Amazon Associate, I earn from qualifying purchases. If you click on a link from Amazon or another of my advertising affliates, I will earn a small commission at no additional cost to you. Please see my full disclosure policy here.
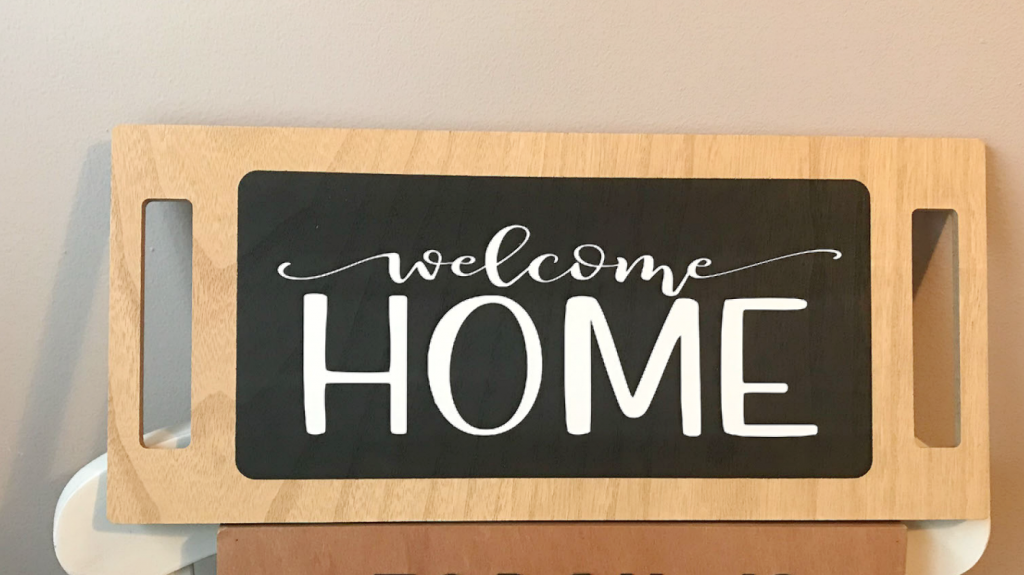
Next to scrapbooking, I love making signs. Who else loves to create signs for their home? I know I can’t be the only one- signs, signs, everywhere a sign! Making a sign for my new neighbors was a must to say “welcome to the neighborhood.” To create this sign, I’m going to show you how to use the smart vinyl on a sign from cutting it to applying it. I feel like a broken record, but I love love love the smart vinyl!
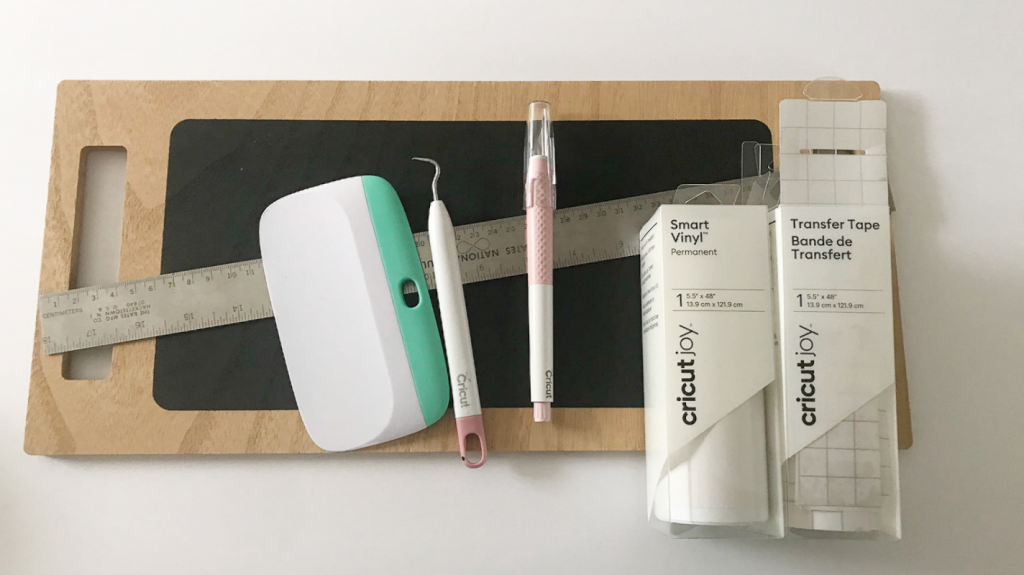
Materials for a Cricut Joy Sign
Blank Sign
White Permanent Smart Vinyl (Buy on Amazon/Buy on Cricut)
Smart Vinyl Transfer Tape (Buy on Amazon/ Buy on Cricut)
Cricut Brightpad
Scraper (Buy on Amazon/ Buy on Cricut)
Weeding Tool (Buy on Cricut or Buy on Amazon)
Cricut Joy (Buy on Cricut/Buy on Amazon)
True Control Knife ( Buy on Amazon/Buy on Cricut)
Ruler
Let’s Learn How to Use Smart Vinyl on a Sign
First thing is to choose the blank sign or piece of wood to make your sign on. I picked up this sign piece from the Target Dollar Spot and it’s been in my stash awhile. That’s a great place to find blanks for vinyl projects.
Next measure the sign and create a template in Cricut Design Space.
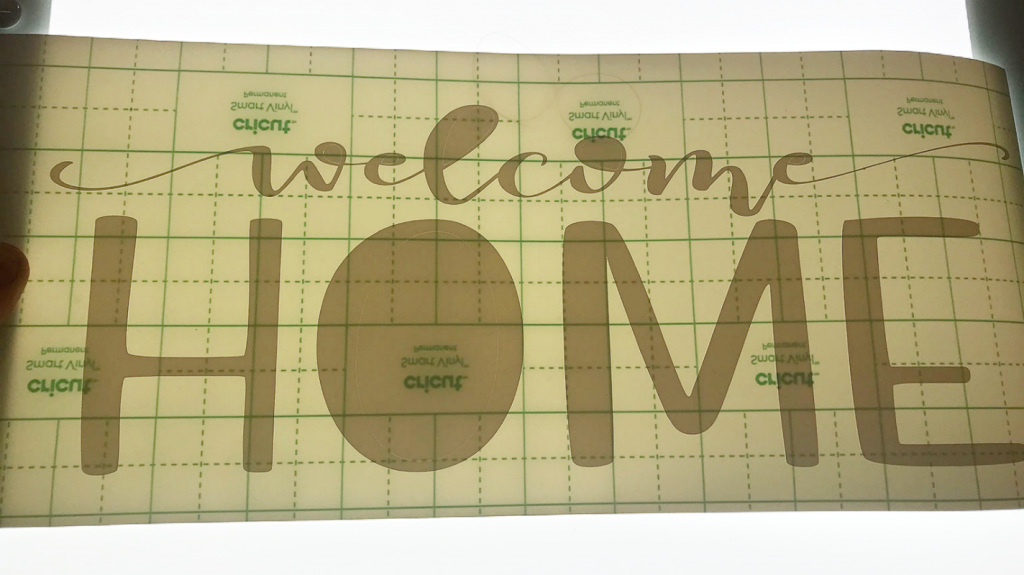
I searched Cricut Design Space, but I couldn’t find a saying that would fit right or that I liked for my sign. I found this Welcome Home SVG and knew it would work perfectly for this size sign.
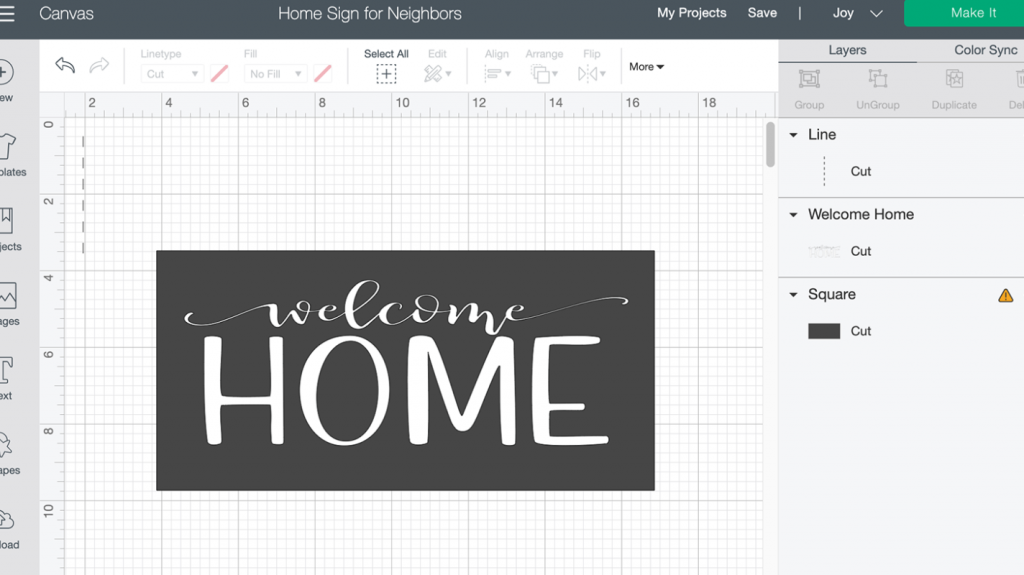
Uploaded the SVG to Cricut Design Space™ and clicked insert it into your project. If you’ve never uploaded an image before, don’t worry. This step by step guide to upload images will help you upload the image to Cricut Design Space™.
To play with the size of the image, click the lock on the image (this will allow you to easily change the size) and size it to fit on your sign.

The best thing about Smart Vinyl is that you don’t need a mat to cut it on and you can easily make a long sign using this type of vinyl without needing a larger mat. Just remember though that the Cricut Joy only cuts up to 4.5 inches wide.

Hide the template that you made and get ready to cut the design in permanent vinyl. I always use permanent vinyl on my signs for longevity.
How to Cut Smart Vinyl with Cricut Joy
1- Click Make It- make sure Cricut Joy is the machine chosen
2- Choose without a mat and click done

3- Click continue
4- Choose the Smart Vinyl Permanent as the material (screen should look like this) and load the vinyl
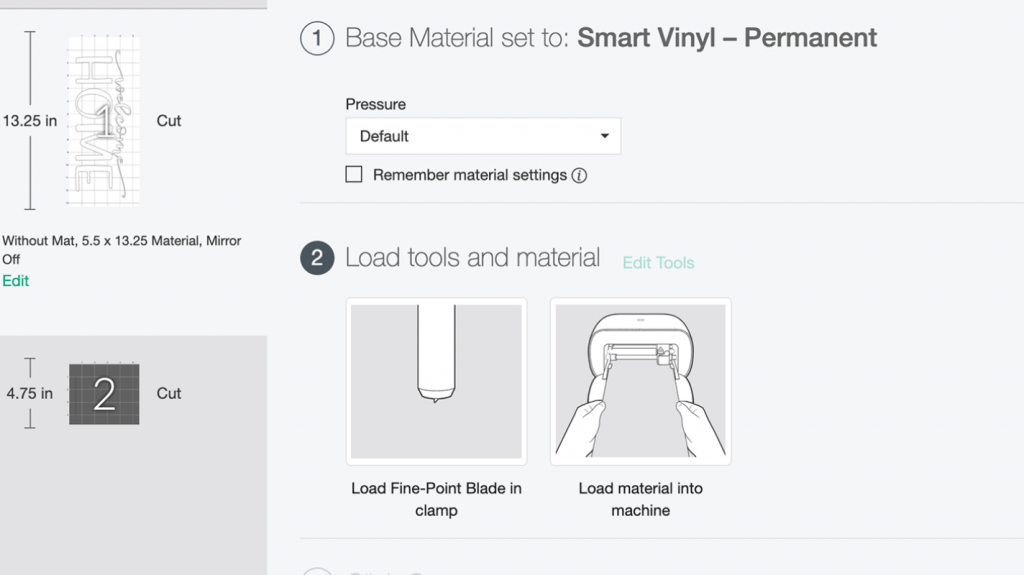
5- Click Go
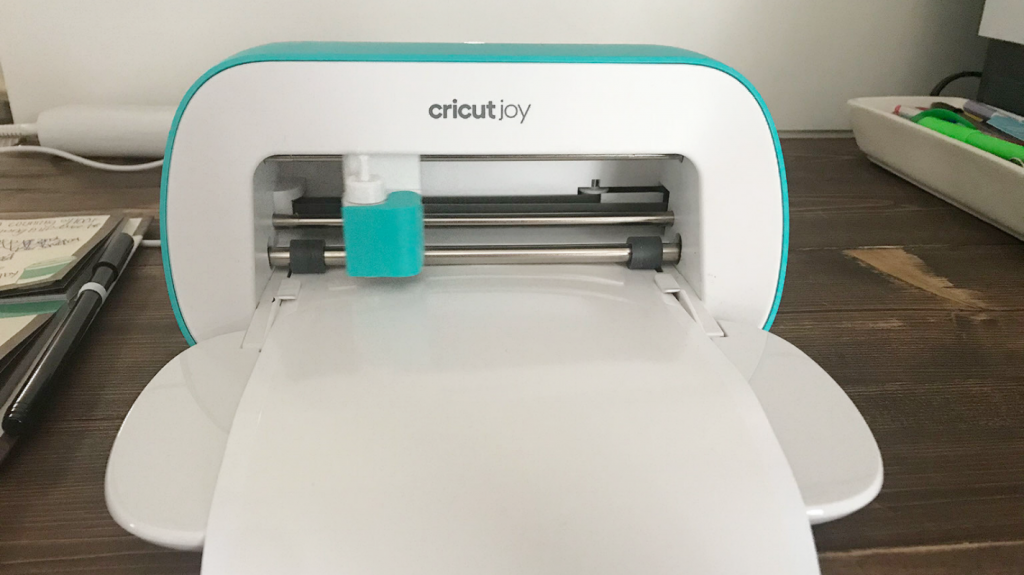
6- When the Cricut Joy is finished cutting, click unload (be prepared because the vinyl will just fall out) My Cricut Joy was close to the edge of my workspace and the vinyl just flew out onto the floor when it was finished.
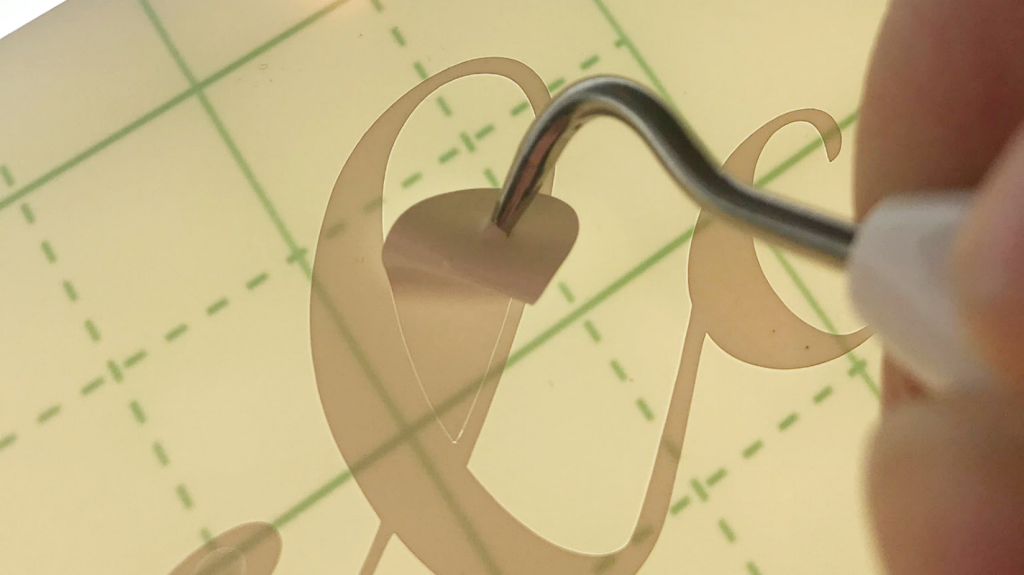
Weeding the Smart Vinyl
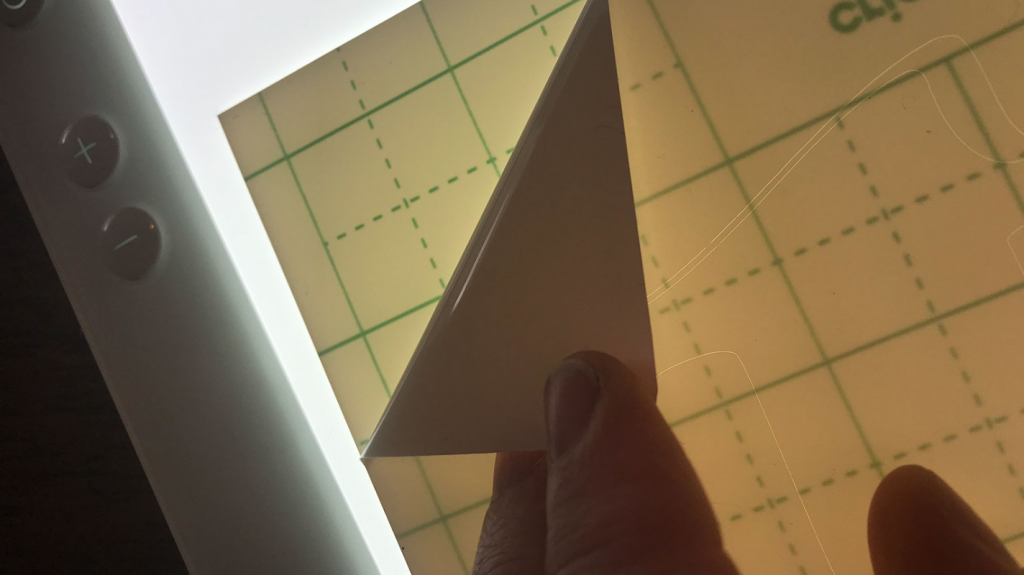
Before the vinyl can be applied to the sign, all the extra vinyl must be removed. For this I like to have my True Control Knife handy to cut away the extra vinyl as I remove it.
By doing this, your vinyl won’t get stuck together or ruin your design- just be careful where you cut it.
Start in the corner of the vinyl and gently peel it at an angle. Keep going until only the design is left.
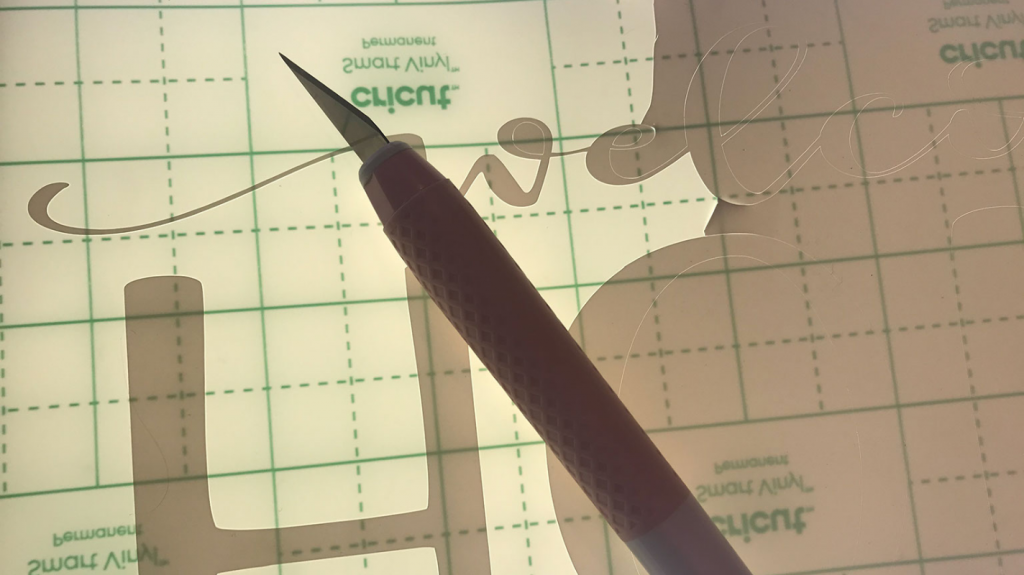
Next take the weeding tool and remove all the insides of letters like the l and the o’s to name a few. As fas as designs go this one is really easy to weed and larger designs are easier (so keep that in mind).
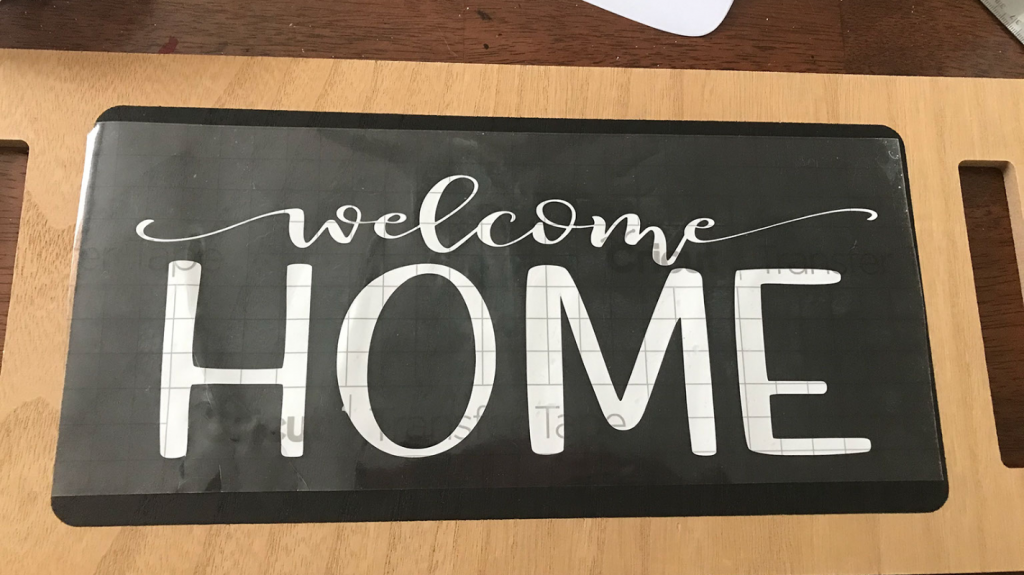
Using the Smart Transfer Tape
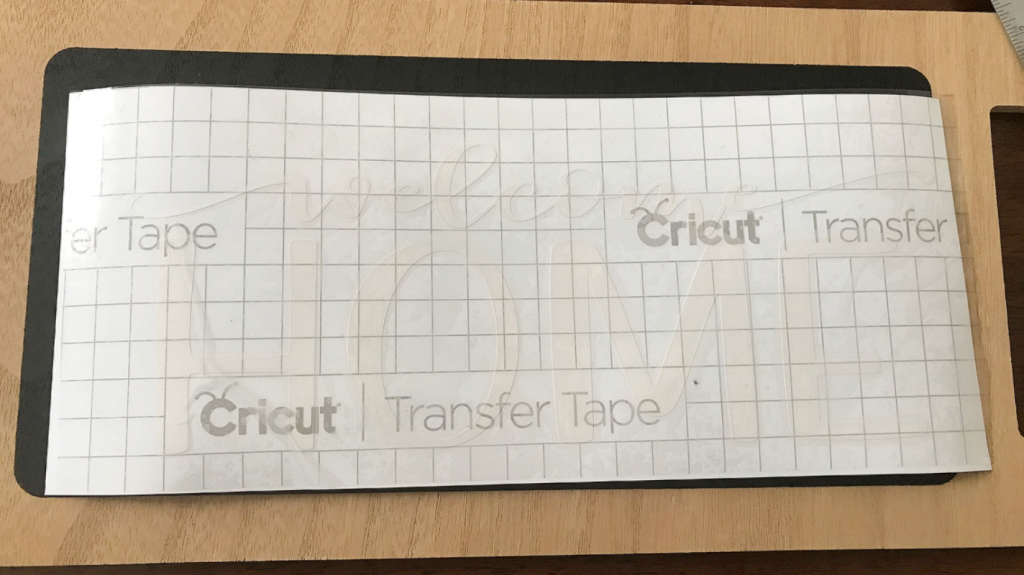
Apply the transfer tape over the vinyl. The Smart Vinyl and the Smart Transfer tape are the same width so you just have to cut the length of it and it’s a perfect fit. I like to start on one side and smooth down the transfer tape as I go.
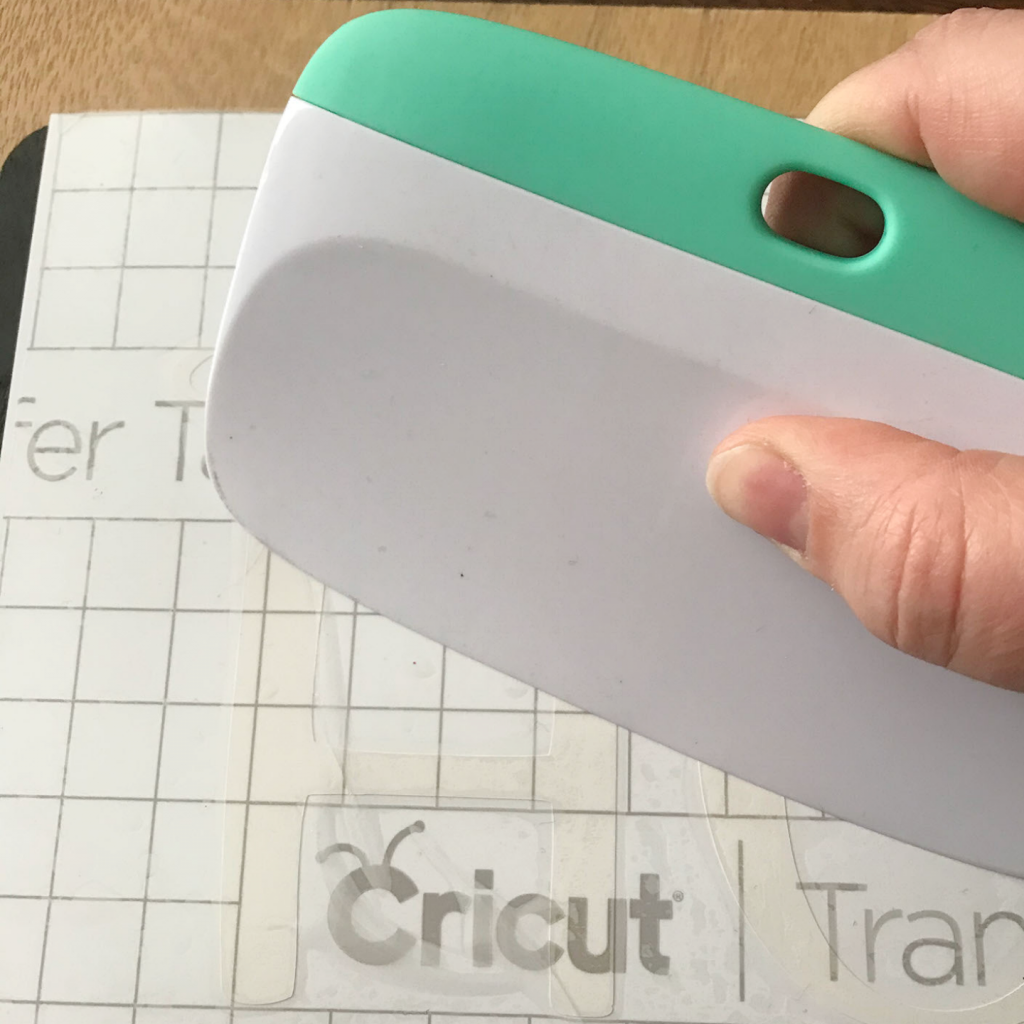
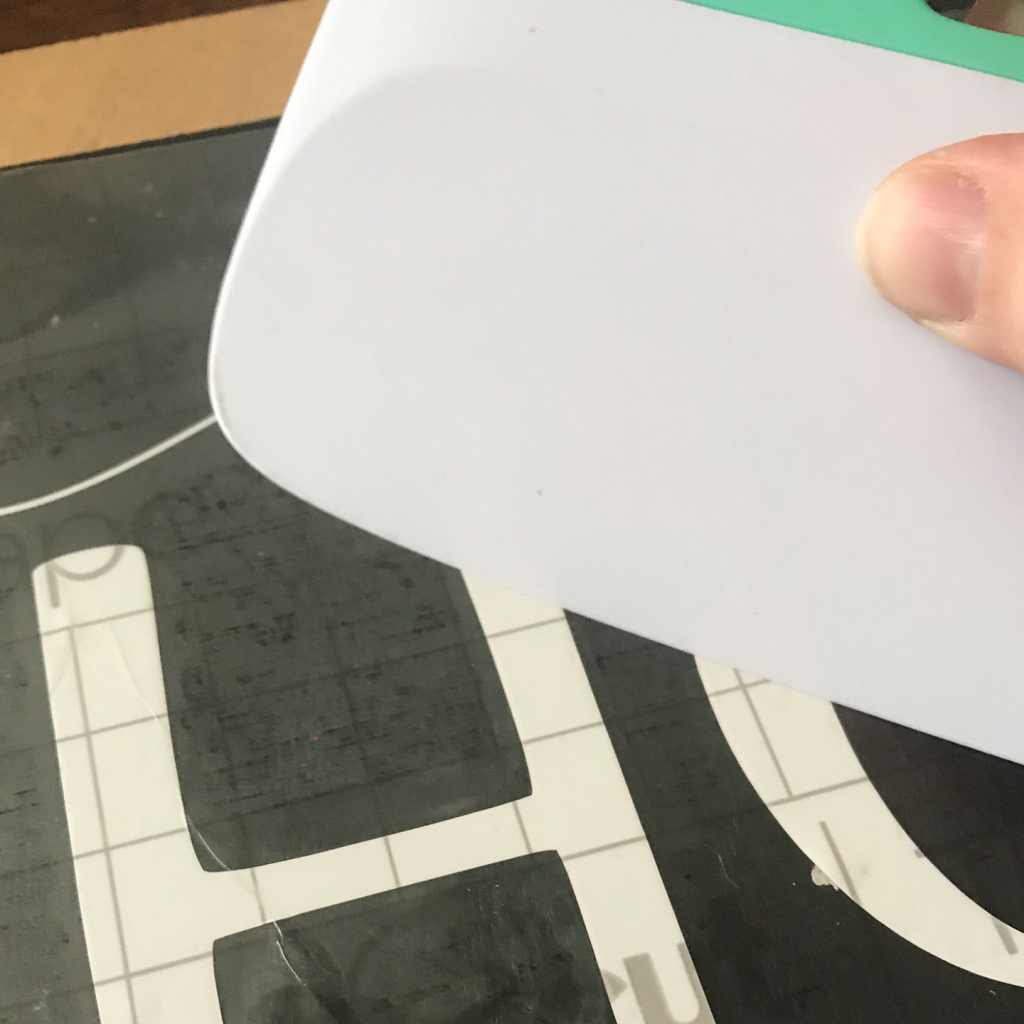
Take the Cricut Scraper (the larger scraper is perfect for larger designs) and start rubbing the transfer tape all over the design. Use a medium amount of pressure and I go over the design about 5 times.
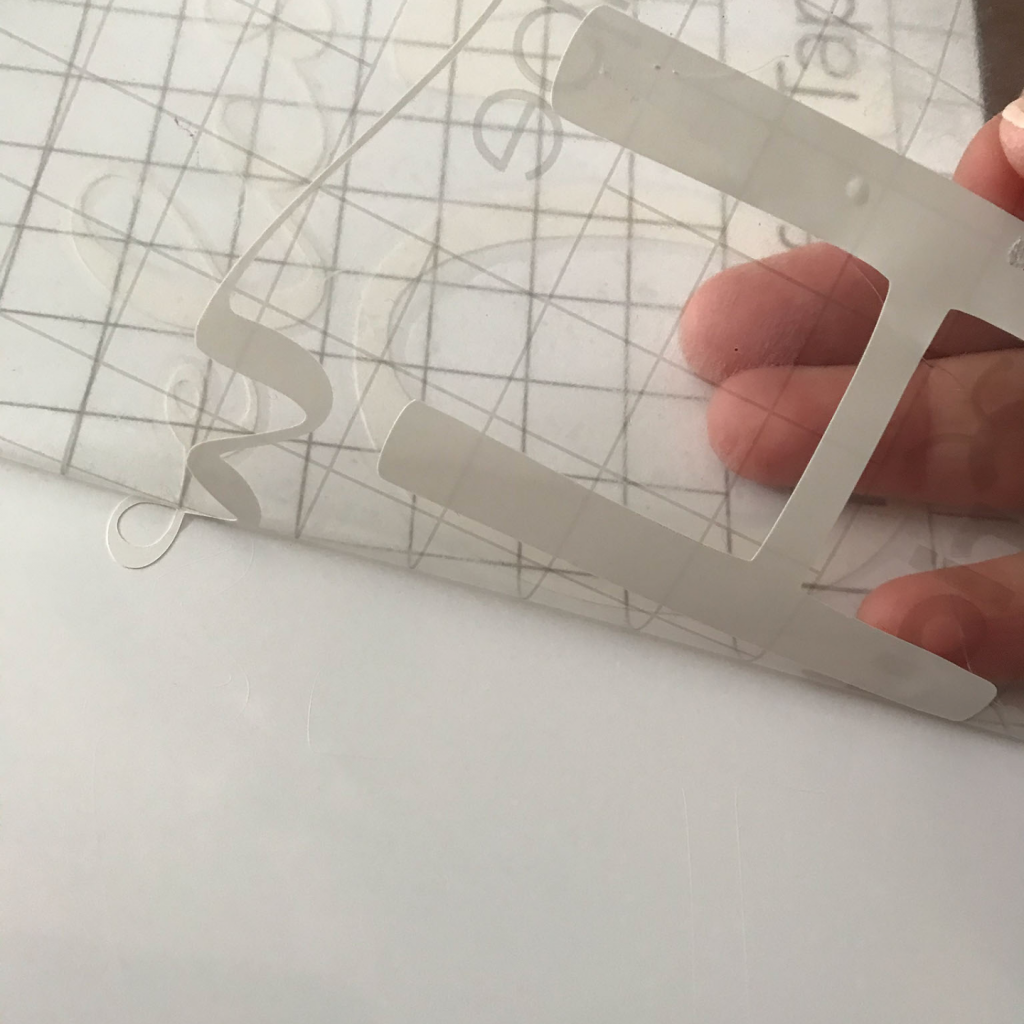
Starting in the corner again, start peeling the transfer tape slowly and carefully. Make sure the vinyl is sticking to the transfer tape. If it doesn’t, just lay the transfer tape back down and go over that spot with the scraper. Then continue on. Keeping doing this until the whole design is now on the transfer tape.
Gently lay the transfer tape with the design on the sign. I like to lay it gently so I can decide where I want it. By doing this, you can gently pick up the transfer tape and adjust it so the vinyl decal is exactly where you want it.
When you like the placement, take the scraperand start scraping over the entire design. I do this about 2-3 times.

After that, start in the corner again at an angle and start removing the transfer tape carefully.
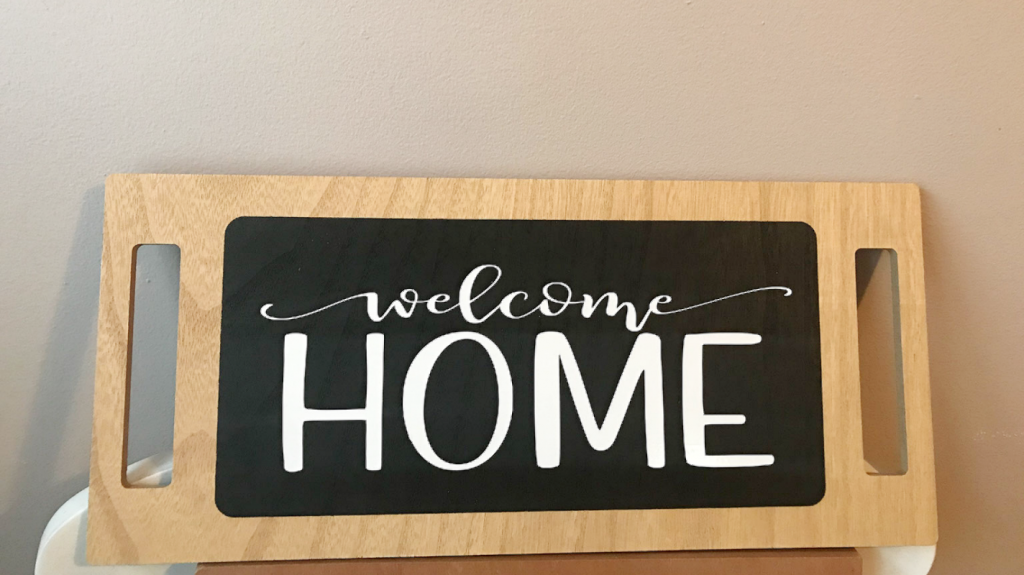
Wow! This is a long one, but now your sign is ready to decorate your home or bring joy to others. Are you ready to starting making more signs now? I really think my new neighbors are going to love their housewarming gift ( I know I would).
