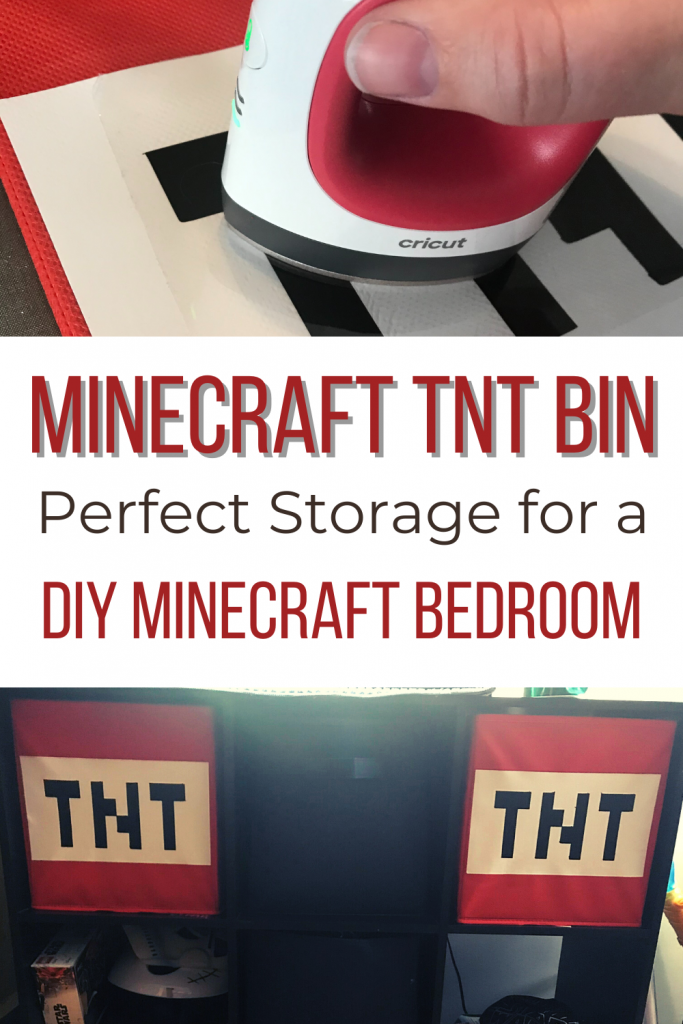
Minecraft TNT Bin for a DIY Minecraft Room
Note: As an Amazon Associate, I earn from qualifying purchases. If you click on a link from Amazon or another of my advertising affliates, I will earn a small commission at no additional cost to you. Please see my full disclosure policy here.
Minecraft has taken over my sons life and he loves it! We are working on creating the Minecraft bedroom of his dreams right now. One easy step is to transform a plain old fabric bin into a Minecraft TNT Bin. I’m all about DIYs and budgets so creating these bins is a money saver and really easy to do.
I will be creating these bins with my Cricut Joy, but these can be made without having a cutting machine. You can easily do this with printable vinyl and an iron.
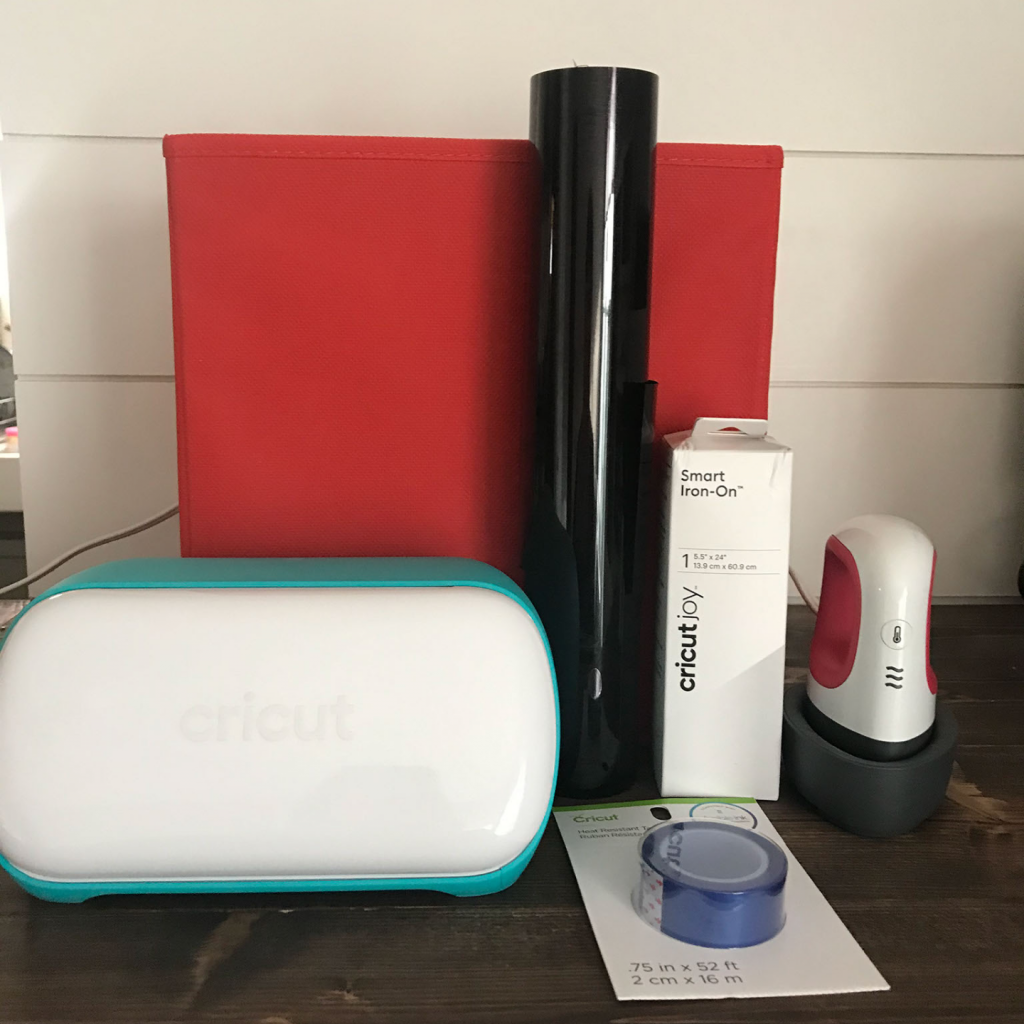
Materials for TNT Storage Box for a Minecraft Bedroom
Cricut Joy (Buy on Cricut/Buy on Amazon)
Cricut Easypress Mini (Buy on Cricut/Buy on Amazon)
Red Fabric Bin
Let’s Create a Minecraft TNT Bin for Bedroom Decor and Storage
I found these red fabric storage bins at Target and they are the typical storage bin for inside the storage cubby shelves. My son wants a place to put his Minecraft LEGOS because they are taking over his bedroom. His new cubby shelf will have some fabric bins and some cubes left empty so he can store his built LEGOS.
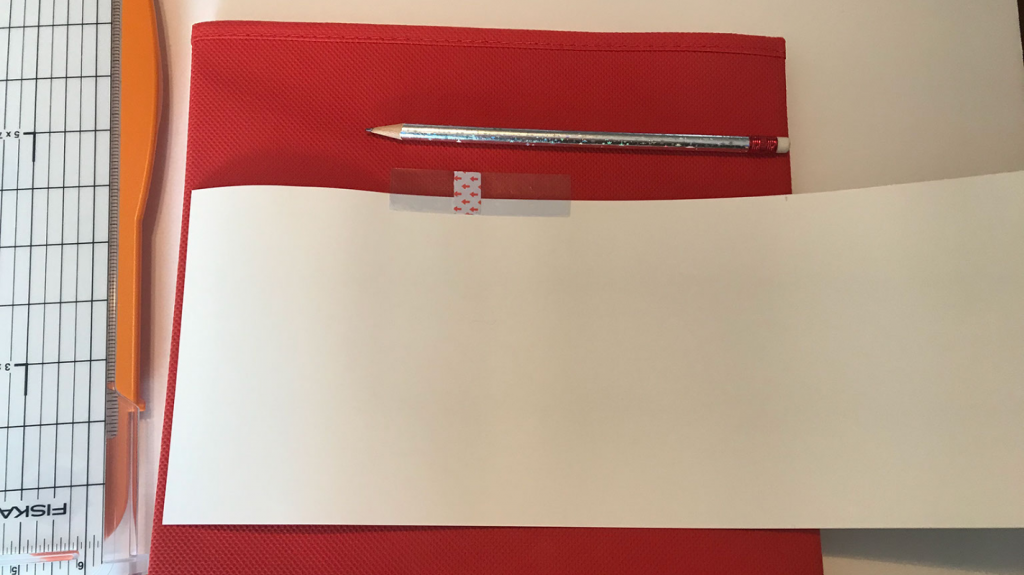
The Cricut Joy Smart iron on is the exact width you need for the fabric storage bin. Just measure and cut for the length (like in the picture below). For my bins,
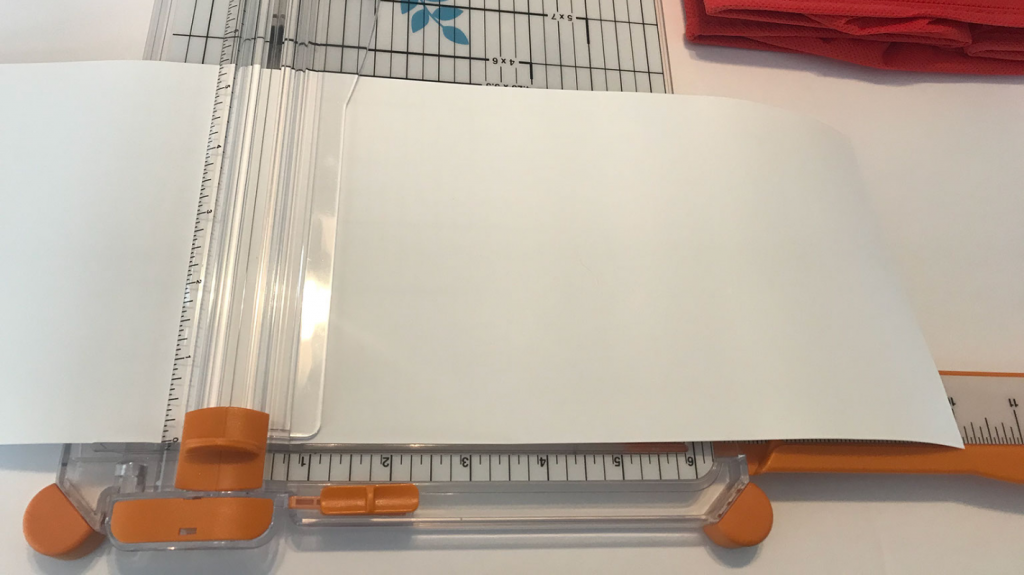
it was 10 inches long. I used my Fiskars Paper Trimmer to cut the iron on so it was nice and straight.
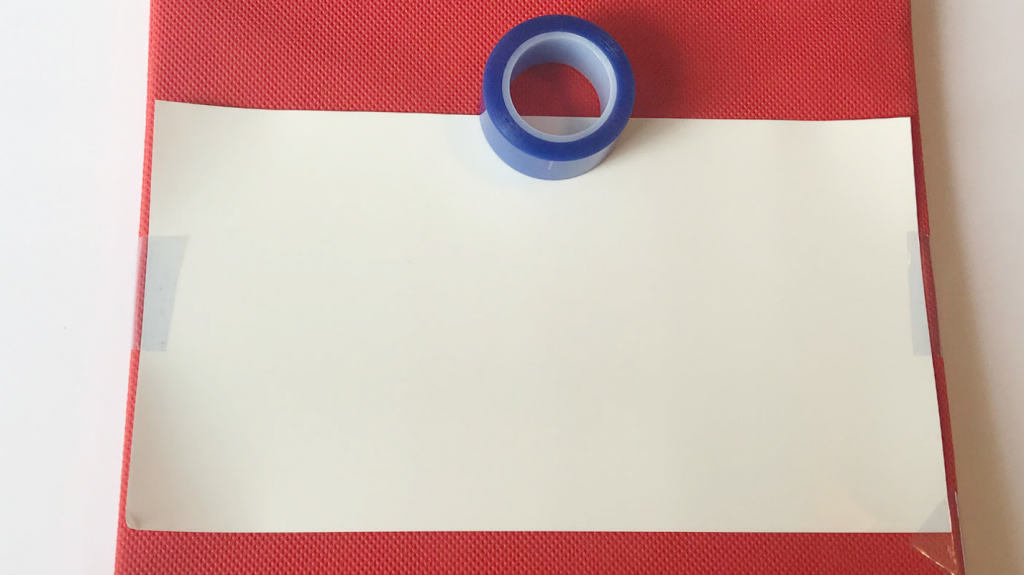
Place the white iron on correctly on the bin where you want it. Make sure the bin is laying flat and is collapsed (with the cardboard insert taken out). Use the Cricut Heat Resistant Tape to keep the white iron on in place. It’s my first time using the tape and it worked great. The tape can be used up to 400 degrees and leaves no residue behind. You can just heat press right over top of it.
I feel like creating these bins is a real trial and error. I found out you can use it on low heat, but press longer or you can use medium heat and press for the 25 seconds. Learn from my mistake, but medium heat will burn your fabric bin. On the first bin, I learned that lesson and said “oops!” Also make sure you use parchment paper or some type of protective covering sheet. The second TNT storage bin went much smoother than the first.
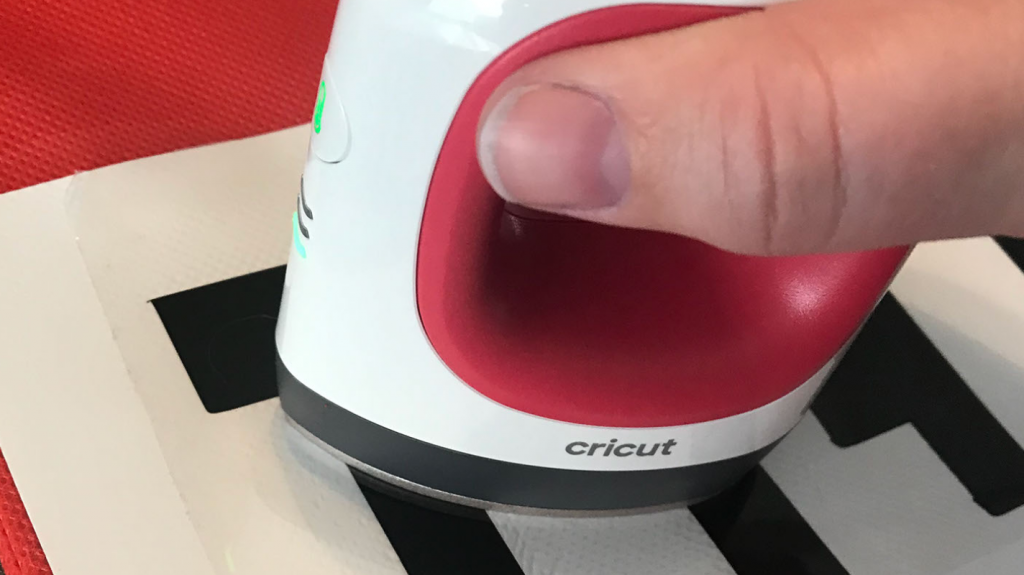
Directions for Cricut Easypress MIni:
Preheat for 5 S (put the parchment paper over the bin when you preheat)
Medium 25s with Constant Movement and Light Pressure
Cool Peel
I did place the fabric bin on top of the EasyPress Mat when I pressed the storage bin designs.
Creating the TNT for the Minecraft Storage Block
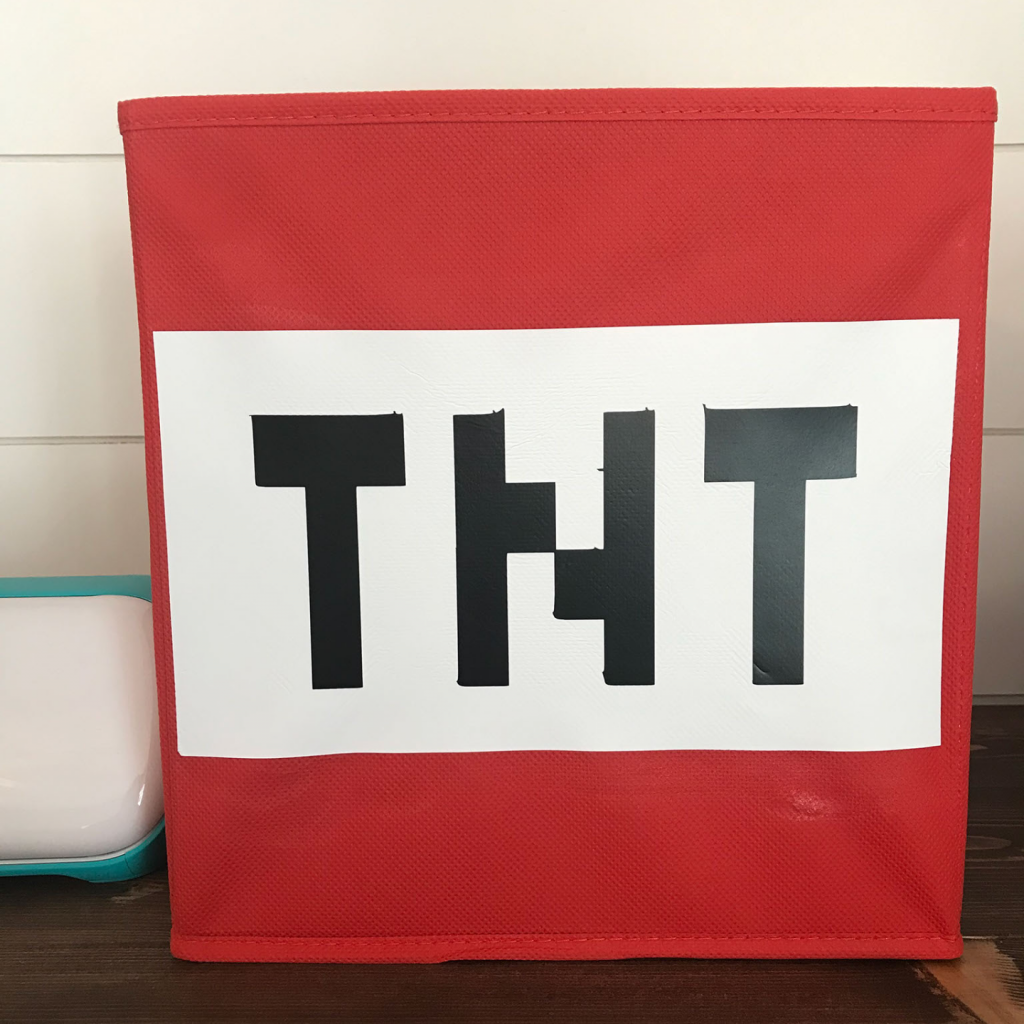
Once the white rectangle is adhered to the fabric bin, it’s time to start making the TNT for the Minecraft storage cube.
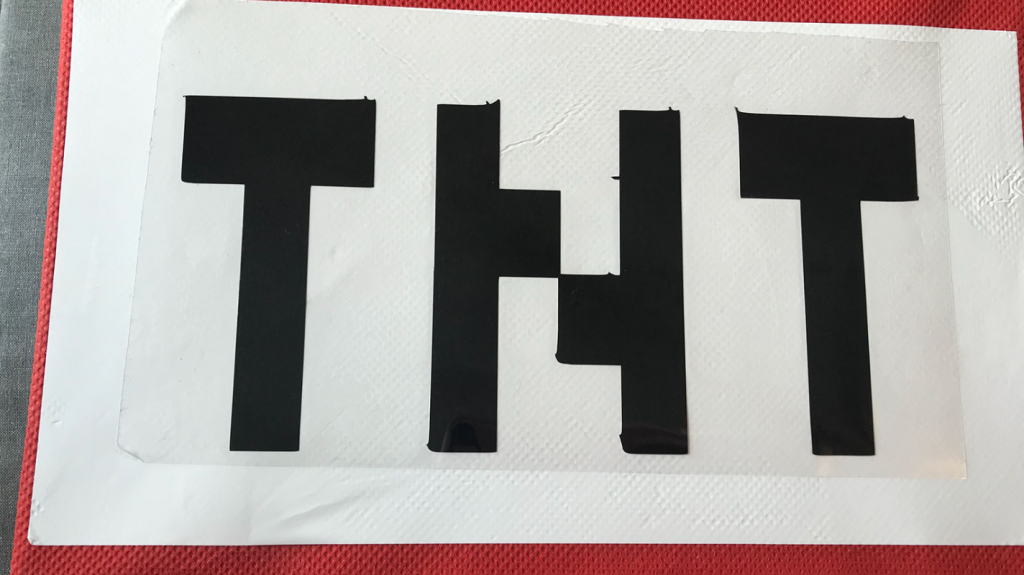
I uploaded the TNT image to Cricut Design Space™ and cut it out using my Cricut Joy. For the TNT image, I used an image and cleaned it up. So it had a few small pieces still attached. For some, I removed them with the Cricut True Control Knife Kit that were large and easy to cut and peel off.

Remember to turn mirror image on and cut the design with the shiny side down on the mat. Then remove all the extra iron on.
Lay the TNT design on top of the white iron on (already on the Minecraft fabric cube) and apply the design using the same steps above.
The TNT Minecraft bins are a great addition (or start) to a Minecraft bedroom. My son is really excited to use his new storage cubes and for his Minecraft themed bedroom.