No Sew Ribbon Flowers with Buttons
Note: As an Amazon Associate, I earn from qualifying purchases. If you click on a link from Amazon or another of my advertising affliates, I will earn a small commission at no additional cost to you. Please see my full disclosure policy here.
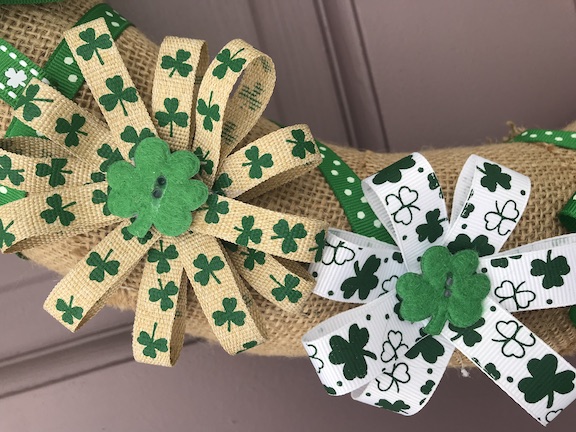
One thing I love to craft with is ribbon. I love everything about ribbon. I came up with the idea to make no sew ribbon flowers with buttons with some leftover ribbon I had from my St. Patrick’s Day Ribbon Wreath. The button aisle is not one of my regular aisles at the craft store, but now it is! I was so happy when I found shamrock buttons.
This post contains affiliate links which means I may make a small comission of any sale that is made by clicking on any of the products with no cost to you. Your support is greatly appreciated.
Supplies for Ribbon Flower Tutorial:
Variety of St. Patrick’s Day Ribbon
Hot Glue Gun/Glue Sticks
Scissors
Cutting Mat
Ruler
Shamrock Buttons
The flowers can be made with any type of ribbon or buttons which is a project that I love to create because the possibilities are endless. All you need are matching ribbons and buttons! An advantage is the flowers can be used for a variety of decor from wreaths to hair bows/headbands to signs ornflowers in a centerpiece. Just use your creativity!
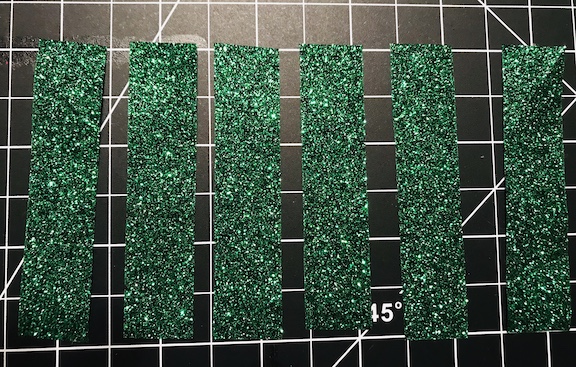
The length of your ribbons will depend on the size of the flower that you want to make. For small flowers I cut the ribbon about 4 inches and for larger flowers I cut the ribbon about 5 inches. The number of petals (aka the ribbon) is up to you. For my smaller flowers I did about 6 petals and for the largest flower I used 12 petals.
Let’s Create No Sew Ribbon Flowers with Buttons
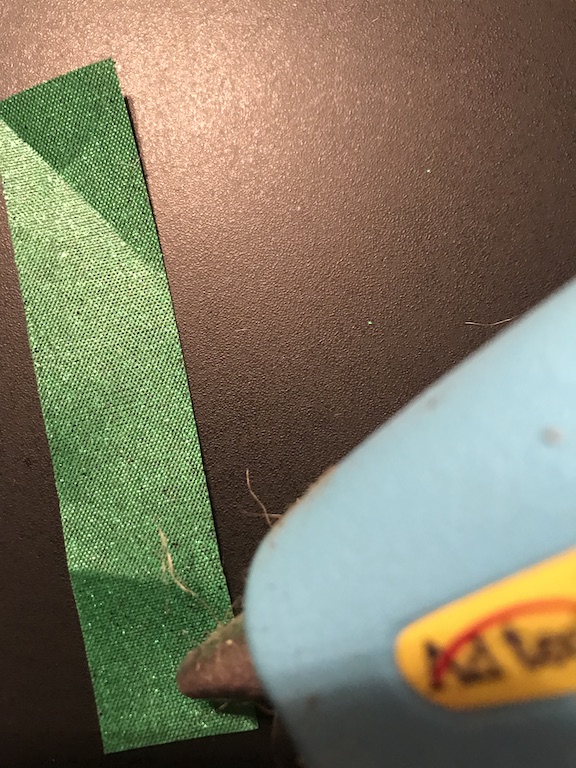
The steps to make these are really simple. Cut your ribbon the length that you would like, I love using my craft mat because it has a ruler right on it and you can easily clean the hot glue off.
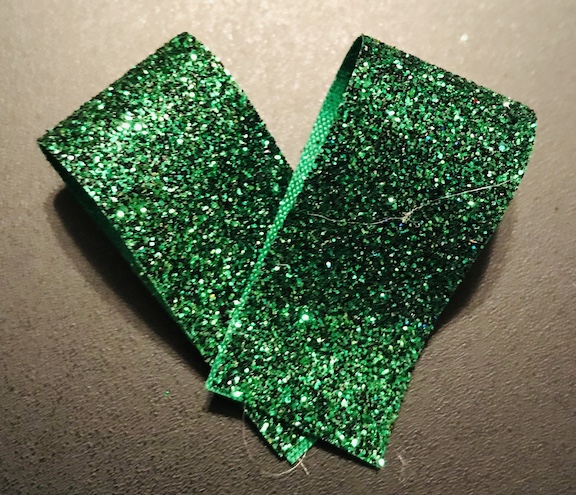
Fold the ribbon in half and hot glue the ends together.
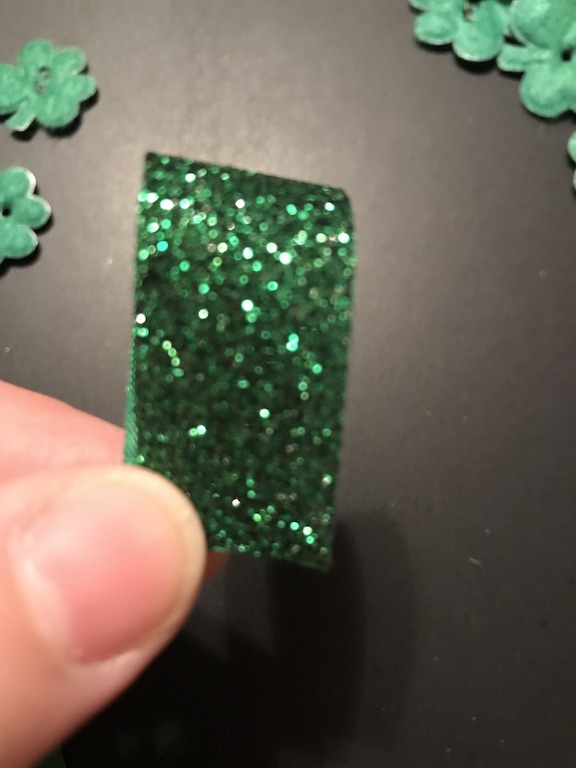
Just a dab of hot glue will do.
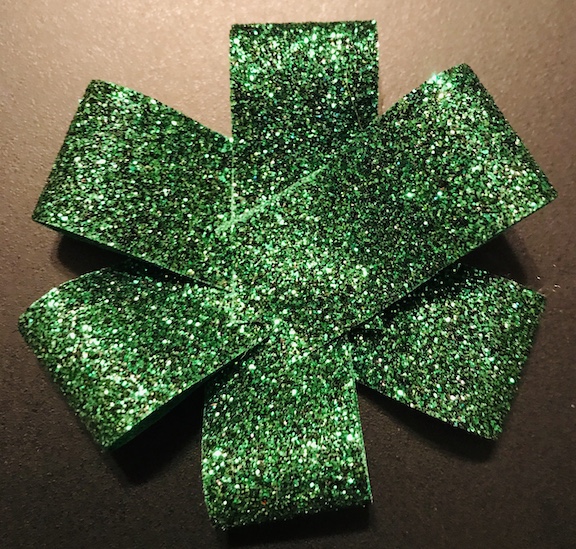
Once all your ribbon is glued in half, start glueing the ribbon pieces together in the shape of a flower.
As you glue the ribbon together add some to the top and sometimes glue at the bottom of the flower too. Before I added glue I would hold the ribbon either at the top or bottom to see which looked better for the flower.
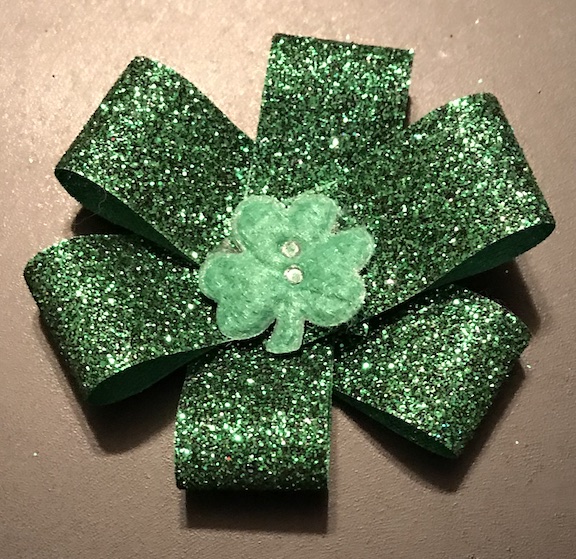
Last step is to add the shamrock button in the center.
Here are all the other ribbon flowers I made following these steps.
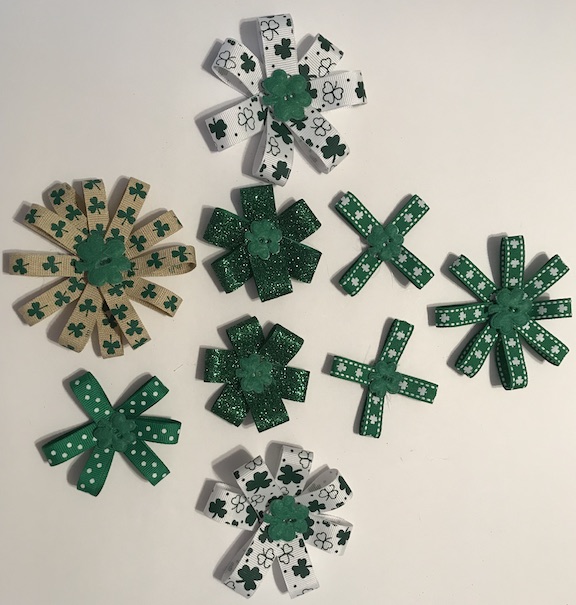
I bet you are wondering what I’m going to do with them- so I’ll give you a sneak peek of what I’m going to be using them for.