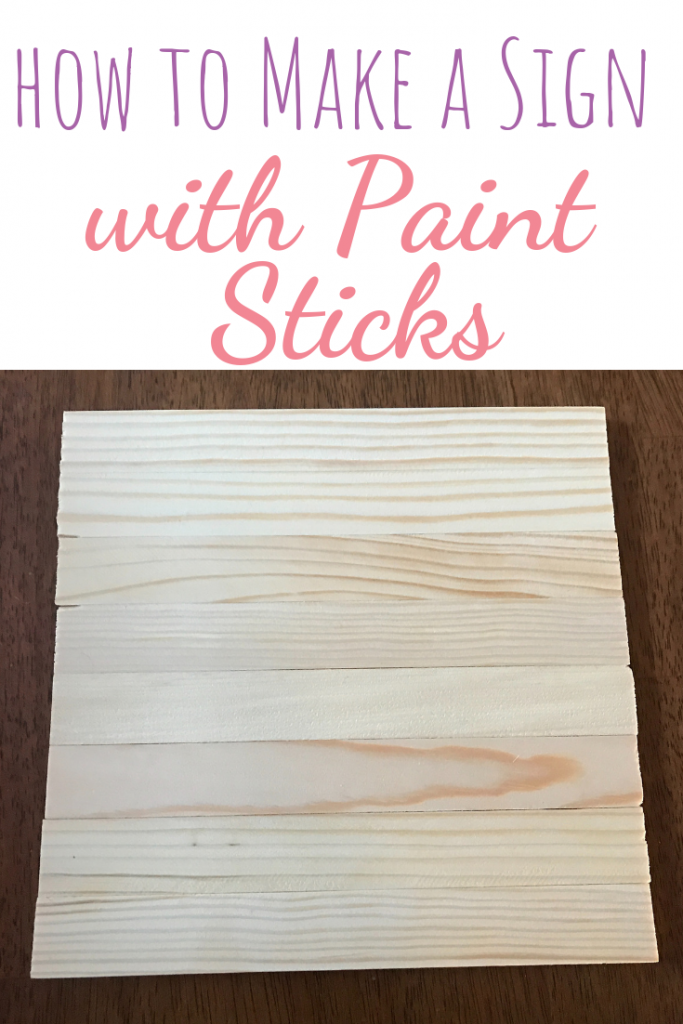
How to Make a Sign with Paint Sticks
Note: As an Amazon Associate, I earn from qualifying purchases. If you click on a link from Amazon or another of my advertising affliates, I will earn a small commission at no additional cost to you. Please see my full disclosure policy here.
I love wood projects and creating signs for holidays and season. Eventually the cost of wood starts to add up. Let’s learn how to create a Paint Stick Sign. Just buy a pack of paint sticks and wood glue. Then have fun decorating and creating for any occasion!
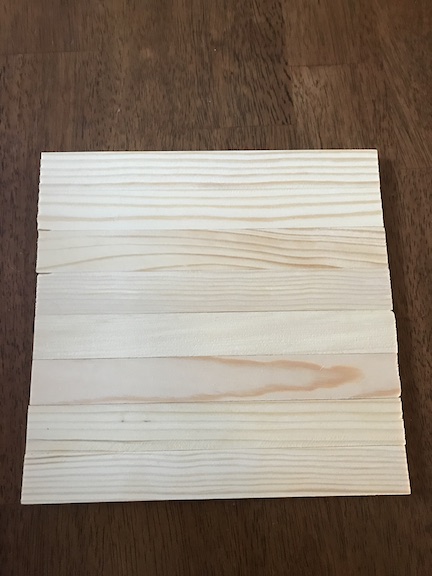
I wanted my sign to be a square so my husband cut the paint sticks on his Miter Saw and then lightly sanded the edges. It’s almost a perfect square. The paint sticks can be cut or used as is, it’s up to you!
Can you believe this beautiful Hello Spring Farmhouse Sign is made with paint sticks?

Supplies for a Paint Stick Sign
paint sticks
wood glue
ruler
saw
 Let’s Create a Paint Stick Sign
For my sign I used 8 paint sticks that are 8 1/2 inches long and two paint sticks 7 1/2 inches long.
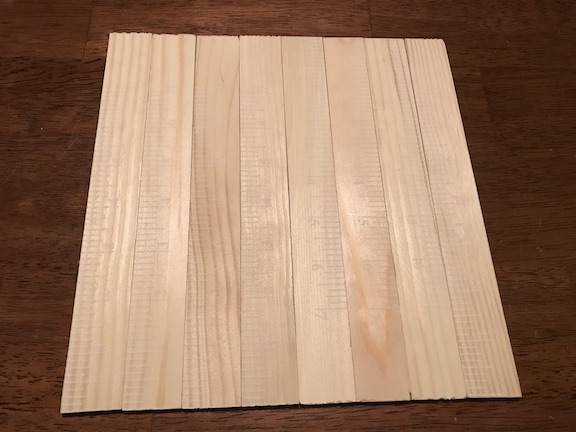
Line up the paint sticks with the ruler side facing you.
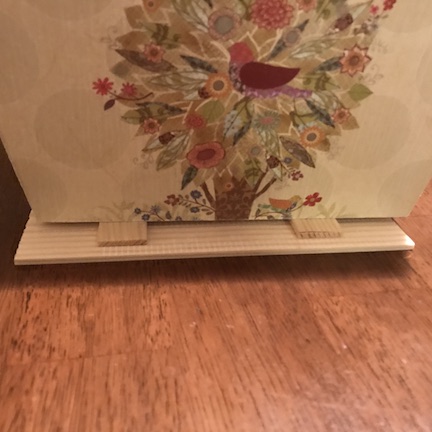
Make sure all the paint sticks are straight, then add glue to the 7 1/2 inch strip and glue it down onto the paint sticks. Do this at the top and bottom of the sign. I glued the horizontal boards about 2 inches from the top and bottom.

Then wipe away the access glue.

I did this at night so I placed something heavy on the sign to help the glue seal overnight.
The paint stick sign is ready for anything now! I think these signs will be great for holidays and seasons because they are simple to make and cheap! This won’t brake your budget for cute decorations! Remember the paint sticks can be cut and created in any size to make the perfect sign!