The Do’s and Don’ts of Weld in Cricut Design
Note: As an Amazon Associate, I earn from qualifying purchases. If you click on a link from Amazon or another of my advertising affliates, I will earn a small commission at no additional cost to you. Please see my full disclosure policy here.
Cricut Design Space can be tricky and has a lot of options. At first glance it can seem overwhelming and tricky, but once you learn a few of the basic tools you will be confidently using Design Space. Today I’m sharing the 5 Do’s and Don’ts of Weld in Cricut Design.
What does weld mean in Cricut?
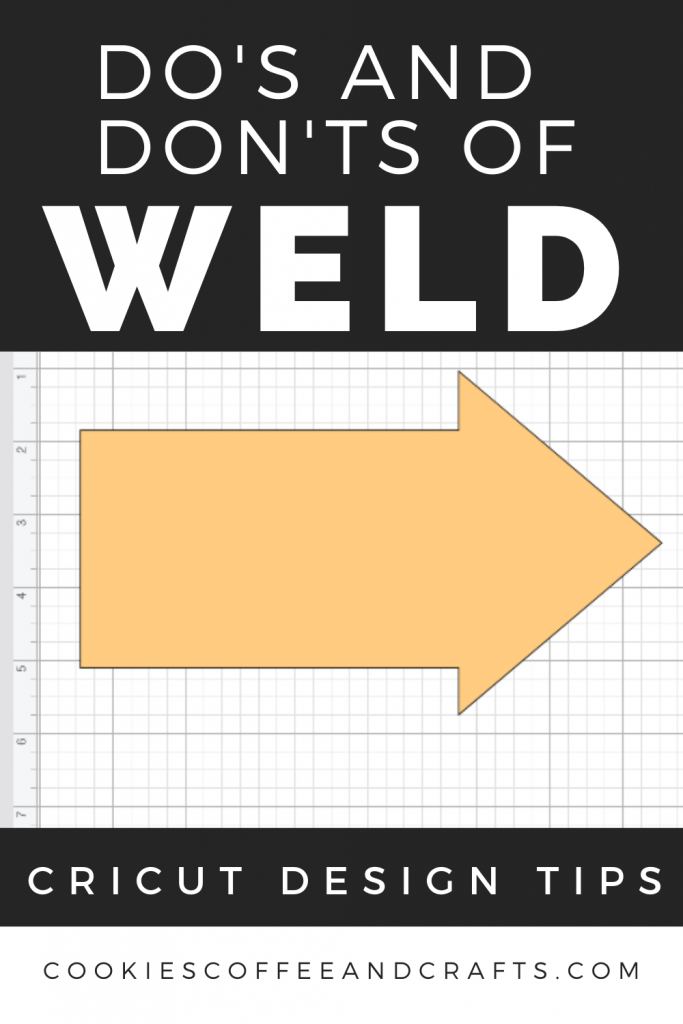
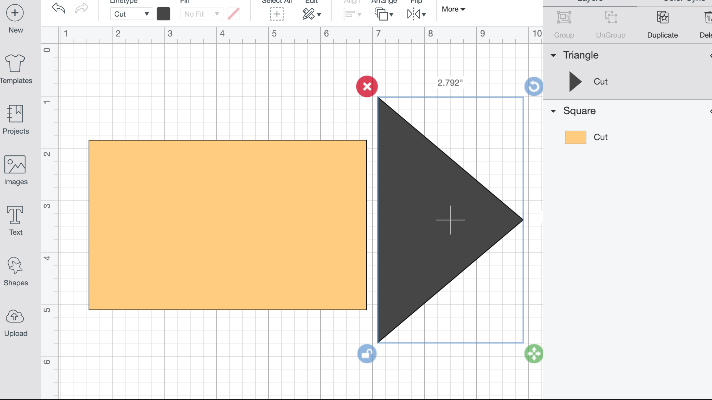
I had no idea what weld was when I started with my Cricut, but it comes in really handy once you know how to use it and what it does. To weld means to create a single layer or image from multiple ones. For example I took a triangle and rectangle to make an arrow shape. You can weld shapes and letters together to create new images (like my arrow).
5 Tips to Use Weld in Cricut Design
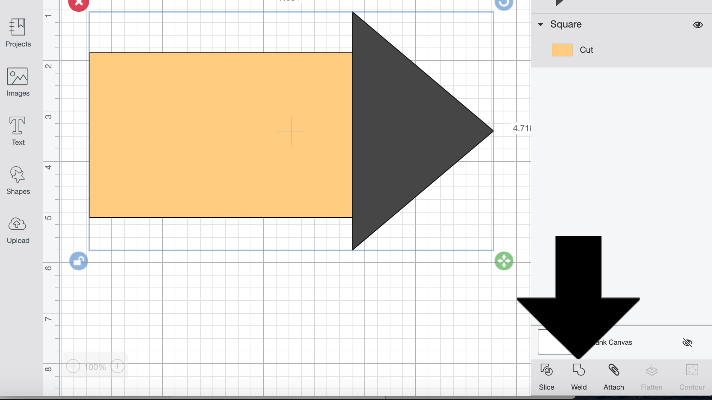
Weld Tip #1: Shapes Must Overlap to Weld in Cricut Design Space™
Do:
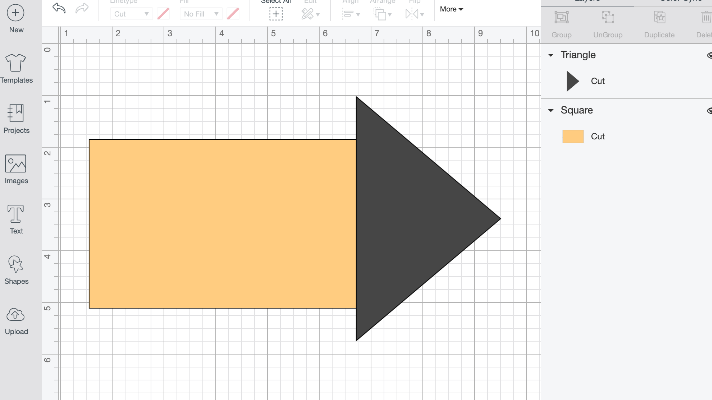
Don’t:
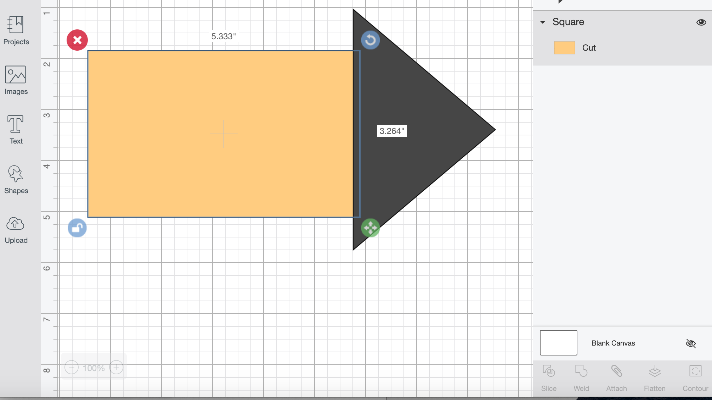
Weld Tip #2: Highlight All Images and Click Weld
Do: You will know it’s all highlighted correctly, when weld is available to click on in the bottom right of the screen.
Don’t:
Weld Tip #3: You Know Weld Works When the Image Becomes All One Color
Do:
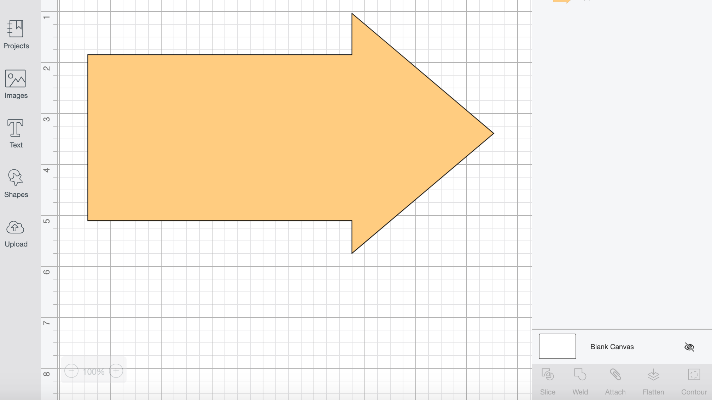
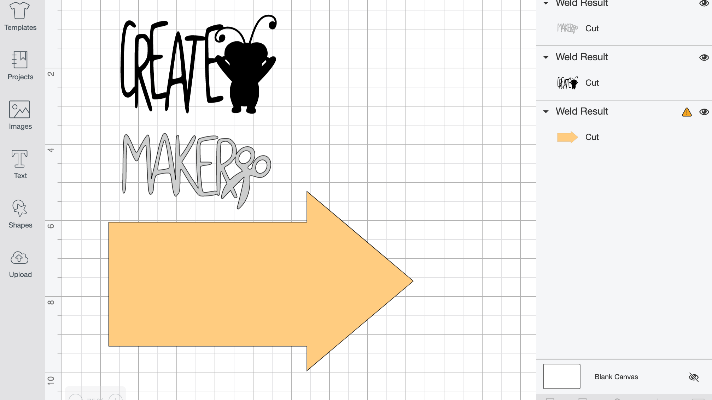
If this doesn’t happen to your shape, go back and make sure the shapes are overlapped and all of it is highlighted. Then hit weld. Also in the layers column, it will say weld result by the image.

Shop
from: Cricut
Weld Tip #4: Use Shapes, Words, Images to Create New Images
Do:
Remember to use all of the above tips to create the new images. Don’t skip a step because it won’t work.
Weld Tip #5: Use Weld to Attach Letters
Do:
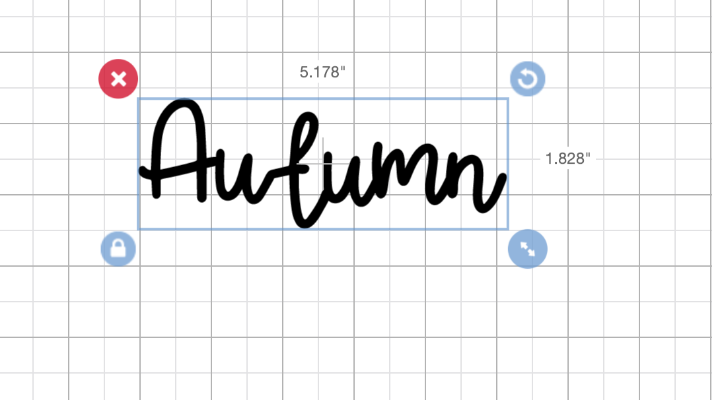
For cursive fonts, you can ungroup the text, move the letters so they are overlapping and click weld. This will connect all the letters into one word.
To make this easier, I find using FontLab Pad much easier for cursive text. This way I can use the cursive text without having to weld it. In FontLab Pad create the text and upload it into Cricut Design Space as an SVG.
Don’t leave the letters disconnected because it just doesn’t look right. I’ve made this mistake before and had to redo projects. Make sure the letters are truly overlapped before welding.
These 5 tips for welding projects come in handy. If you weld something and you don’t like it, just click undo until it’s back to the original images.
![]()
Weld works great for when you want something specific and can’t quite find it in Design Space. For my arrow, I wanted a chunky arrow with a wide tip. After looking though all the arrows, I realized I just had to make it myself. Slicing is another tool in Cricut Design Space™ and I have a Cricut Slice Guide: How To Cut Text Out of an Image too.
Are you ready to create some welding projects and get your Cricut machine cutting? I am!

Shop
from: Cricut