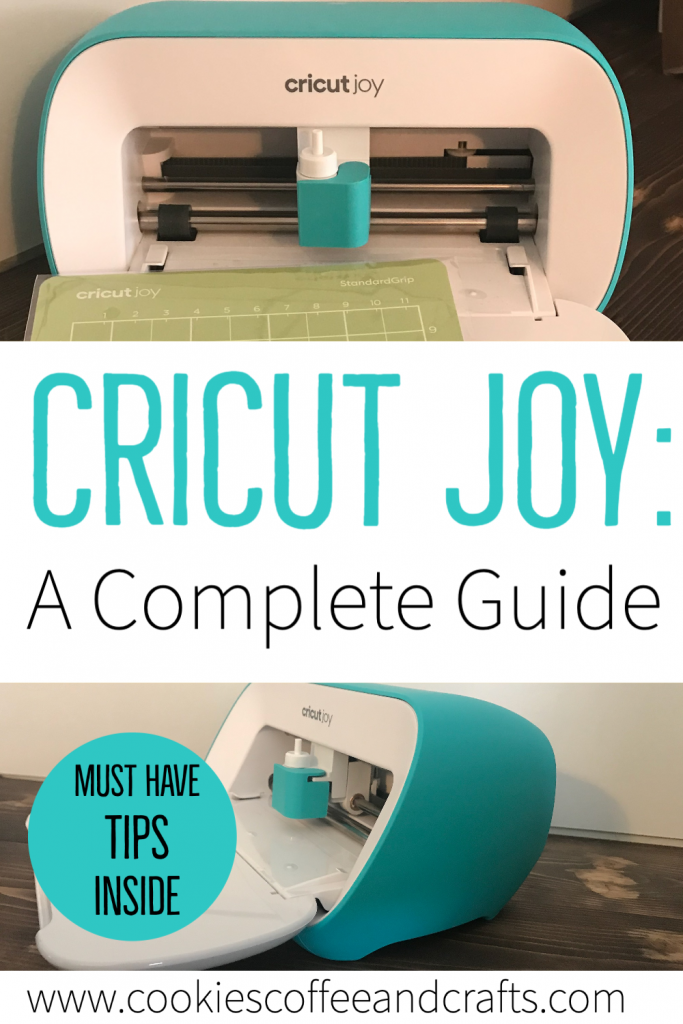
Cricut Joy: A Complete Guide
Note: As an Amazon Associate, I earn from qualifying purchases. If you click on a link from Amazon or another of my advertising affliates, I will earn a small commission at no additional cost to you. Please see my full disclosure policy here.
Can you believe that Cricut did it again with this adorable mini cutting machine. The Cricut Joy is the perfect name because it has brought me so much joy every time I use it. The cut is unbelievable and the smart vinyl is awesome. I’m sharing all my thoughts, opinions, and projects in this Cricut Joy: A Complete Guide.
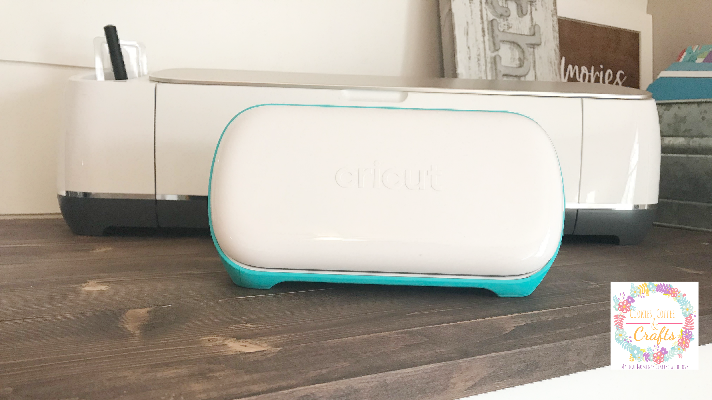
First let’s take a look at the Cricut Joy next to the Cricut Maker. Check out that size difference (the Joy is much lighter too). Now the Cricut Maker has a long list of materials it can cut that the Joy can not, but cutting wise both machines have the same precision.
If you find the Cricut Maker intimidating or are thinking about a Cricut machine, I highly recommend the Cricut Joy. It’s a great first machine to try out all the cool things Cricut can do. Once you fall in love (and you will), buy a Cricut Maker or Explore. I own an Explore, a Maker and the Joy, but Know I’ll be using my Joy a lot. Maybe even more than my Maker because it’s so convenient.
I craft at my kitchen table (which is now the school room too) so the Cricut Joy came at the perfect time. The size is perfect and allows me to cut smaller decals in vinyl or designs in paper (that I love for scrapbooking).
Introducing the Cricut Joy
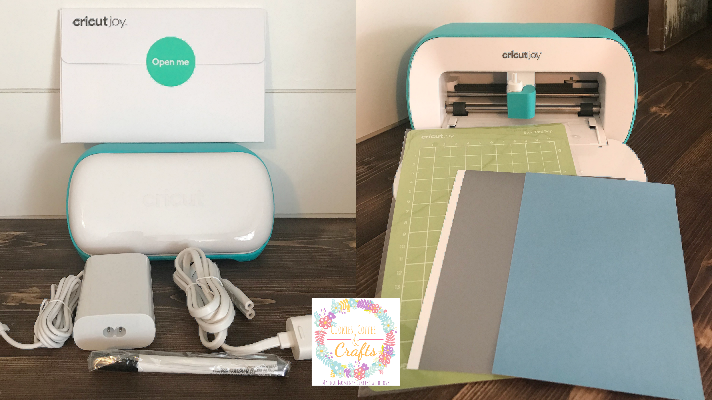
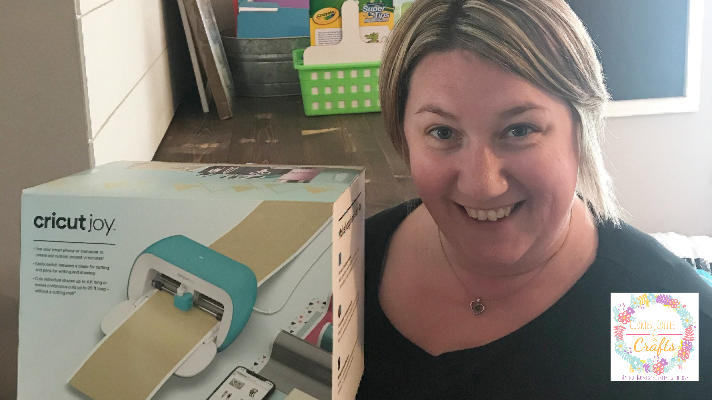
When you purchase the Cricut Joy- you get a blade, black pen and the standard grip mat, I didn’t know that (I should have done my research) so I was happily surprised to see it. I grabbed the Joy at Joanns before the world fell apart and many of the accessories were already sold out, so I was really excited to get the black pen.
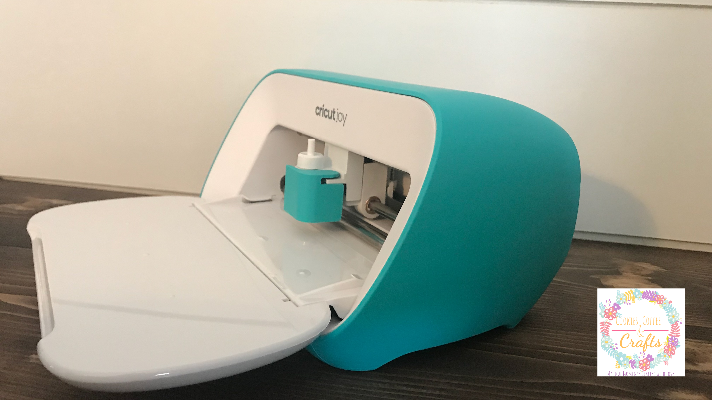
The Cricut Joy can cut 50+ materials- iron on, vinyl, card stock, Smart Materials (just to name a few) and can make super long cuts without a mat. It is 4. 5 inches wide. I have a new best friend for creating coffee mugs and my scrapbook embellishments.
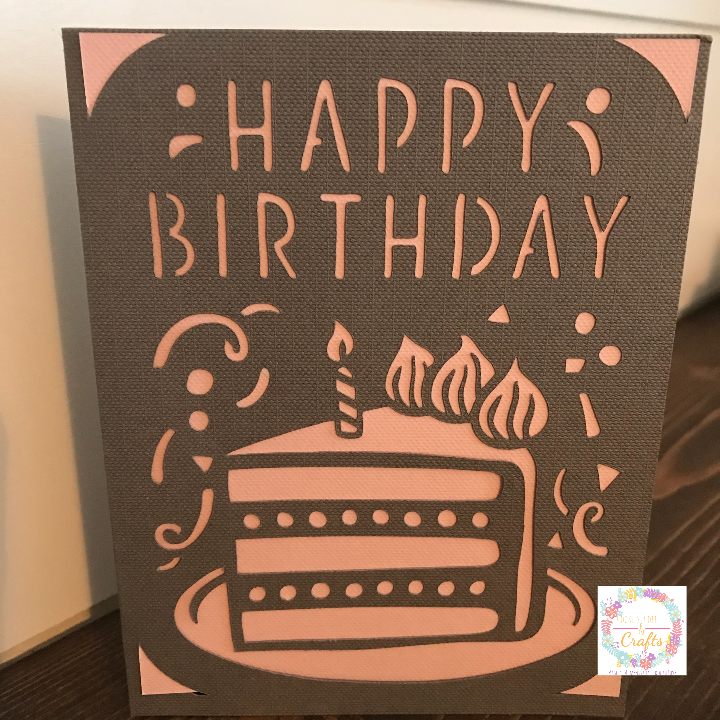
Insert Cards with the Cricut Joy

The main reason I purchased the Cricut Joy was for the easy way to make cards. The Cricut Joy insert cards are so easy, you can make a card in under 5 minutes. I’m super excited to make a few cards designs of my own. I definitely recommend a Cricut Access Premium because most of the cards are fee with access. Surprise- everyone will be getting a Cricut Joy Insert Card this year.
Cricut Joy Set Up
The set up is super easy. If you are brand new to Cricut, create an account in
Cricut Design Space™ or go into your account if you already have one.

Simply follow the steps and open the bluetooth connection on your computer and hit connect bluetooth to Cricut Joy. It’s really really easy! Honestly this was the easiest Cricut set up ever.
In Cricut Design Space, make sure you have the Cricut Joy chosen at the top when you are making projects with it.

A Complete Guide to the Cricut Joy
Now the Cricut Joy has no buttons on it, so keep your computer or device close to you because you will need to click ok and continue while creating your project. Also you have to choose if you will be using no mat, a mat, or the card mat. As with all the Cricut machines, keep the machine away from the wall.

The first thing I noticed was how quiet the Joy is compared to the Maker. So many times I can’t use my Cricut because it’s too loud when my husbands on meetings. You can hear it throughout the house.
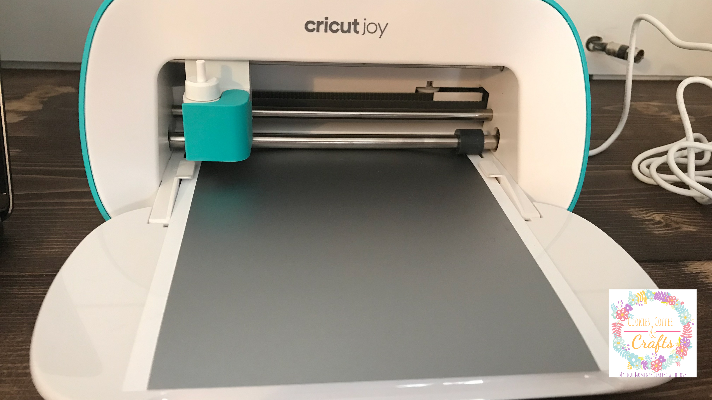
Loading Materials Into the Cricut Joy
The other huge difference (if you have a Cricut or if the Joy is your first machine) is how the Joy loads the materials. The Cricut Joy pulls in the material really fast. I was not prepared for that at all and my first vinyl I loaded was so crooked. From this experience I learned to put my Cricut Smart material in, get it nice and straight and then hit continue. This way you will have no problems at all.
What if you load the material, hit continue and nothing happens? Don’t worry, it just means your material is pushed too far into the machine. Pull it back a little and then reload it. It’s a learning process and there is a sweet spot on the Cricut Joy.
Using Mats with the Cricut Joy
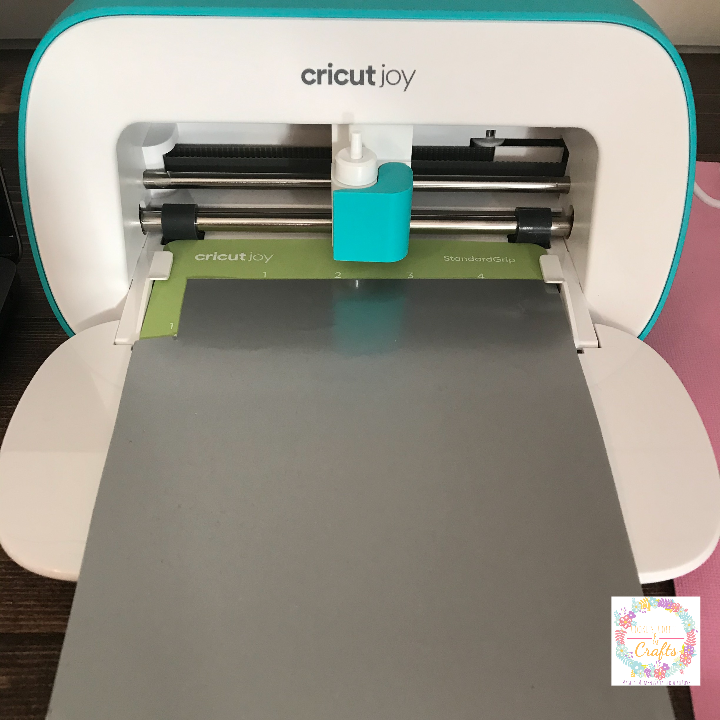
Only Cricut Joy Smart Materials can be loaded without a mat. For everything else you must use a mat. The Cricut Joy is super smart and when using the standard grip mat, all material must be inside the lines on the mat. If they are not, the mat will not load. Again I learned this from experience (like in the picture).
Cricut Smart Material and Transfer Tape
Let’s go back to the Cricut Smart Materials, again I learned this the hard way. Please buy the Cricut Joy Transfer Tape. I didn’t buy any because I had a brand new roll of transfer tape at home, but it was impossible to get the smart vinyl to transfer using regular transfer tape. Somehow I got it done, but it was tough. The smart vinyl and transfer tape are a match made in heaven. You must use them together. Then it will be easy peasy to create those projects.
Projects using the Cricut Smart Vinyl
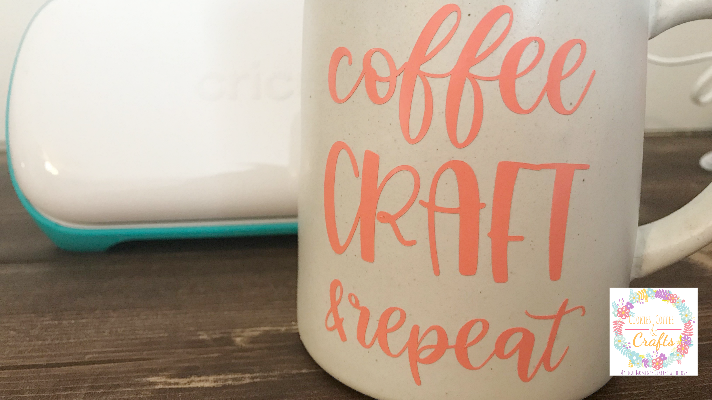
The Cricut Joy Smart Permanent Vinyl has held up great on my new coffee mug and it’s been washed several times.
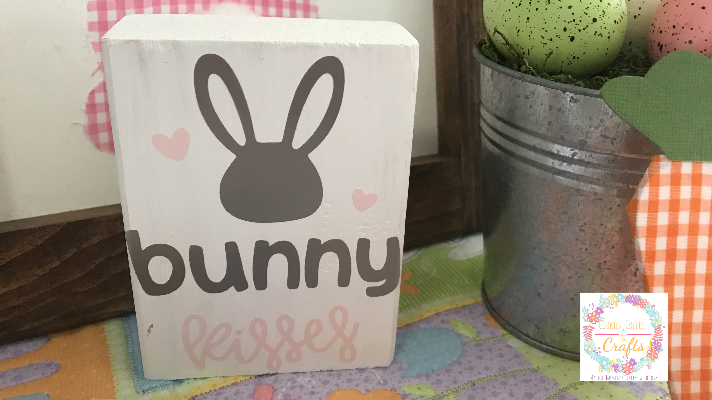
Also super cute for signs. The Cricut Joy is perfect for these small signs that make great decorations.
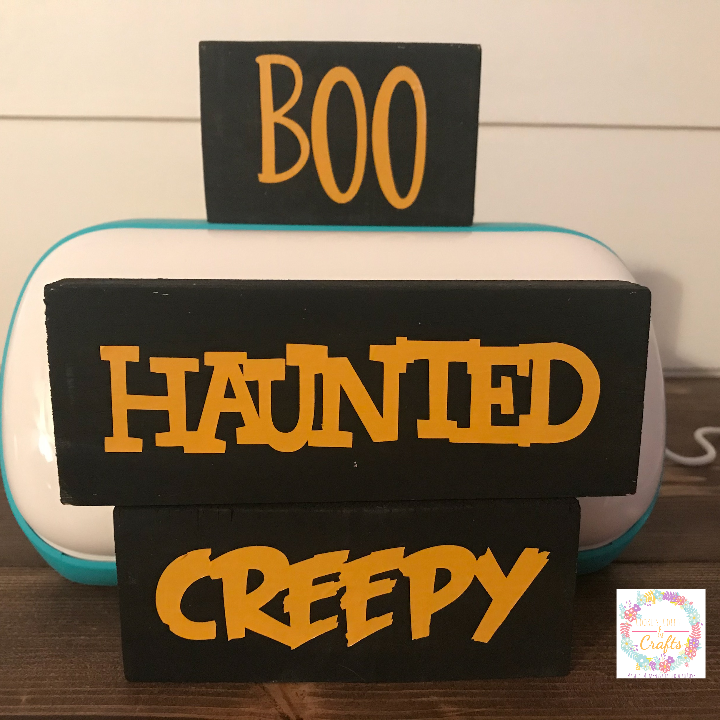
Since we are all staying home, I finally finished these tiny Halloween signs that were in my craft stash.
Are you ready to add the Cricut Joy to your Cricut family or begin your Cricut adventure? These tips and ideas will help you as you begin creating new projects.