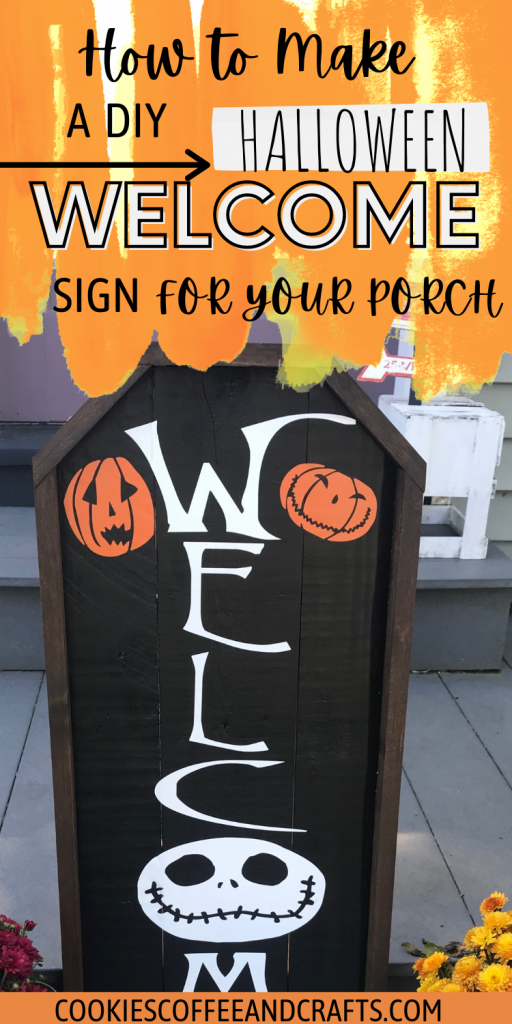
DIY Halloween Welcome Sign | Jack Skellington Themed
Note: As an Amazon Associate, I earn from qualifying purchases. If you click on a link from Amazon or another of my advertising affliates, I will earn a small commission at no additional cost to you. Please see my full disclosure policy here.
If you’ve been to any of the stores browsing the Halloween section, you must have seen the coffin/tombstone looking welcome signs. They look so awesome, but so pricey. Plus we have had this debate in our house, is it a coffin or a tombstone? I feel like it could be either. I just had to have one for our Halloween decor so I figured out how to make one. Here is my DIY Halloween Welcome Sign with a Jack Skellington theme.
I did all of this with pallet wood pieces (and other scraps) that I had in our scrap wood pile. The pallet wood is perfect for a project like this.
Materials for DIY Halloween Porch Sign
Pure Black Folkart Acrylic Paint
White Cricut Permanent Vinyl
Orange Smart Vinyl Permanent
Cricut Maker 3
Transfer Tape
Gorilla Ultimate Waterproof Wood Glue
Nail Gun or Nails
2- 1×4
1- 1×6
1- 1×2
Wood Stain
Ridgid Orbit Sander
Let’s Create a DIY Halloween Welcome Sign
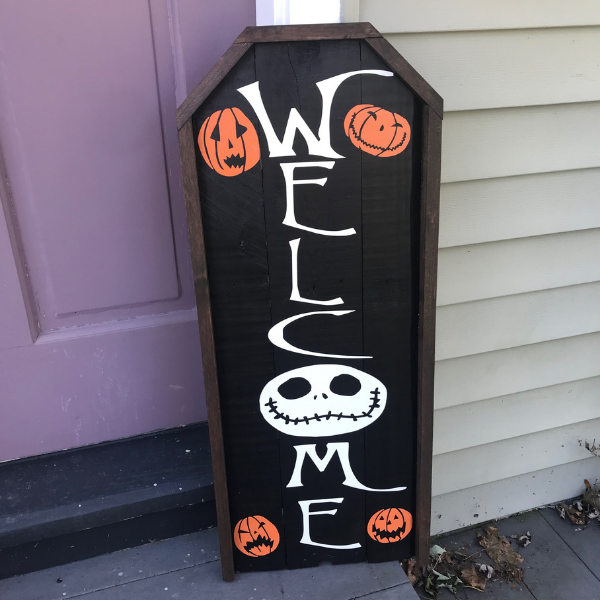
I designed my Halloween porch sign to go with our Jack Skellington Nightmare Before Christmas door hanger and garland. Just remember that you can decorate it however you want. Jack Skellington was never my thing until I had kids who absolutely love Jack and Sally. The Nightmare Before Christmas just takes over my house from September to December.
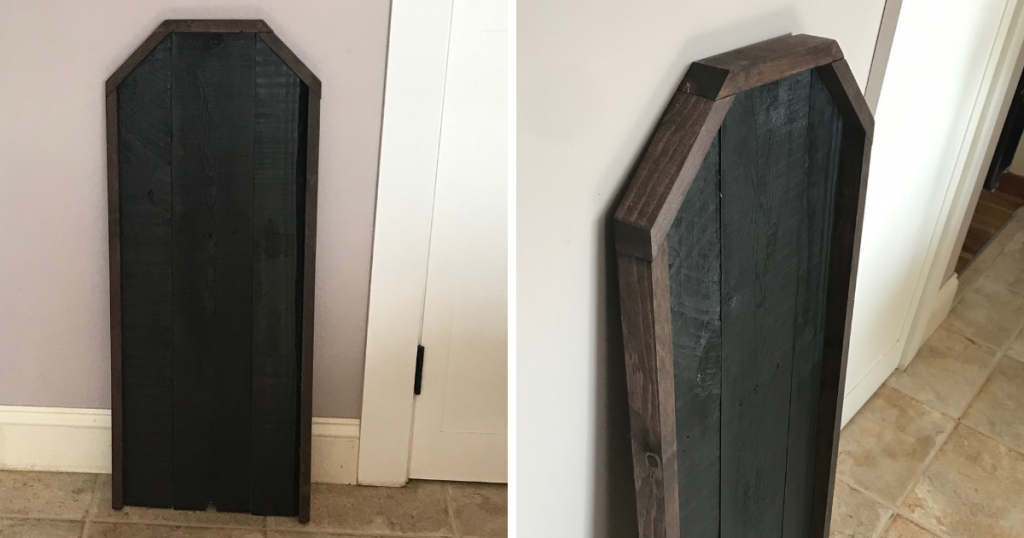
Creating the Coffin Shaped Halloween Porch Sign DIY

To get started, I just want to say that the angles and the sizes don’t have to be exactly the same as mine. Just make sure the angles of your straight boards of the sign match the angles of the edging. Again the sign would look great without edging too.
When creating the sign, I made it with the a 1×4, 1×6, and then a 1×4 on the other side. The 1×4’s are both about 32 inches long with about a 45 degree angle cut at the top. The 1×6 (the middle board) is 33.5 inches long. Put the boards together on the back using a 1×1, adhered with wood glue and using a nail gun/nails, add a few for support. Cut the 1×2 the size of the side boards and cut the angles to match the coffin shaped boards. My husband is the expert at cutting angles and creating this sign. I’m the creator and decorator.
Let the glue completely dry and then sand the boards with a sander. The pallet boards are really rough and needed a good sanding so they were smooth. I like the look of the rustic boards with the nail holes and imperfections so I left them alone.
Painting the Halloween Sign
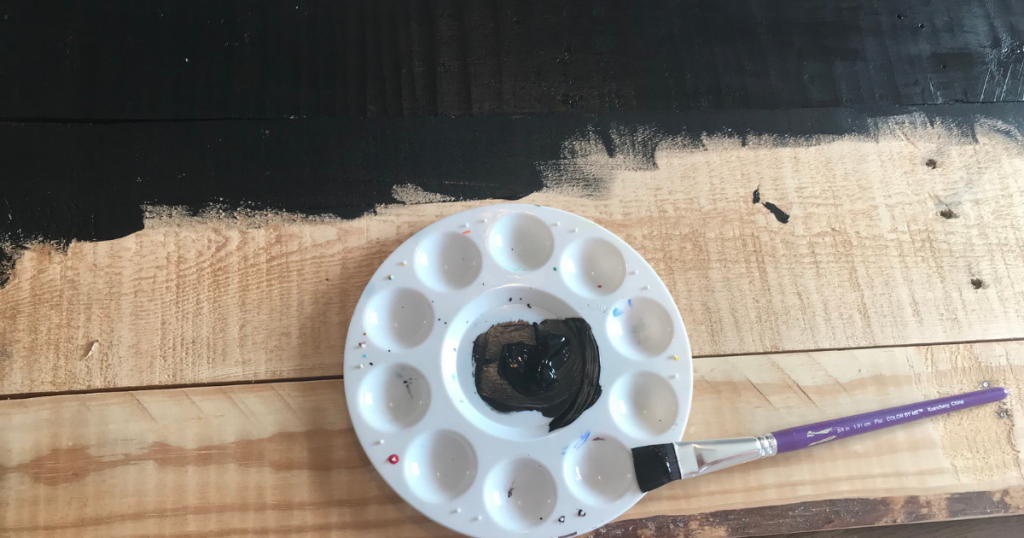
Paint the sign with black paint and it needed two coats. I thought the pallet wood would suck up a lot of the paint, but it surprised me and didn’t.
After the sign is painted it’s time to stain the side pieces. You could also paint them too, so do what you like.
When the sides are stained and dried, it’s time to add them to the sides of the coffin sign. Glue them with wood glue and then nail in the boards.
Cricut Halloween Porch Sign- Time to Decorate It
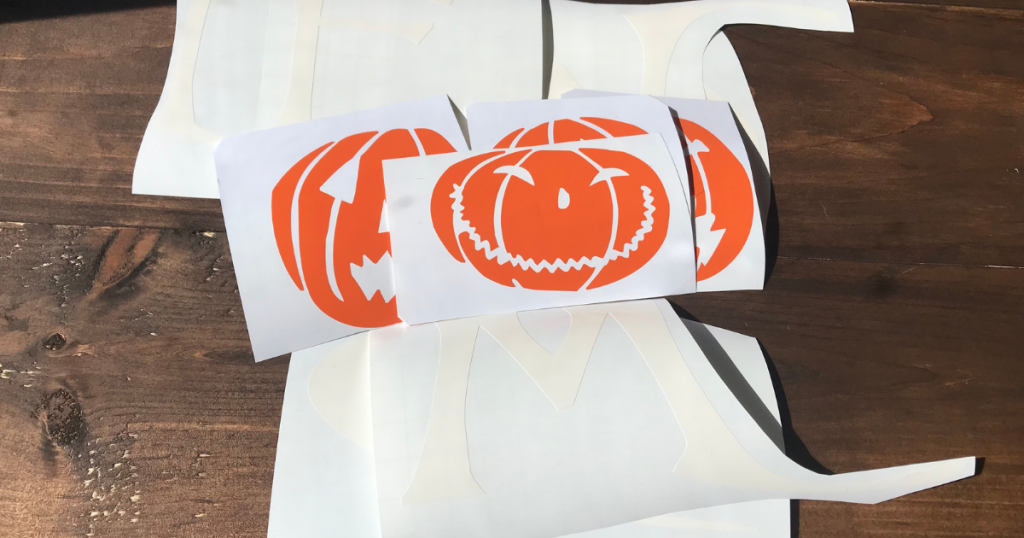
In Cricut Design Space™, I created this Jack Skellington Welcome Sign File that you are welcome to use (if you want a Jack Skellington Welcome Sign). The Jack face and the pumpkin faces both need to be purchased and are not included in a Cricut Access Membership Plans. I also uploaded the font, Burton’s Nightmare to use for the letters.
Cut the whole design in permanent vinyl. I used the new Orange Smart Vinyl in my Cricut Maker 3 and it was great. So easy to weed and use.
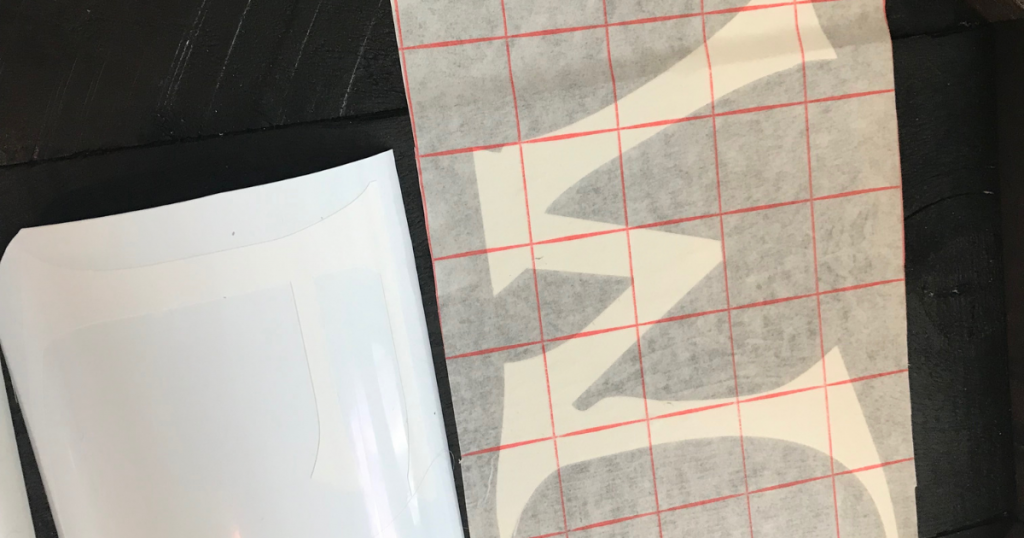
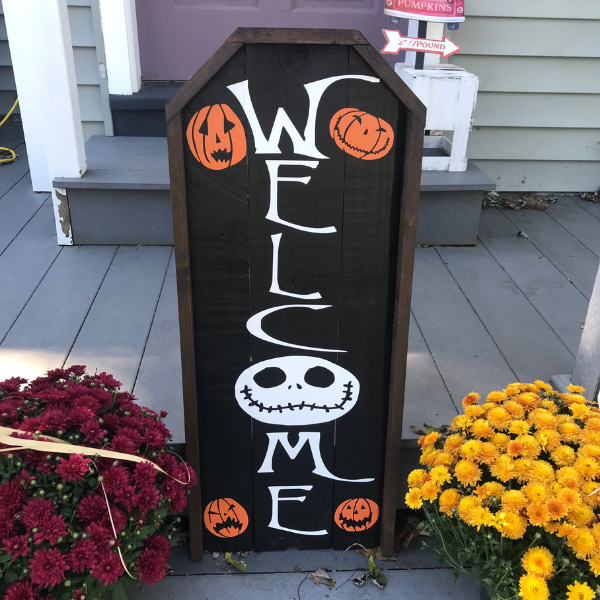
Weed the whole design and lay it out on the wood sign. When you like the placement of the letters, use transfer tape to add the vinyl letters to the sign. Then add the pumpkin faces to the top and bottom.
Your new DIY Halloween Welcome Sign is ready for your porch to welcome everyone to your home. The pumpkin faces are just my favorite and added just the right touch of Halloween Town and spookiness.