Easy Double Layered Bow for Wreaths (Step by Step)
Note: As an Amazon Associate, I earn from qualifying purchases. If you click on a link from Amazon or another of my advertising affliates, I will earn a small commission at no additional cost to you. Please see my full disclosure policy here.
Do you know what DIY/craft videos I’ve watched on YouTube more than anything else? Bow tutorial videos! To me making bows is like finding Bigfoot. It’s a craft skill that has alluded me and made me so angry so many times. The Bowdabra has been a life saver and I can finally make a wreath bow, but I still find loop bows challenging. I have found the perfect double layered bow for wreaths that’s super easy to make, not difficult at all and you won’t get frustrated and wish you had more hands. This wreath bow can be made with two ribbons to be a double ribbon bow or a single bow.
Skills needed for this easy double layered bow is to be able to cut, fold and tie. If you can do those three things, then you can nail this wreath bow.
It’s my new go to bow for all of my upcoming wreaths. I may even replace some old bows with this new style double ribbon bow. This double layered bow is simple, but beautiful at the same time.
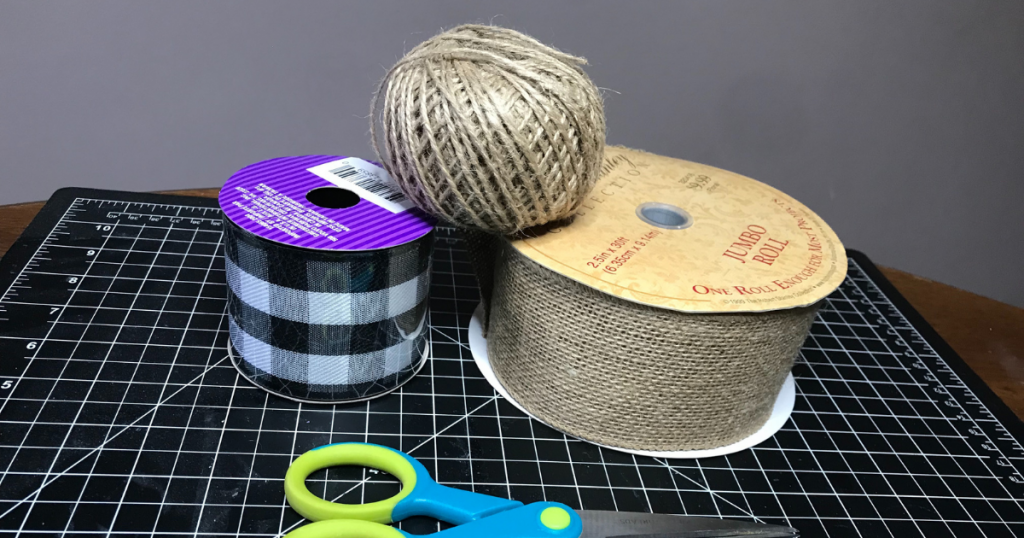
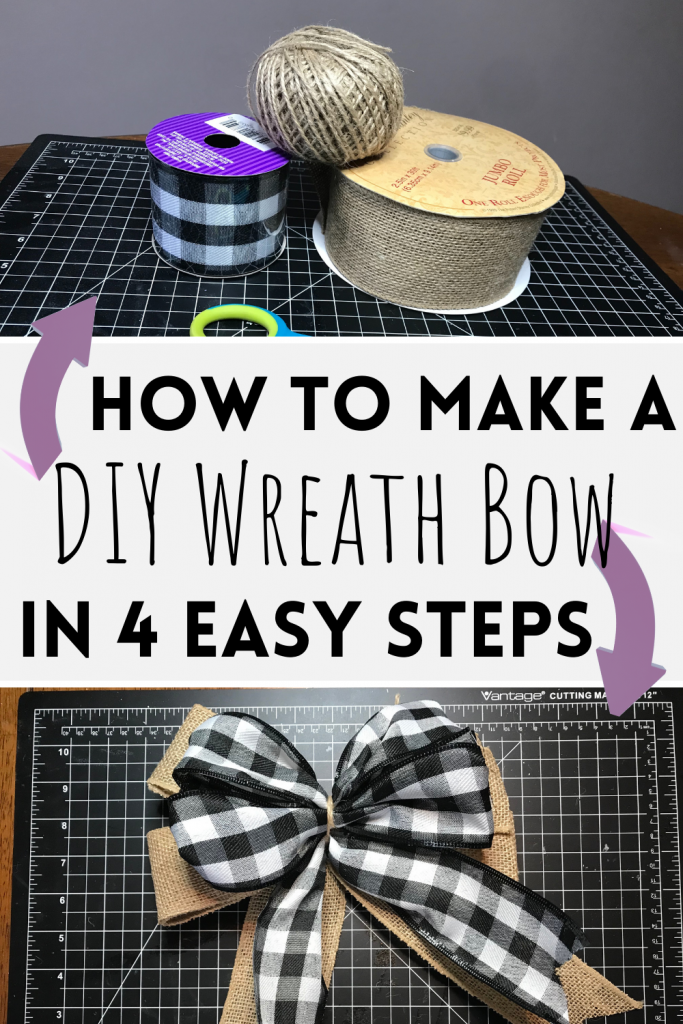
Supplies for Wreath Bow with 2 Ribbons
Twine
Wired Ribbon in two different patterns or a burlap and a pattern ribbon
Scissors
Ruler or craft mat
I craft and DIY by “eyeing it.” Seriously, but I do. To me I like to start with the wreath form (whether it be a pizza pan or metal wire frame) and decide on the size of my bow. I need to visually see everything and this helps me so much.
For this bow, I like using the twine because I don’t feel bad using extra of it so I can get a nice and tight tie. Plus I like the look of it with the ribbon. You could always take a small thin ribbon and hot glue it over the twine, if you don’t like the look of it. Remember this easy bow can be made with any two ribbons, just make sure it’s wired ribbon.
How To Make a Double Layered Bow for Wreaths
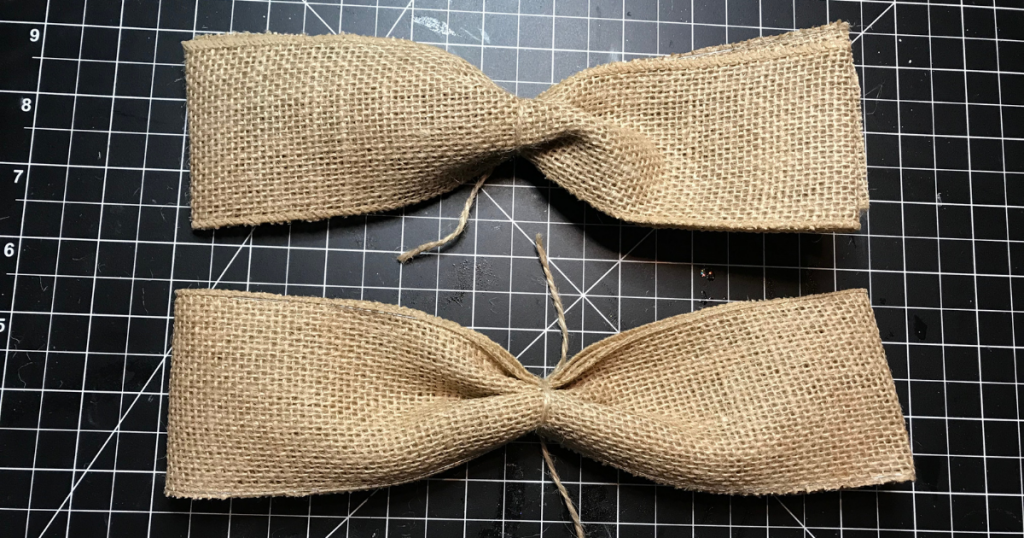
The first part of the bow you will make is the larger bow on the bottom. I chose to create this bow with burlap wired ribbon. Remember to use all wired ribbon for this bow. The burlap ribbon is about 10 inches long.
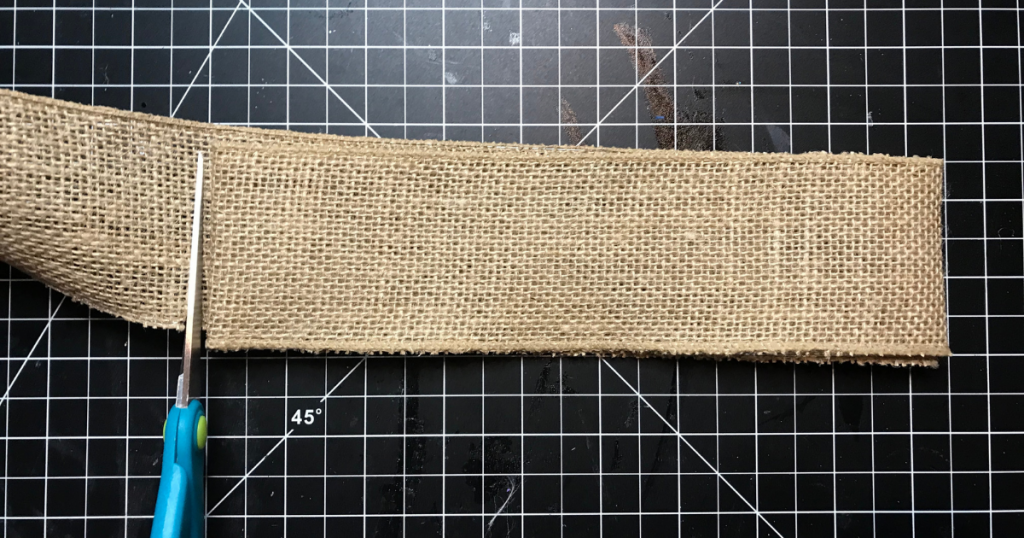
Take the burlap ribbon and fold it at the 10 inches in length and then fold it again. The length of the ribbon will be based on the size of your bow for your wreath. The ribbon will be stacked on top of each other.
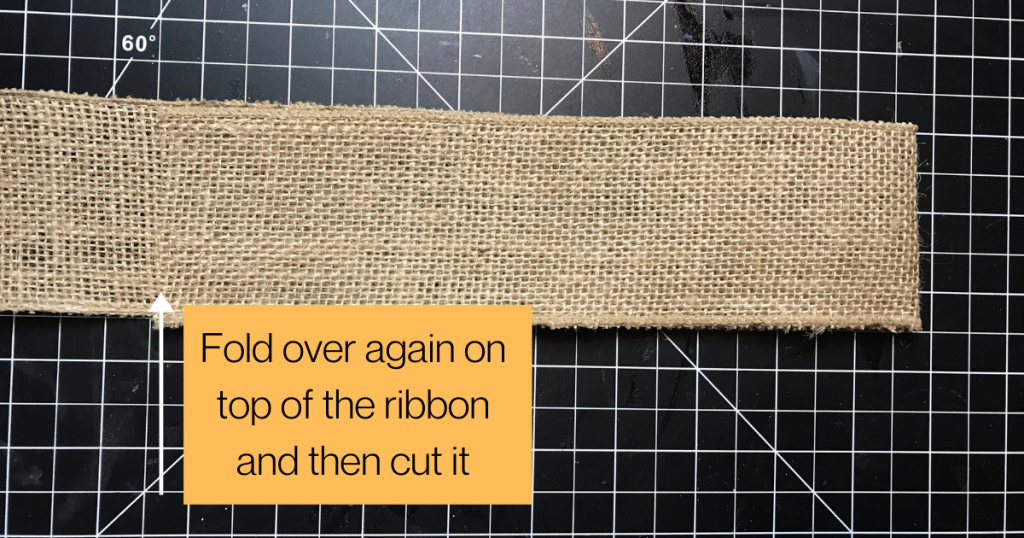
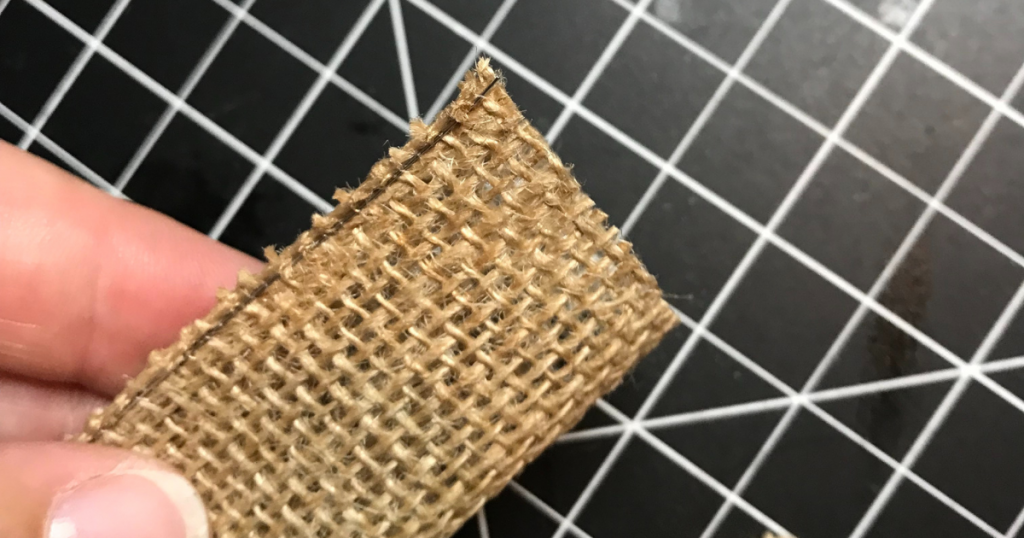
Then cut the end of the ribbon.
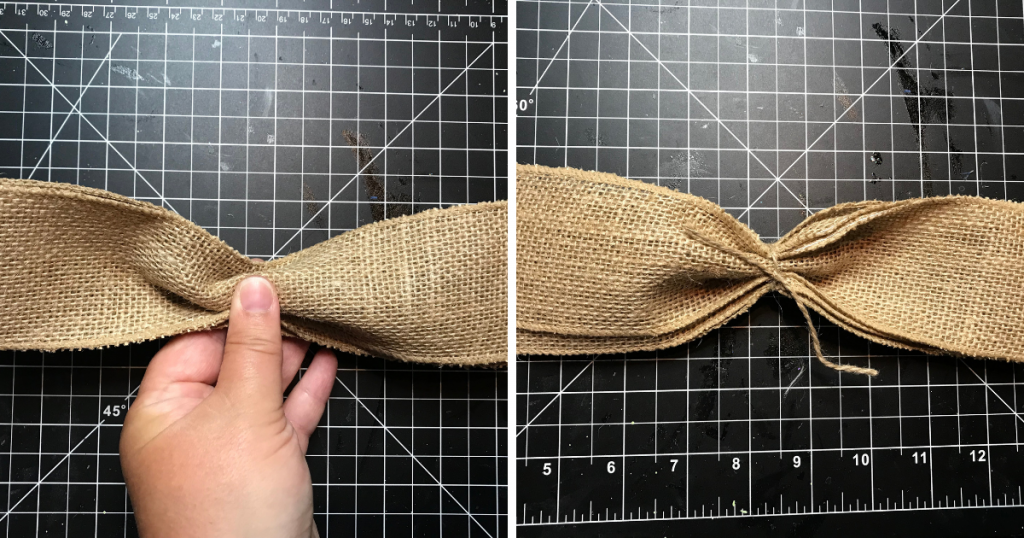
Pinch the burlap ribbon in the center and tie it tightly with twine. Set it aside.
Follow the above steps again to create the bottom of the bow. Fold and stack the ribbon and cut it. Then set it aside.
Now it’s time to make the tail of the bow. Honestly I like tails on my bows, but you could leave the bow as is with no tail. Again take the wreath form and lay the ribbon to see how long you want the tail to be. Fold the ribbon in half and cut it so the ribbon is the same length.
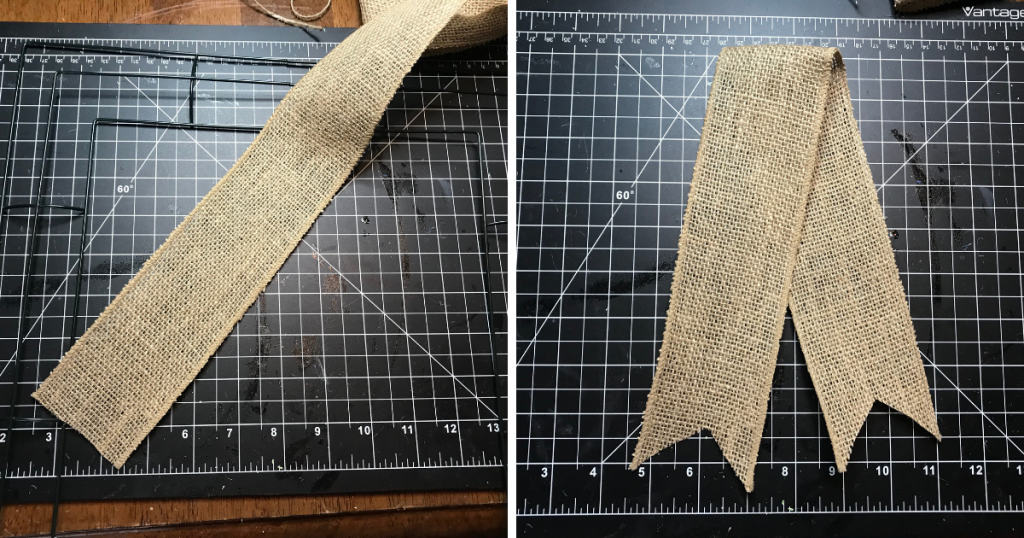
Next fishtail the end of the ribbons. Fold the ribbon in half until the seams touch and cut at a diagonal on both sides.
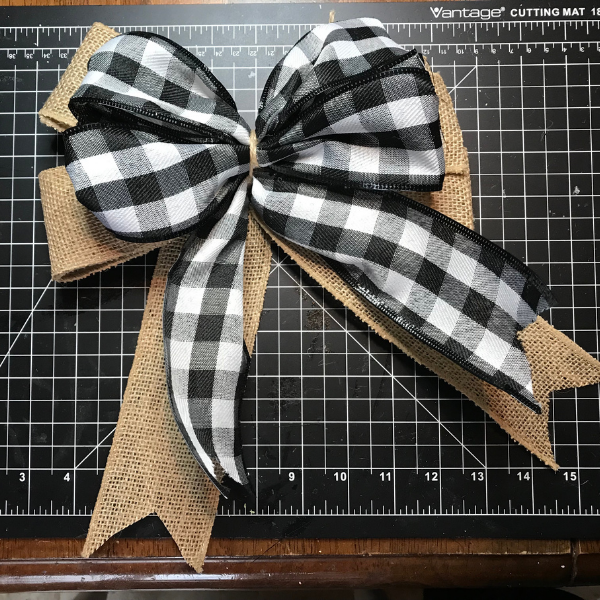
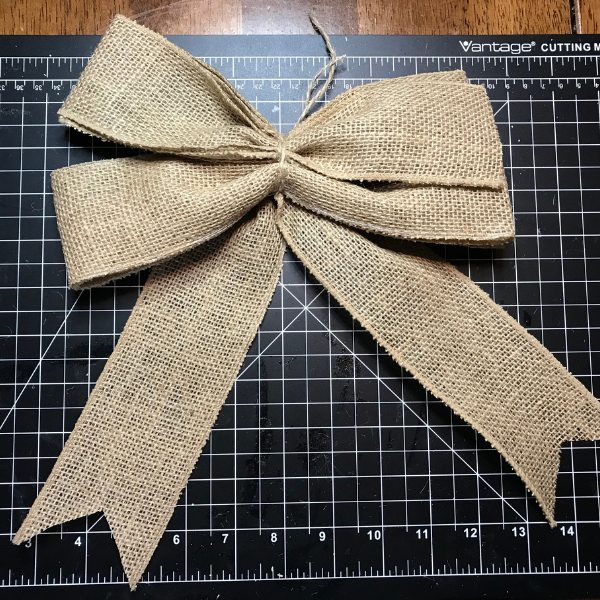
Find the center of the tails and stack all three pieces on top of each other and tie tightly with the twine. You can also trim the extra twine from all the knots. Congratulations- your first bow is finished! Wasn’t that easy?
Adding the Buffalo Plaid Bow to the Double Layered Bow
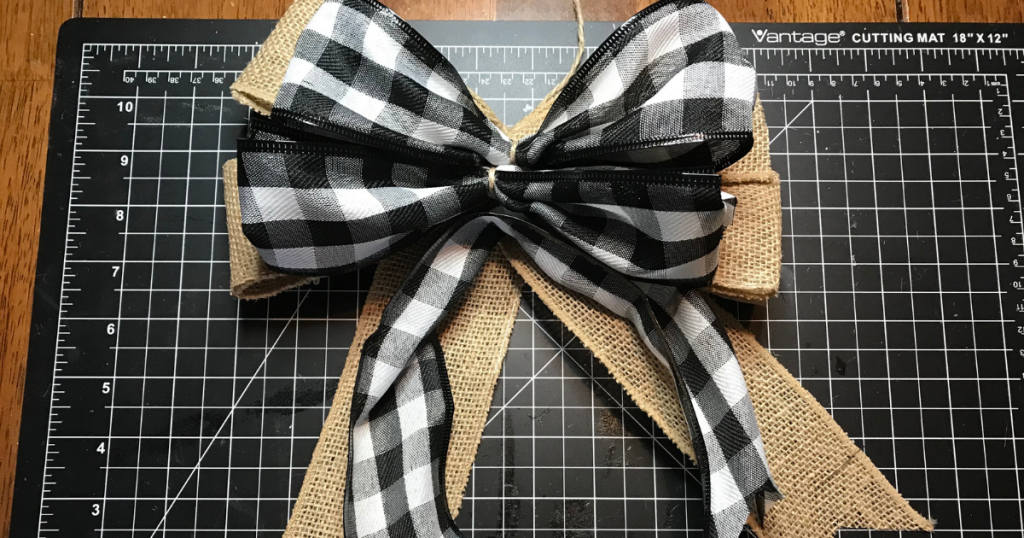
To add the buffalo plaid ribbon on top to make a double layered bow, just follow the same step by steps that you used for the first bow. Just make this bow about 8 inches long. Always make the top of the double bow smaller, then the bottom.
After the buffalo plaid bow is created, stack it on top of the burlap bow and tie all the pieces together with twine tightly. Use a large piece of twine here so you can use the extra to attach it to your wreath.
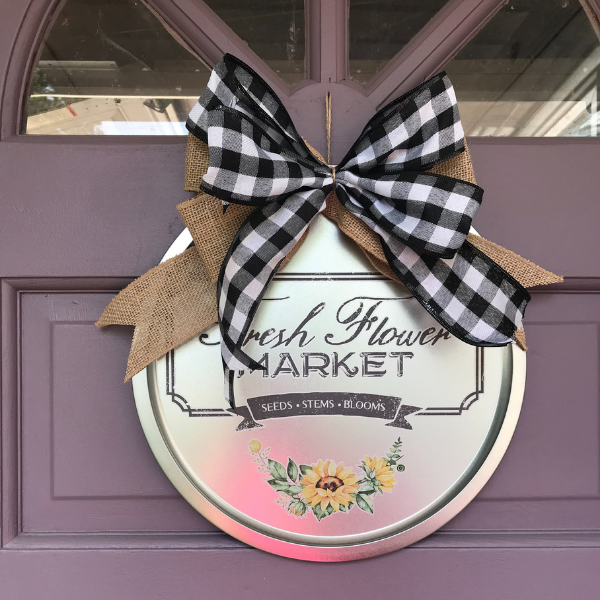
Fluff the ribbon and your beautiful, easy double layered bow is ready to decorate your front door.