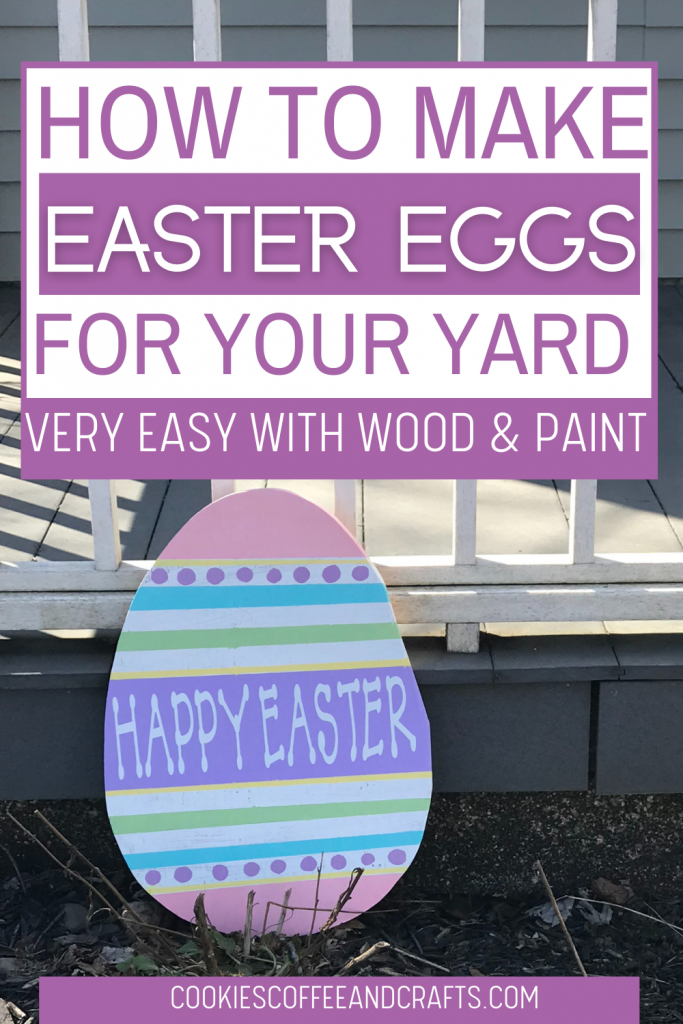
How To Make Wooden Easter eggs for your Yard
Note: As an Amazon Associate, I earn from qualifying purchases. If you click on a link from Amazon or another of my advertising affliates, I will earn a small commission at no additional cost to you. Please see my full disclosure policy here.
Do you have outdoor Easter decorations? I know thats a tough one right, I feel like it’s the one major holiday that doesn’t have outdoor decor. Why not decorate with some bunnies, eggs and chicks as a celebration of spring and Easter. This year I had to change that because the kids won’t stop asking for outdoor Easter decorations for the yard. They are quite persistent. Learn how to make wooden Easter eggs for your yard with this easy tutorial. The hardest part was waiting for the paint to dry.
Supplies for Wooden Easter Decorations for the Lawn
3/4 inch plywood
Jigsaw
Egg pattern
Plaid Flat Paint Brush Set
Plaid Crafts Paint- Apple Barrel Real Yellow, Cameo Pink
Folkart- Wicker White, Light Lavender, Soft Apple, Ocean View, Pale Yellow
1 Inch Painters Tape
Cricut Joy (Buy on Cricut/Buy on Amazon)
White Smart Vinyl (Buy on Amazon/Buy on Cricut)
Smart Transfer Tape
Liliac Permanent Vinyl
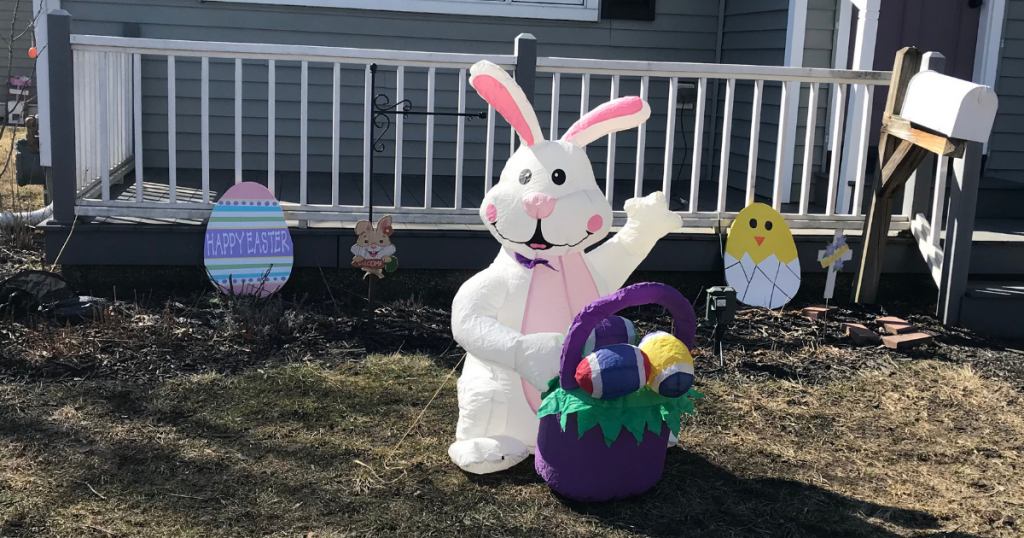
One thing we always have the holidays are inflatables. My son just has a love for them like nothing else. When he was old enough to know, he just fell in love with them. We have been buying them ever since for all the holidays. Our bunny inflatable was lonely by himself out there and needed some decoration friends.
My husband actually cut these last year, but with the kids home from school because of COVID I just never found the time to make them.
Let’s Learn How to Make Wooden Easter eggs for the Yard
The wooden Easter eggs are made on 3/4 plywood from old cabinet doors that a neighbor gave me. It’s always nice to repurpose old wood, but you can just buy a sheet of 3/4 plywood at a home improvement store to make these.
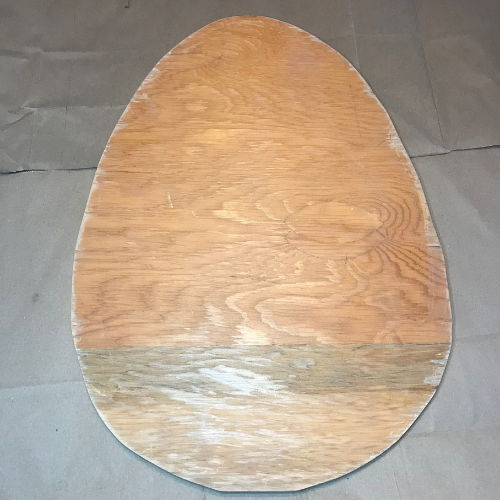
I made a larger than mat cut out of an egg, but you can also free hand one too. It’s a pretty easy shape. Here is how to make a larger than mat with your Cricut. If using a pattern to follow, tape it to the plywood and use the jigsaw to cut around it. Then give the edges a good sanding.
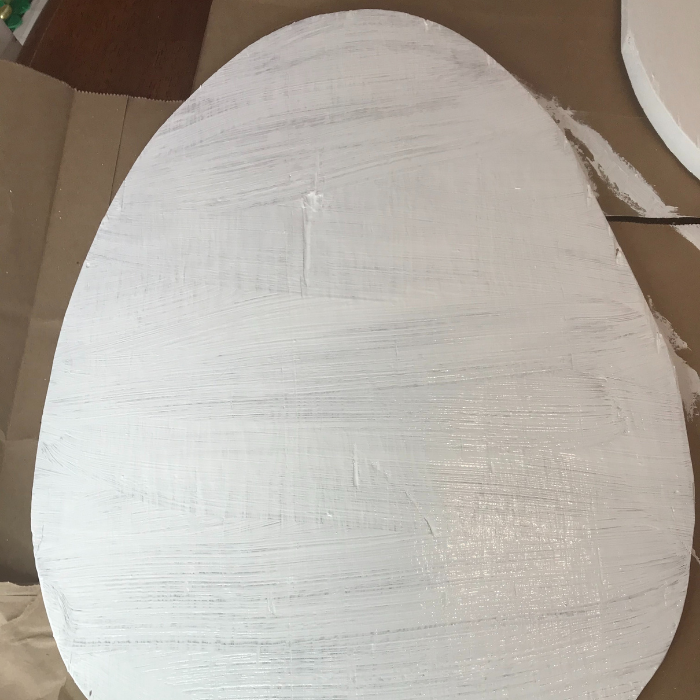
I made each of the eggs a little different, but one thing I would recommend for both is to paint the whole egg with the white wicker paint. This really helps to make the colors pop that you paint on the egg. I did the chick egg first and saw how the plywood soaked up the paint and it took several coats to paint the chick. The white base would have made painting the chick easier so I started the second egg by putting on the white base first.
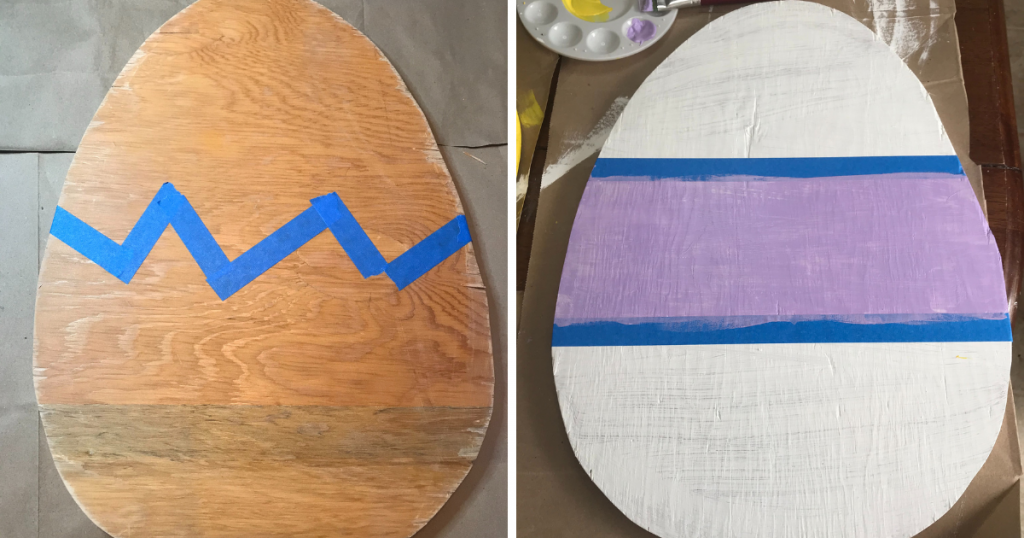
To decorate both the eggs, I just used painters tape to put the lines where I wanted to paint. It worked out great, but just allow the paint to fully dry before putting painters tape on the newly painted tape. If you put on the painters tape too soon, it will peel up the paint.
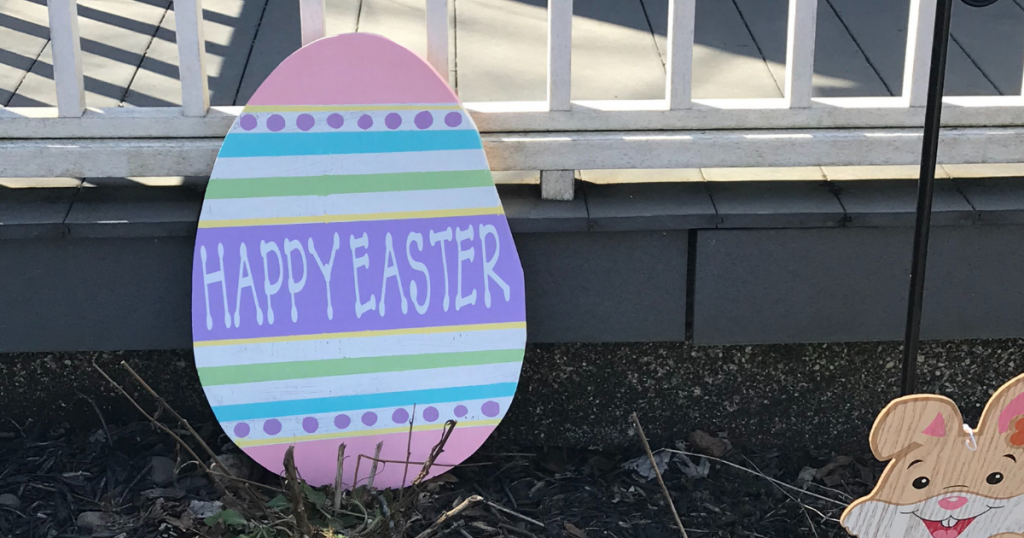
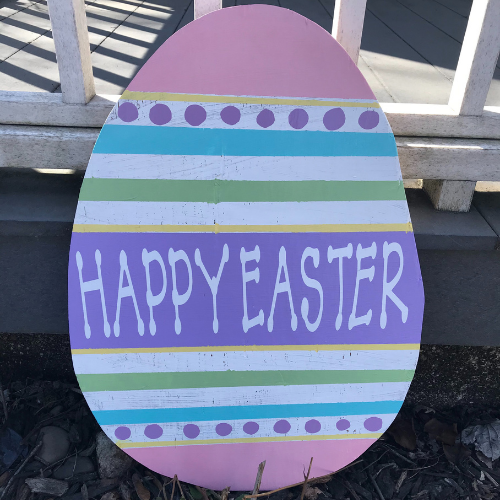
Happy Easter Wooden Egg

For the Happy Easter wooden yard decoration, I made the Happy Easter in Cricut Design Space and cut it with my Cricut Joy and the Smart Vinyl in permanent white. I applied it with the transfer tape in the center of the egg. Since the egg is rustic and whimsical, I used up some scrap pieces of vinyl and cut some hand drawn circles and placed them on the egg. I felt like perfectly shaped circles would not go with this cute Easter egg. You could also write/draw Happy Easter on the egg too with paint or markers.
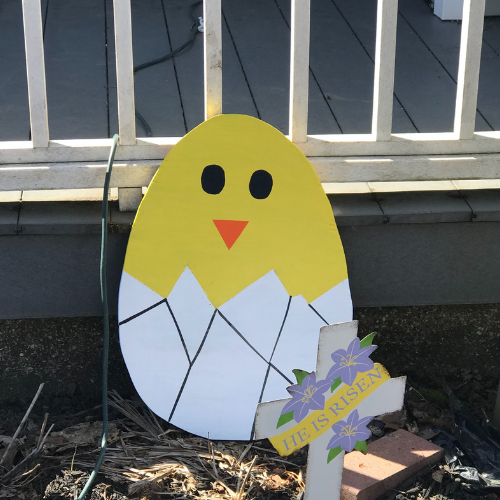
Just Born Chick Wooden Egg
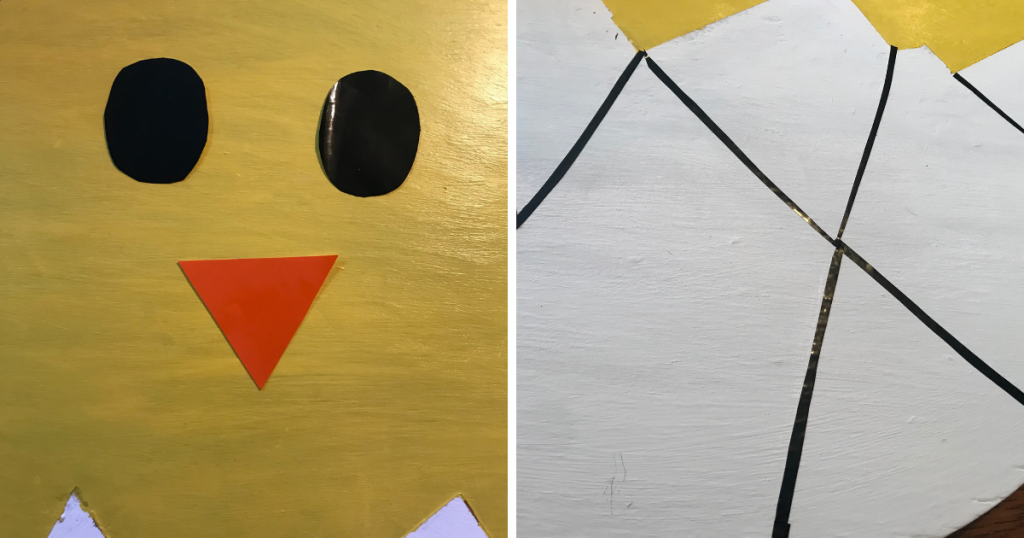
The just born chick that recently hatched has a face made out of black and orange vinyl. I just cut the basic shapes out of my scrap vinyl with scissors and applied them like stickers. My 5 year old was insistent that I add some cracks to the egg to make it more realistic. Honestly, I’m not a huge fan of the cracks, but she loves them and that’s what mommy’s do sometimes. Again I used black permanent vinyl and cut them into thin strips and applied them to the egg.
For more Easter fun, the kids made my Rose of Sharon into an egg tree and were super excited about that. Our yard is starting to look good for Easter and hopefully it won’t snow on our Easter decorations. That’s always a possibility where we live. Let’s start a new trend and start decorating our yards for Easter.