Simple Vertical Welcome Sign with Cricut Joy
Note: As an Amazon Associate, I earn from qualifying purchases. If you click on a link from Amazon or another of my advertising affliates, I will earn a small commission at no additional cost to you. Please see my full disclosure policy here.
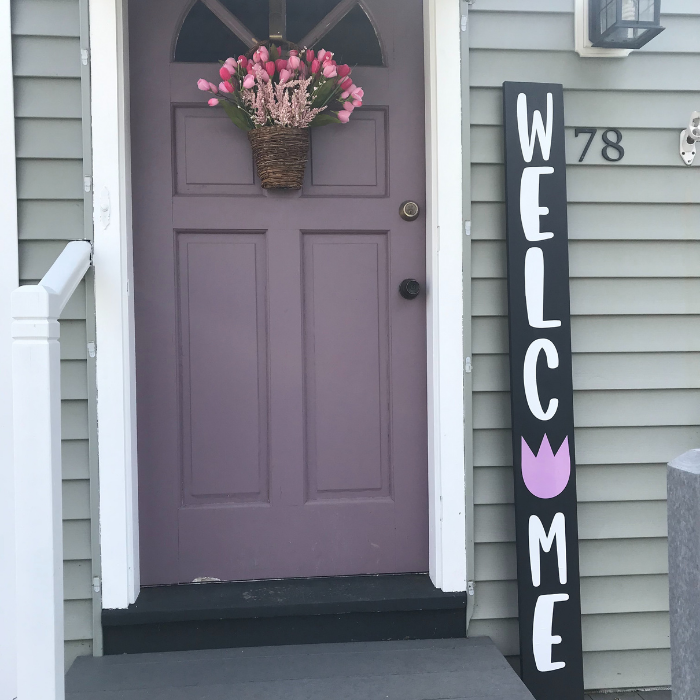
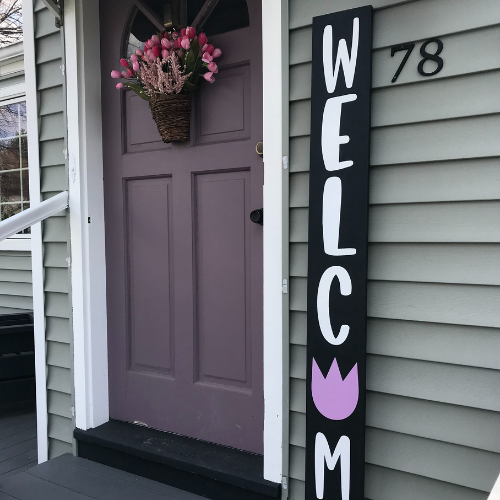
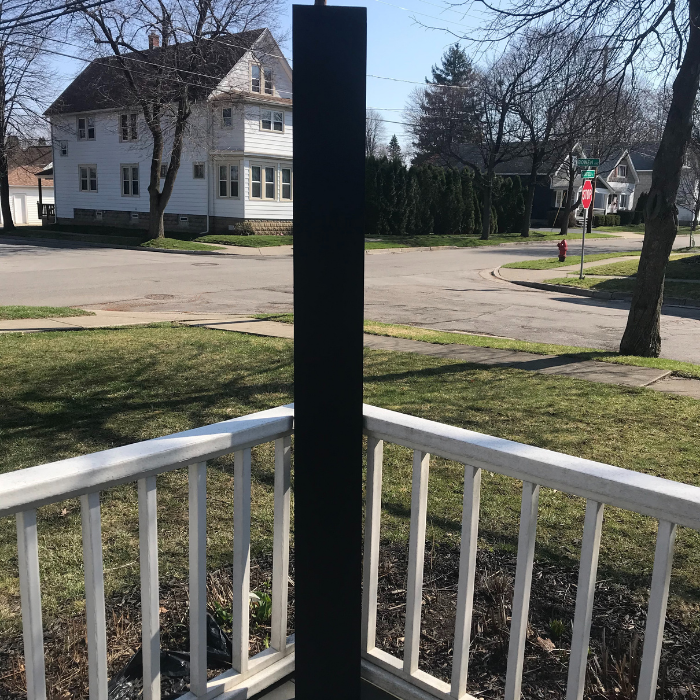
To see the sun and the spring flowers blooming is fantastic. I’m loving going outside everyday and enjoying every minute of it. Since the weather is so nice, it’s time to start decorating the porch. I love decorating the porch, but the one thing my porch is always missing is a vertical welcome sign. It was finally time to fix that.
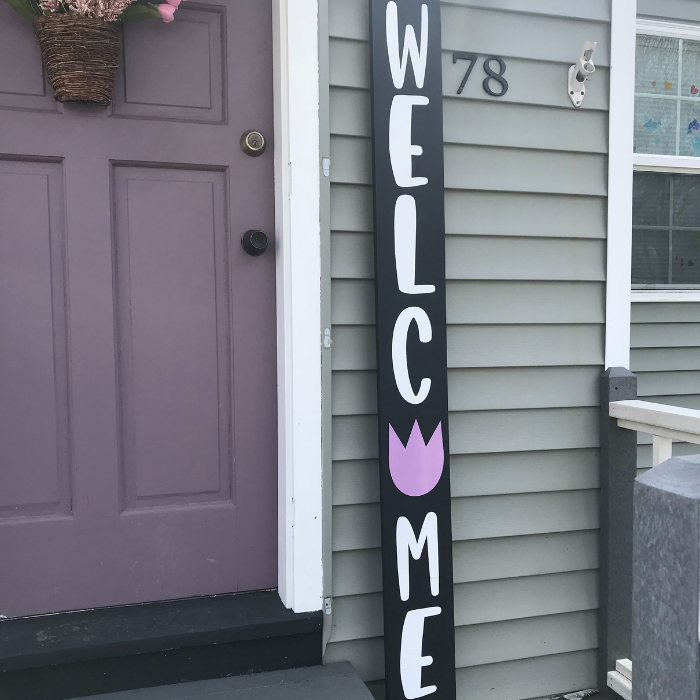
For my spring vertical welcome sign, I’m going to be making it with my Cricut Joy and permanent Smart Vinyl. This was an easy project to do and just took a little bit of time. I used the font Lakeside because it’s whimsical and I love handwritten fonts. Since it’s spring time, I replaced the o with a tulip. It works perfectly with my **tulip flower basket door hanger.
My vertical welcome sign is made on a 1×8 6 foot common board, but you can buy any size the works for you. I wanted this one to be really tall since it was going on the porch. My husband lovingly calls these “billboard signs.” The board was $11.79 and I needed 2 packages of white smart vinyl. I still think $24 is a good deal for a large vertical sign.
Supplies for Cricut Porch Sign
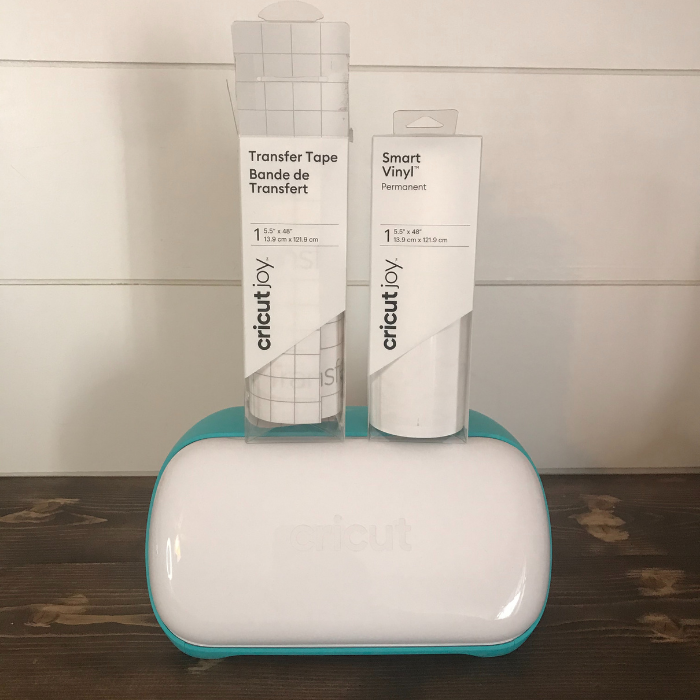
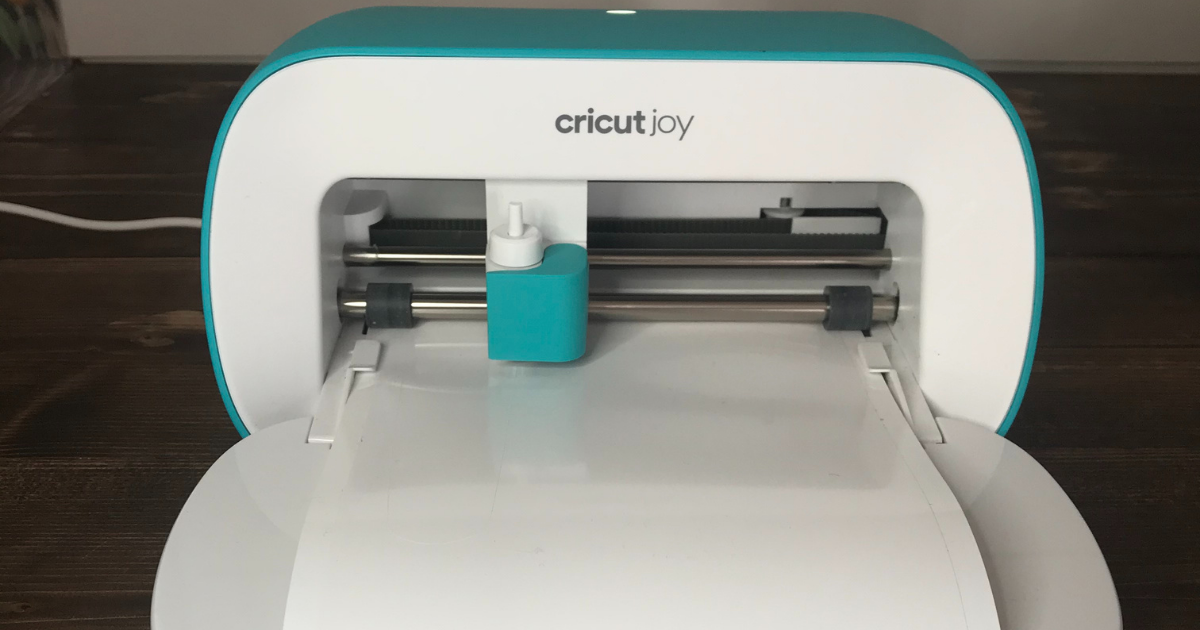
Cricut Joy (buy on Cricut/buy on Amazon)
White Smart Vinyl (buy on Amazon/buy on Cricut)
Mystic Black Stain
Paint Brush
Smart Transfer Tape (buy it on Amazon/ buy it on Cricut)
Painters Tape
Lilac Vinyl
Cricut Tools (buy on Cricut or buy on Amazon)
1×8 6 foot Common Board $11.79
Let’s Create a Simple Vertical Welcome Sign with Cricut Joy
Before creating the sign, I painted the sign with the mystic black outdoor stain. It’s our outdoor stain color for our front porch chairs and some outdoor accents. I love this color and new it would be perfect for my vertical sign. I gave the board two coats to cover it.
Making signs is so easy with the Cricut Joy because of the smart vinyl. I love it because it doesn’t use a mat and it’s so easy to use. This is my first time using it on a porch sign. I’ve used vinyl before on my *fall porch sign and it still looks great. It’s outside all of September and October and in the Buffalo, New York area we can get crazy weather that time of the year.
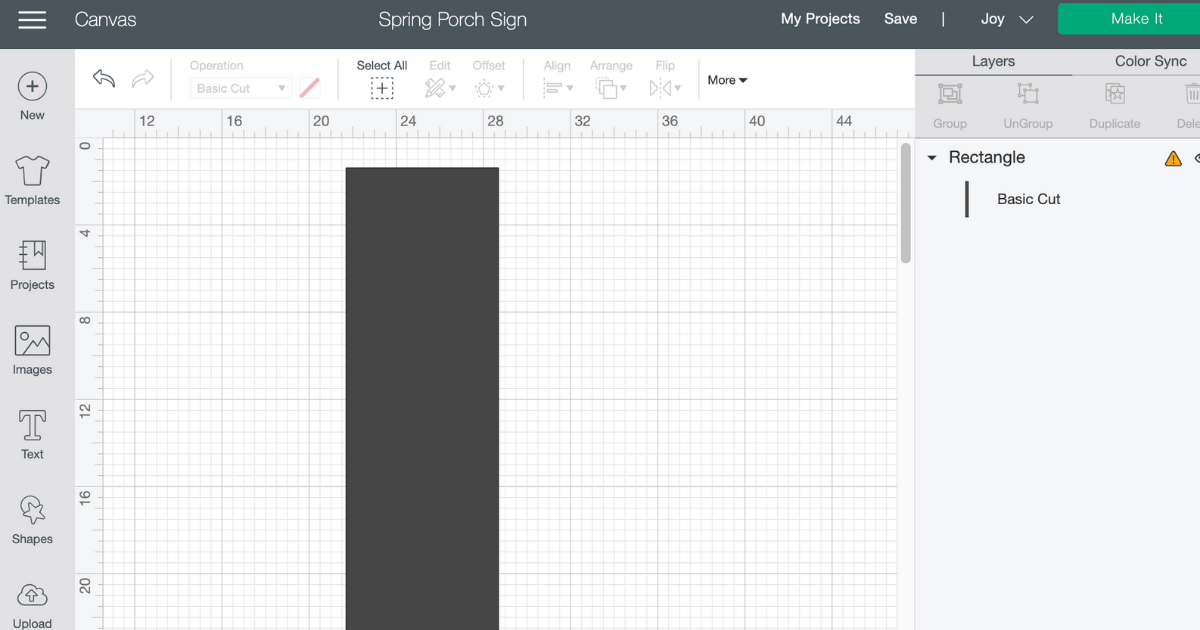
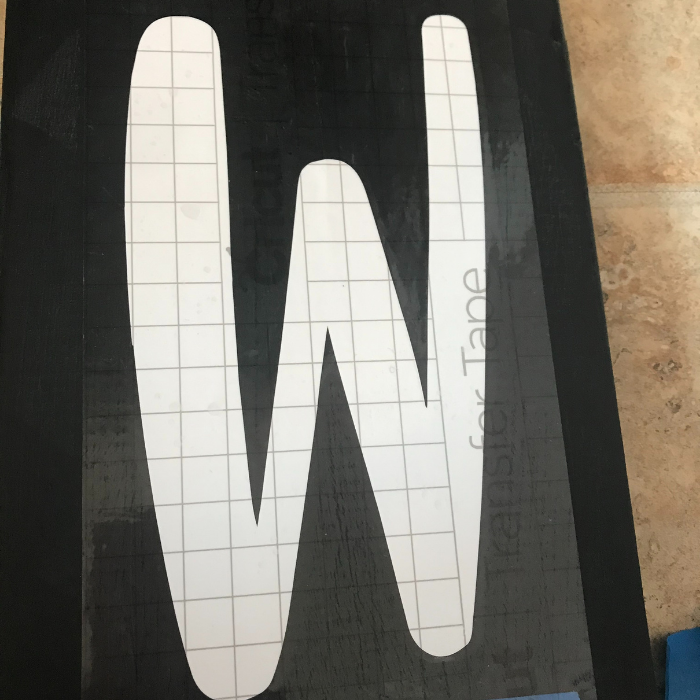
In Cricut Design Space™, create a rectangle the size of your board. Now this board is so big, you can’t see all of it in Design Space at one time. Then add each letter at a time, sizing as you go.
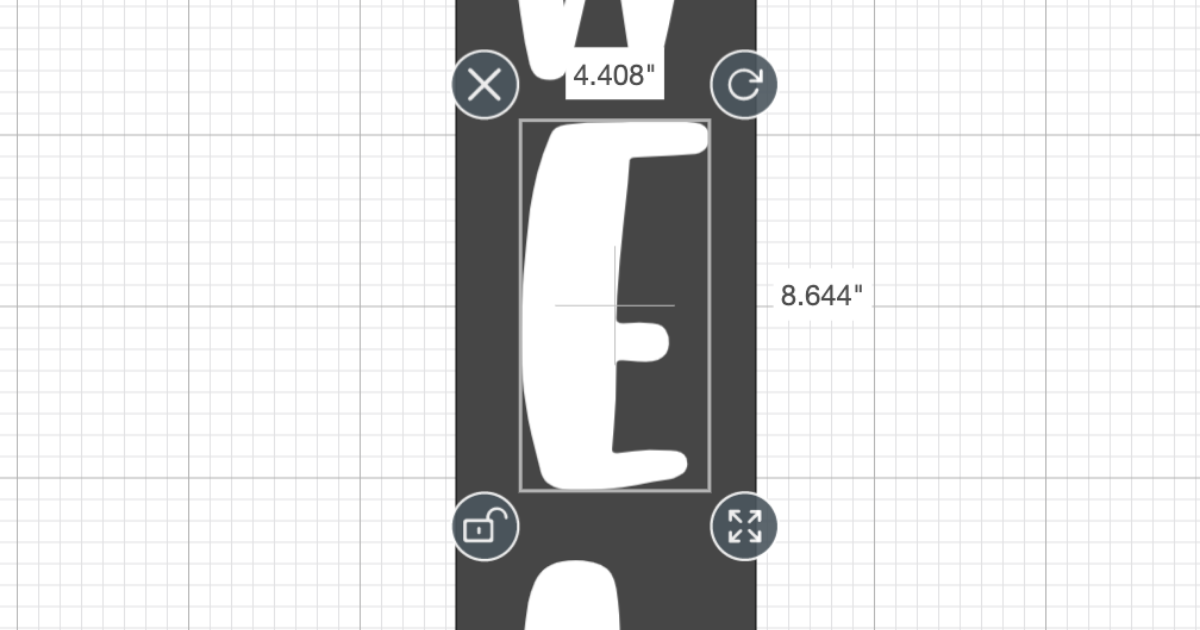
My letters ended up being about 8-9 inches tall, but remember with the Cricut Joy the width has to be less than 4.5 inches wide.
Once the vertical welcome sign is designed, hide the rectangle and half the letters. I did half the letters in one cut and the other letters in another cut. I wasn’t sure if the Cricut Joy would cut more than what was on a Smart Vinyl roll so I played it safe.
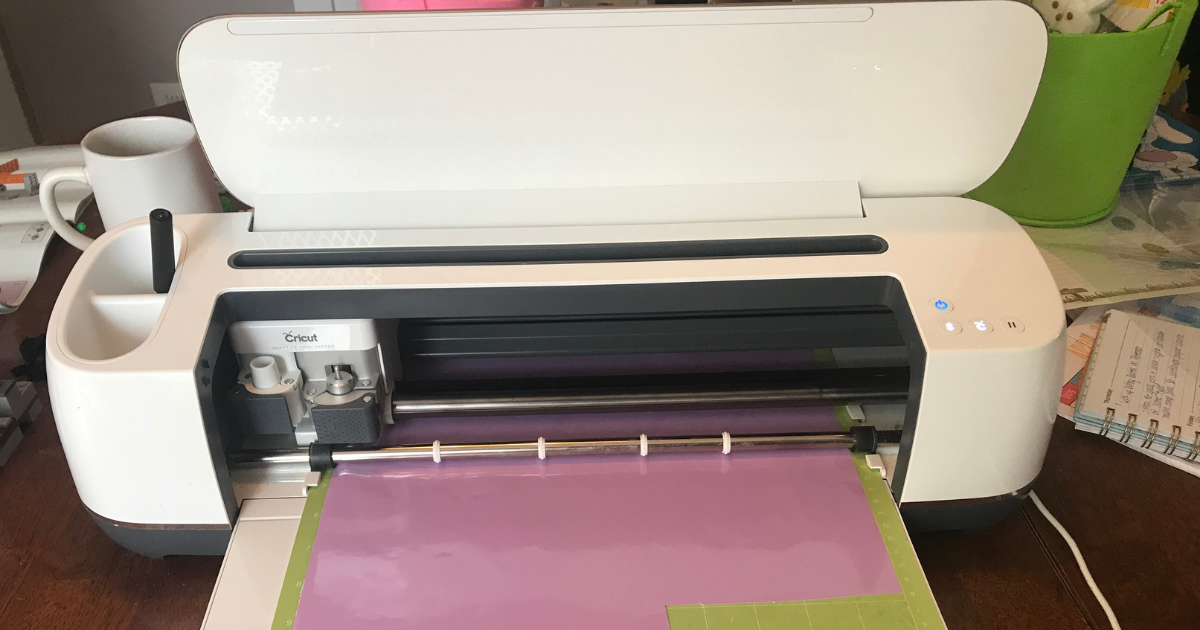
I thought I had smart vinyl for the tulip, but I did not. I did have purple permanent vinyl so I got out my Cricut Maker and cut the tulip.
Remove all the access vinyl before getting ready to add the letters and the flower to the tall welcome sign.
Adding the Vinyl Letters to the Welcome Sign
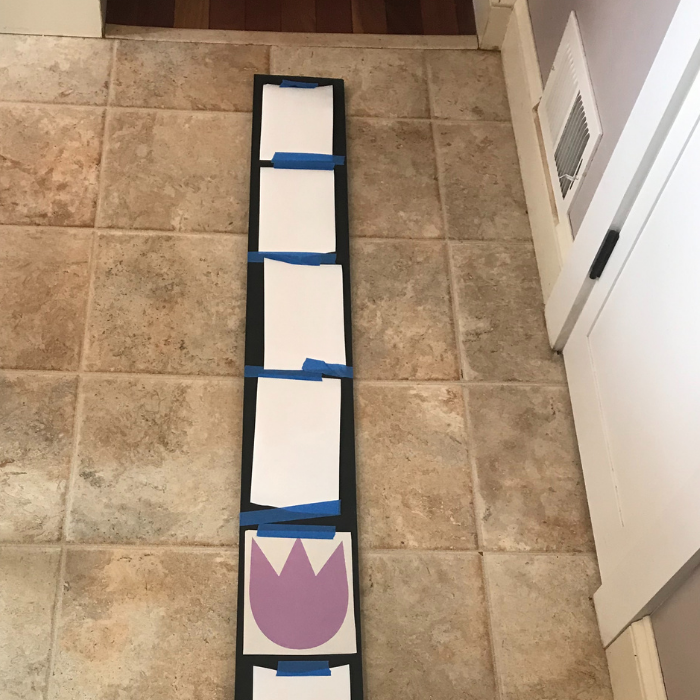 I like to space the letters and tape them to the sign with painters tape before transferring anything to the wooden sign. The smart vinyl is rolled so tight that I had to roll it in the opposite direction to get it to kind of flatten out to stay taped to the sign.
Once I had everything spaced how I liked it, I laid the porch sign on the floor and started adding the letters one at a time using the smart transfer tape. In a few minutes my porch sign was all done.

It looks amazing! I think this is the best one yet and I can’t wait to make it reversible. The letters and the flower just pop off of the dark color so well.