Ghostbuster Birthday Party
Note: As an Amazon Associate, I earn from qualifying purchases. If you click on a link from Amazon or another of my advertising affliates, I will earn a small commission at no additional cost to you. Please see my full disclosure policy here.
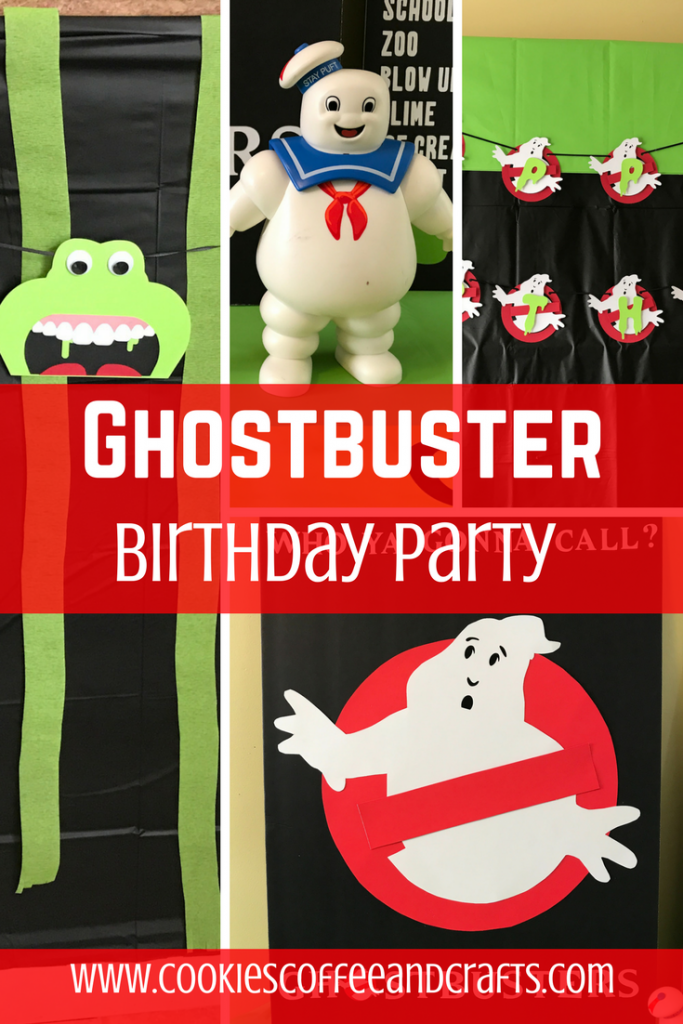
Are you ready for a Ghostbustin’ Good Time? My son is turning 5 and he’s requested a Ghostbuster Birthday Party. I had fun with the song quotes and of course using iconic characters like Slimer, Stay Puft and the Ghostbuster symbol. My son loves the Ghostbuster song more then the cartoon and he’s never seen the movie. He just loves anything Halloween or ghost themed.
Creating a Ghostbuster Birthday Party
My Cricut Makerand I went to work creating the decorations and making a memorable Ghostbuster Birthday Party. I used 2 main fonts for this party- the Ghostbuster Font and a slime font called bacon. My son wanted everything to be the ghostbuster symbol, Slimer, and Stay Puft.
Welcome Sign for the Party
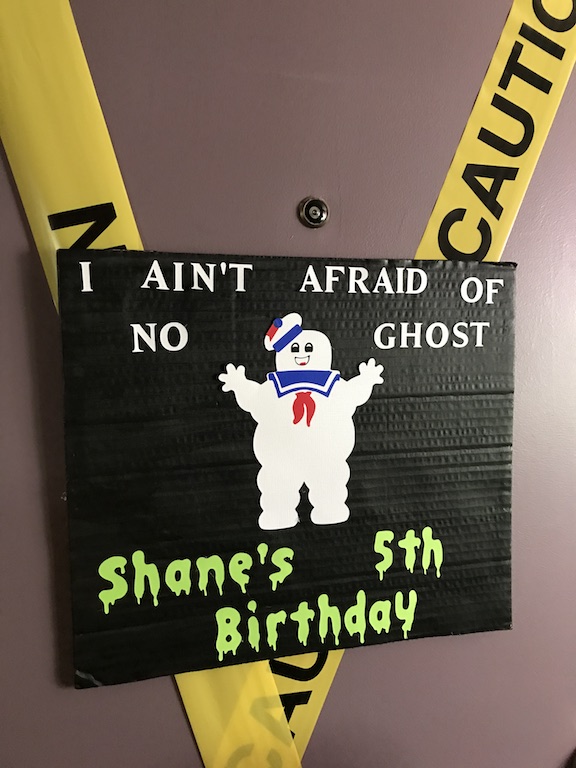
To welcome guest to the party I created a sign on the door using a piece of cardboard. I like the texture it gave to the sign. Using my Cricut Maker I made the sayings and Stay Puft. Then I carefully hot glued the sayings and Stay Puft to the cardboard sign. The cardboard had creases in it which was awesome because I used the creases to make sure the sayings were straight.
Happy Birthday Banner
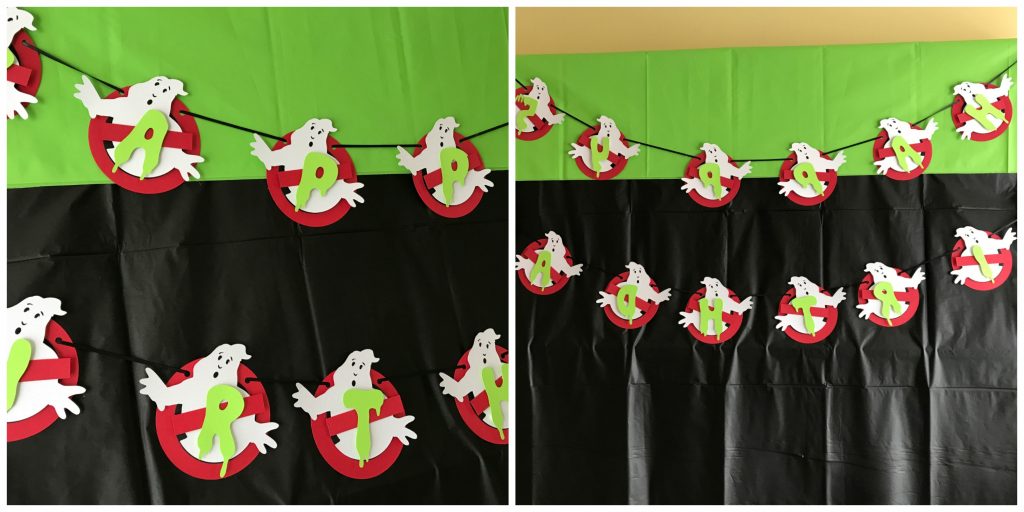
I think the ghost on the ghostbuster symbol is so cute. I created the Happy Birthday Banner using the iconic Ghostbuster symbol and added the letters in Slimer green. To make creating the ghost easier, I made the face out of vinyl so I could easily add them to the ghost.
Birthday Decorations
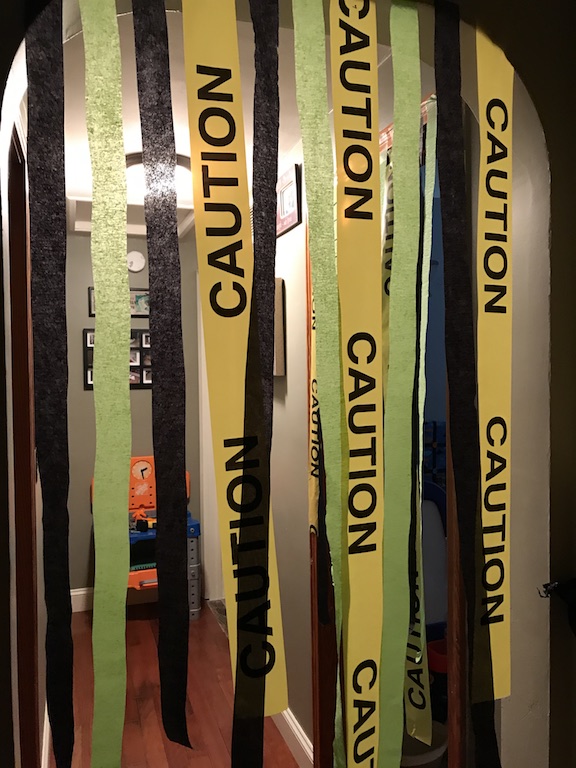
Birthday are so much fun to decorate for. As backdrops I used black tablecloths and added slime with a green tablecloth or used streamers. It’s a birthday tradition to hang streamers in our hallway and in the kids bedroom doorways on their birthdays.
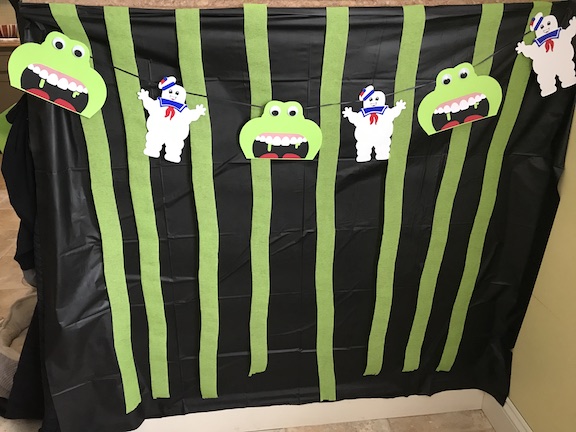
For added fun I made a Slime and Stay Puft garland for decoration since these are my son’s favorites.
I was disappointed I could only find very expensive Ghostbuster plates so we went with the black, green and red. My son actually picked out green and red, but I told him it looked like Christmas. We got all of our party supplies at the Dollar Tree except for anything Slimer green, that’s from Party City.

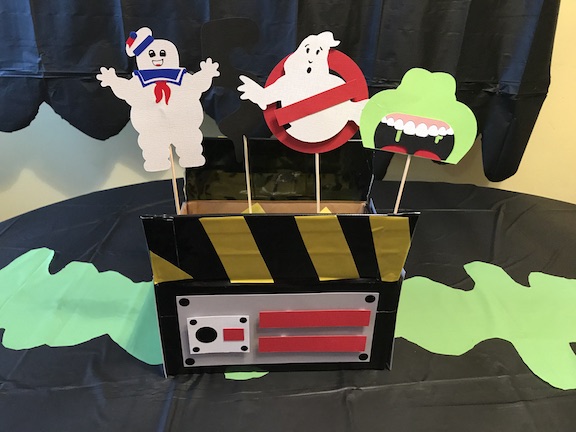
For the table I made a slime table runner out of a plastic tablecloth. I uploaded a slime image to Cricut Design Space™, welded two images of the slime together to create the table runner. I cut the slime image on my Cricut Maker and traced and cut it onto the tablecloth. The centerpiece is a small cardboard box that I recreated into a ghost trap. Find out how to make a Ghostbuster Trap Centerpiece.
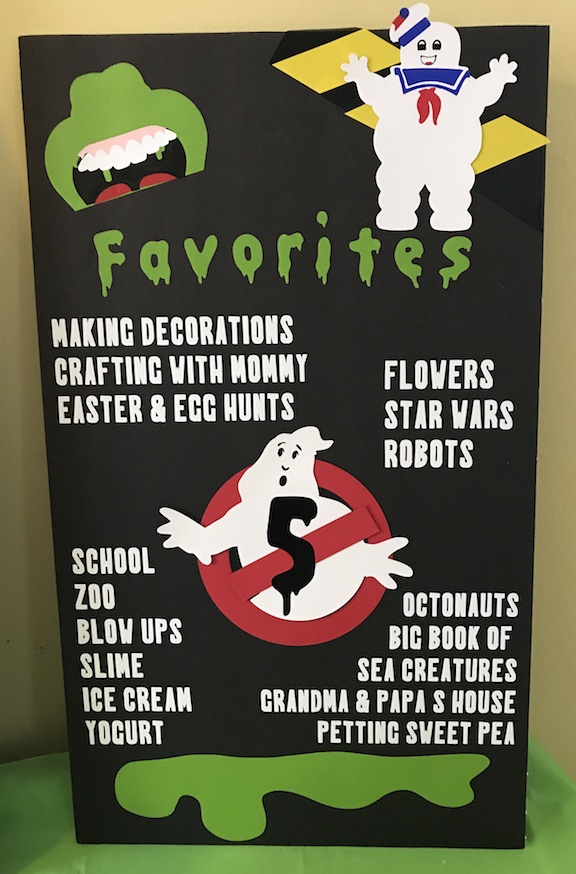
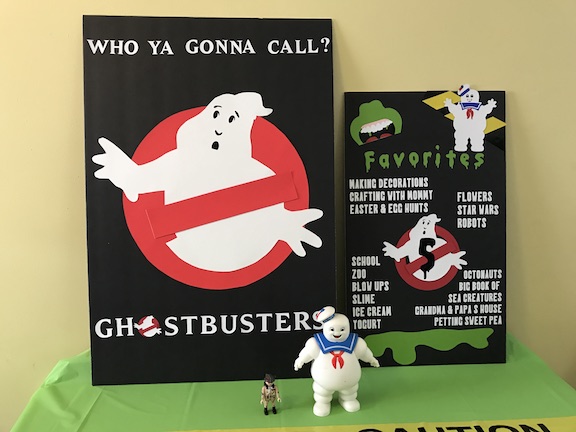
I love making birthday boards and capturing a moment in time of everything about my child. Birthday Boards are easy to create with foam board and vinyl. This piece of foam board is actually the center of the ghostbuster photo frame that you will see later in the post. Here is a tutorial of how to create a birthday board.
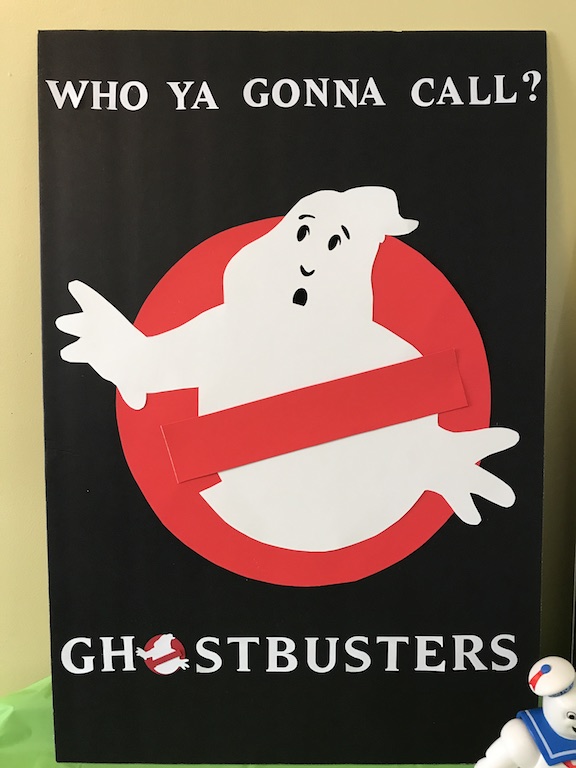
Next to the Birthday Board is the “Who Ya Gonna Call Poster.” Then some treats and snacks for the party will go there.
My son added his PLAYMOBIL Stay Puft Marshmallow Man.
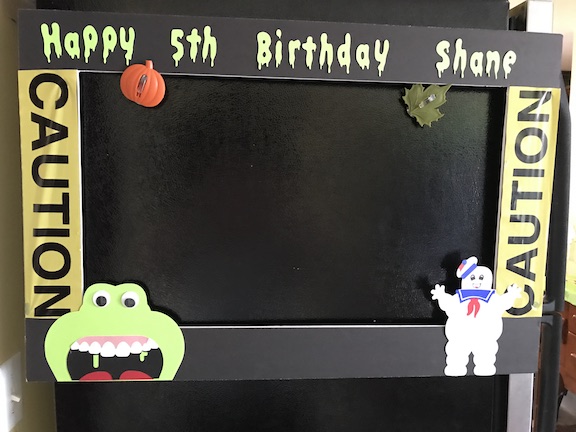
Ghostbuster Birthday Photo Frame
Every party should have a photo frame area. This is so fun to get everyones picture that comes to the party and is a wonderful keepsake. My son chose what he wanted on his picture frame and I created it. He has good taste. Sorry about the crooked picture.
Ghostbuster Cupcakes
I like to dabble in cupcake decorating so there were Slimer and Stay Puff cupcakes. They were all delicious and super cute.
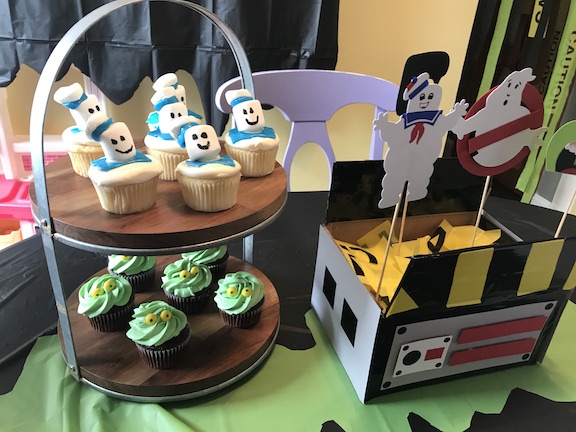
I realized after I took all the pictures, Slimer had no eyes. The Slime SVG doesn’t have eyes so I added googly eyes to him. My son loved every part of his Ghostbuster party and had an amazing 5th birthday! I love seeing his eyes light up with joy and touch everything with such delight. I cherish these moments. Now I have to start thinking and planning my daughters pony party in a couple weeks.