Step by Step Guide of How to write on Gift Tags with Cricut
Note: As an Amazon Associate, I earn from qualifying purchases. If you click on a link from Amazon or another of my advertising affliates, I will earn a small commission at no additional cost to you. Please see my full disclosure policy here.
Creating with paper is one of my favorite things to do with my Cricut so creating adorable homemade gift tags is at the top of my list of favorites. Doesn’t it just give you such a warm feeling inside when people ooh and ahh over the cute stuff you make? I just love hearing my kids say “my mom made that.” One way to make your gift tags even more special is to learn how to write on gift tags with Cricut.
It’s really easy to do and once you learn how to do this in design space, it can be done on any Cricut machine. Just remember that the Cricut Joy uses different pens. Here are some Christmas gift tags with Cricut Joy and here are some personalized Santa tags I made with my Maker. The Santa tags are perfect for keeping the magic of Santa going. Since I’m talking about Santa tags, I wanted to share one of my biggest tips for you. Christmas in July is the perfect time to make your Christmas gift tags for the year. I always make my tags ahead of time because the Christmas season just gets so busy.
Supplies To Write on Gift Tags with Cricut
Cricut Machine
Mat
Smooth Card Stock or Patterned Paper
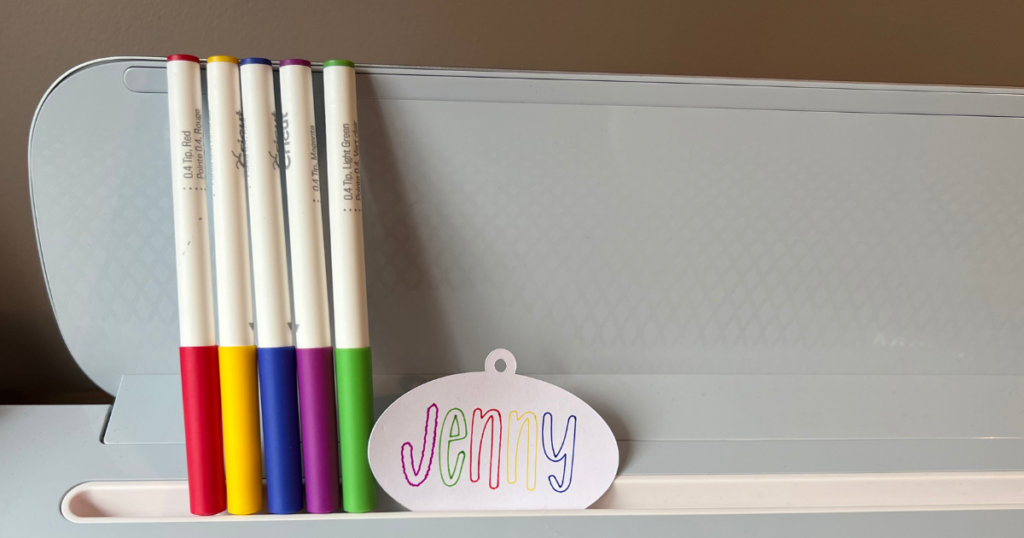
Cricut Pens
Step by Step Guide for How to Write on Gift Tags with Cricut
Step 1: Open a New Project in Design Space
Gather your supplies and open a new project in Cricut Design Space. Today I’m going to be using my Cricut Maker 3 to make the gift tags. If you are using patterned paper and want to write on the back of the gift tag, make sure you choose patterned paper with a white backing (this is the simple way, but I’ll share another way too).
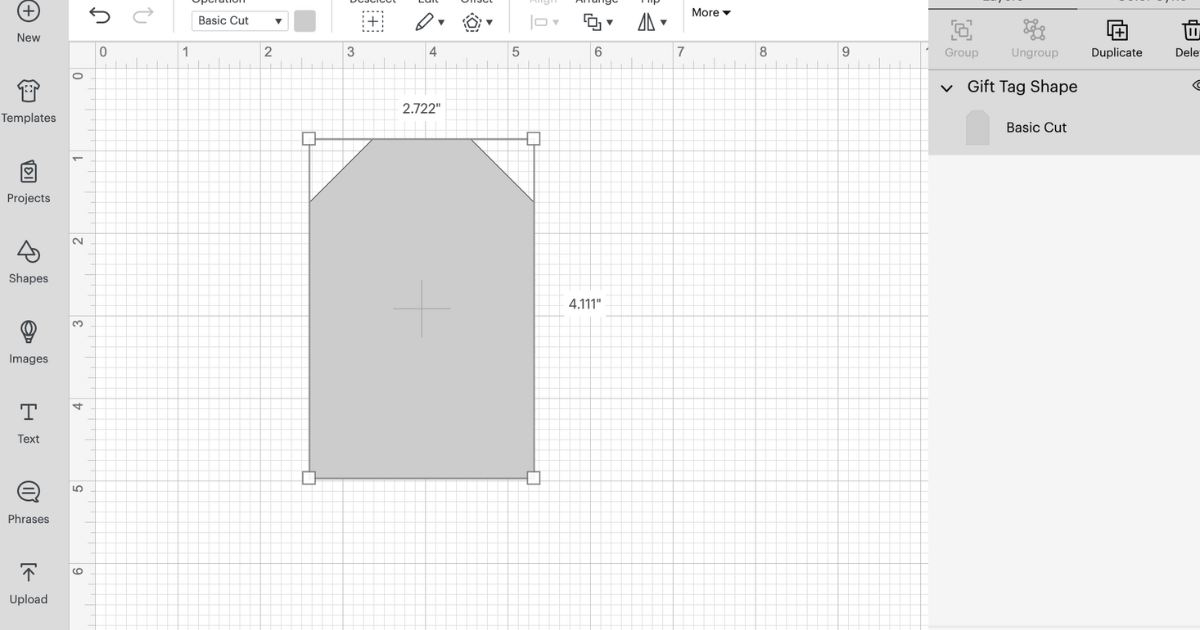
Step 2: Choose A Gift Tag to Write On
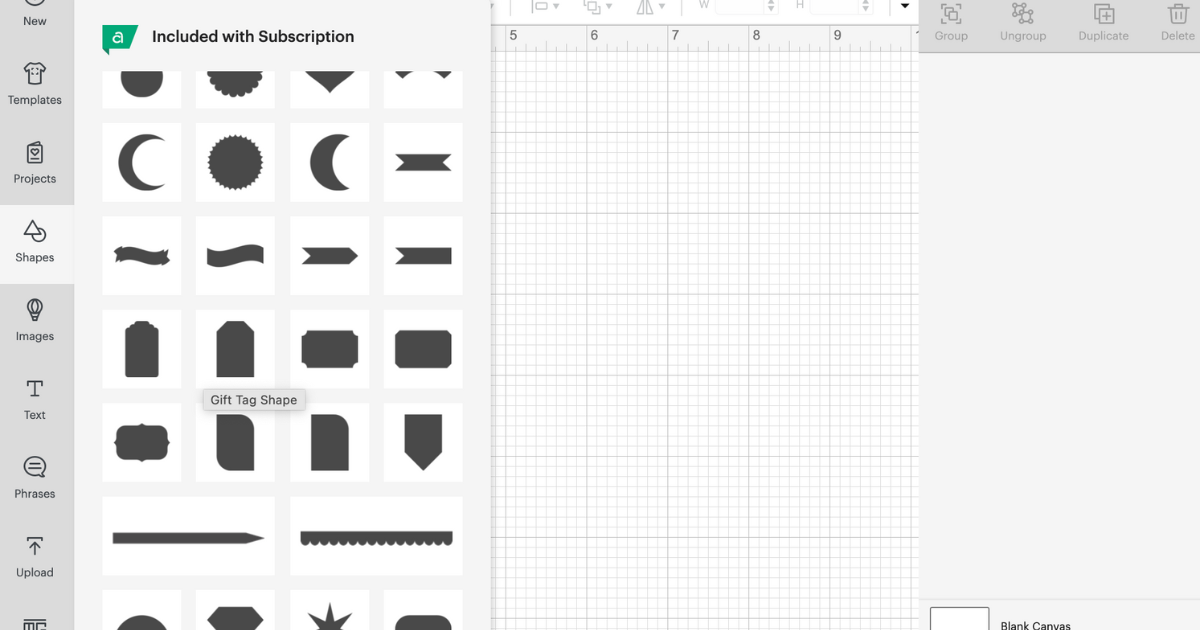
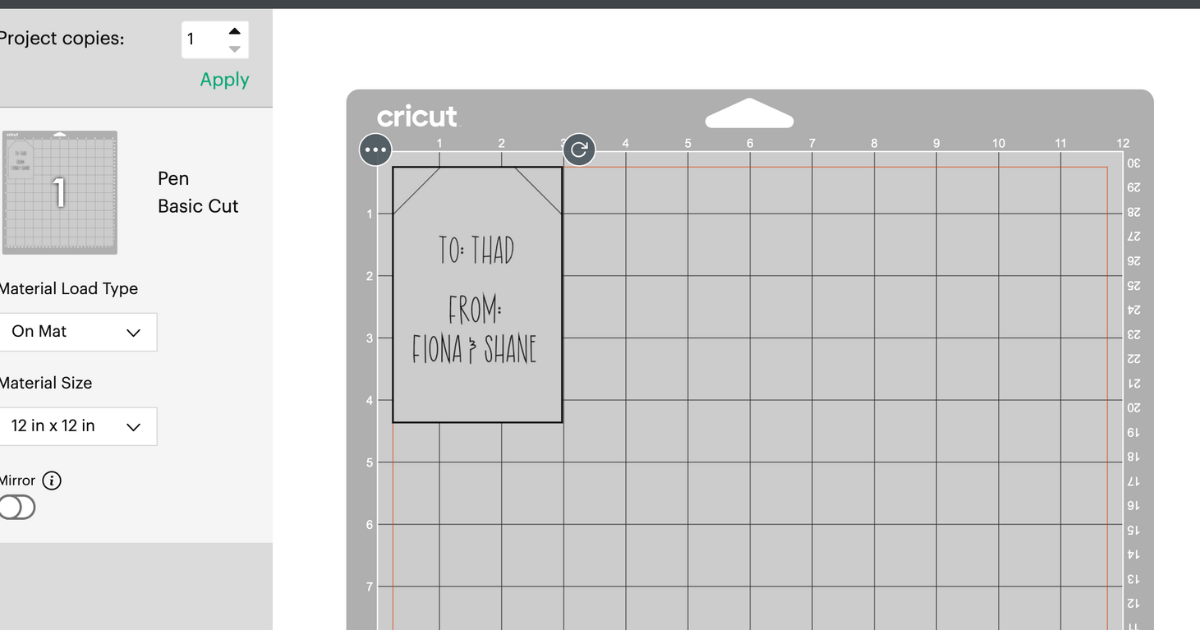
In Design space choose a gift tag and size it. Now in the shapes, is a basic gift tag shape and I will be using that for this tutorial. The gift tag is about 4 inches long. I’m going to change the color of the tag to a light grey so it’s easy to see.
You will probably notice it doesn’t have a hole for ribbon and that’s okay. It can easily be created by slicing out a circle at the top or using a whole punch. Usually I use a hole punch.
Step 3: Add the Text to Write on Gift Tags with Cricut
Click text and start writing the message for the gift tag. To make any changes to the text, double click so the cursor shows up and you can start writing.
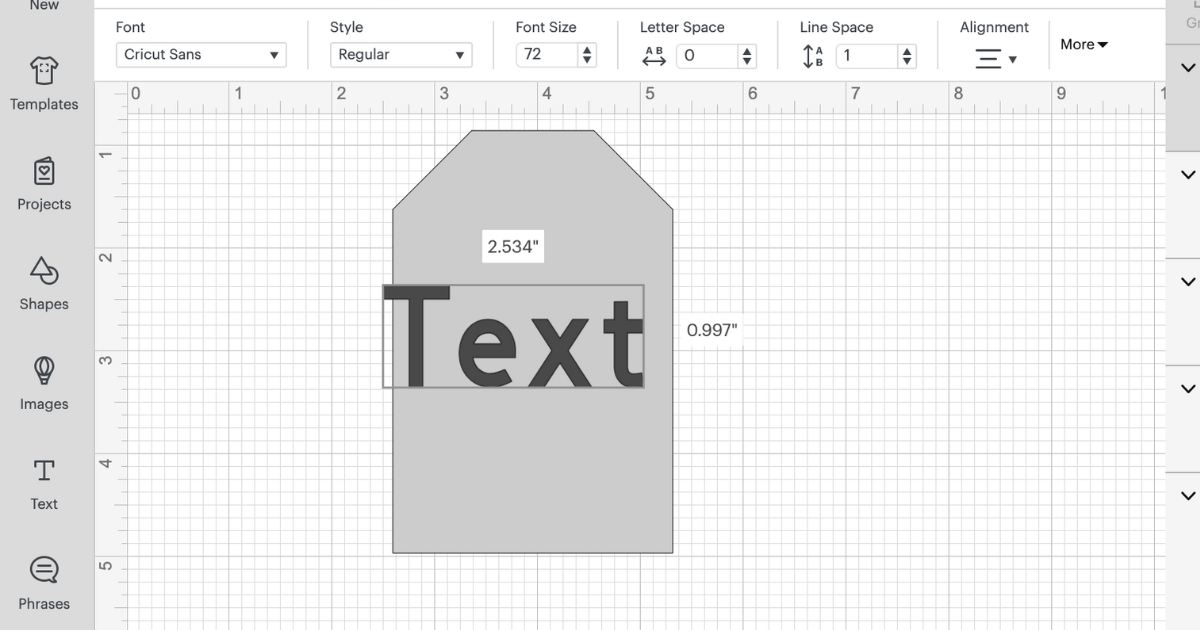 You might be wondering how do I stretch the text or make it longer? That was pretty confusing at first, but go up to the top of design space and click more. At the size of the text, unlock the text size by clicking the lock (it will look open). Then using the boxes on the corners, you can change the size of the text anyway you want. Hold the cursor on the corner of the box and move it around to get the size you want.
Step 4: Choose a Writing Font to Write on Gift Tags
Go to the font and filter the results by writing fonts. Then choose your favorite. I really like BFC Rustic Cherry and I’m going to use it for this tag. You must choose the font before attaching the text to the gift tag.
Since Cricut made all of these updates and changes to the text feature, it has been glitchy. Even as I made these, I had issues with the text. if this happens, save your project and click reload design space. On my Mac, it’s at the top of my screen next to the apple under view. Once I reload it, it will work fine.

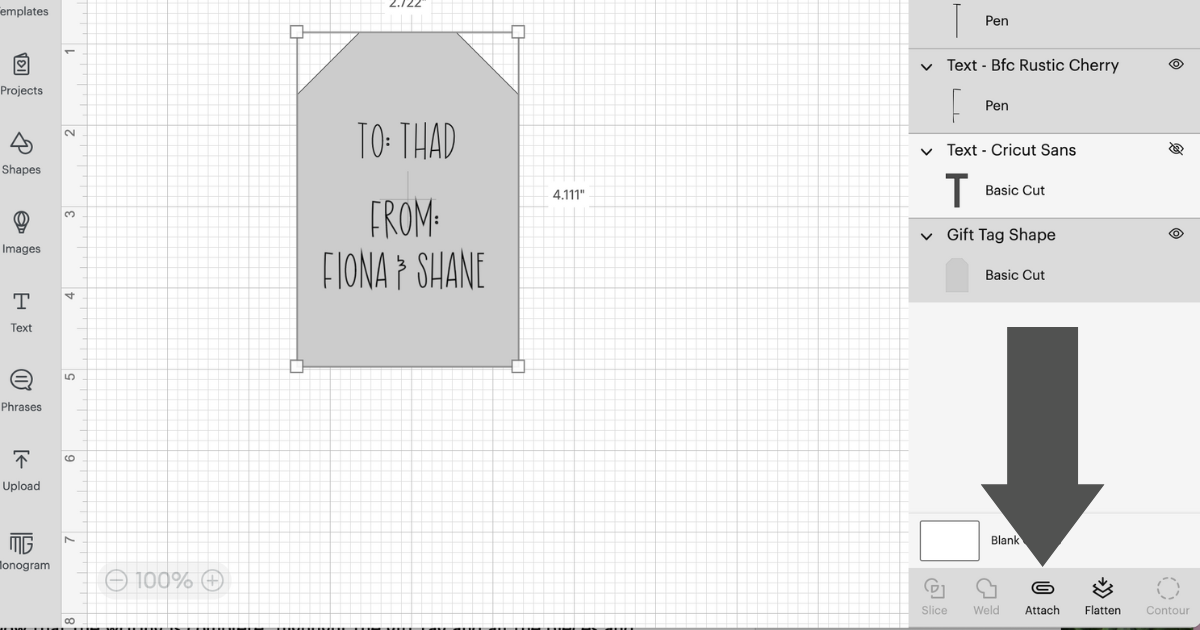
Step 5: Attach the Writing to the Gift Tag
Now that the writing is complete, highlight the gift tag and all the pieces and click attach. You must attach the text to the tag so it writes on the gift tag.
I always go to make it and check the preview before cutting because I’ve forgotten this step before.
Step 6: Make the Gift Tag with Cricut
Click Make it, add the pen and follow the instructions in Design Space.
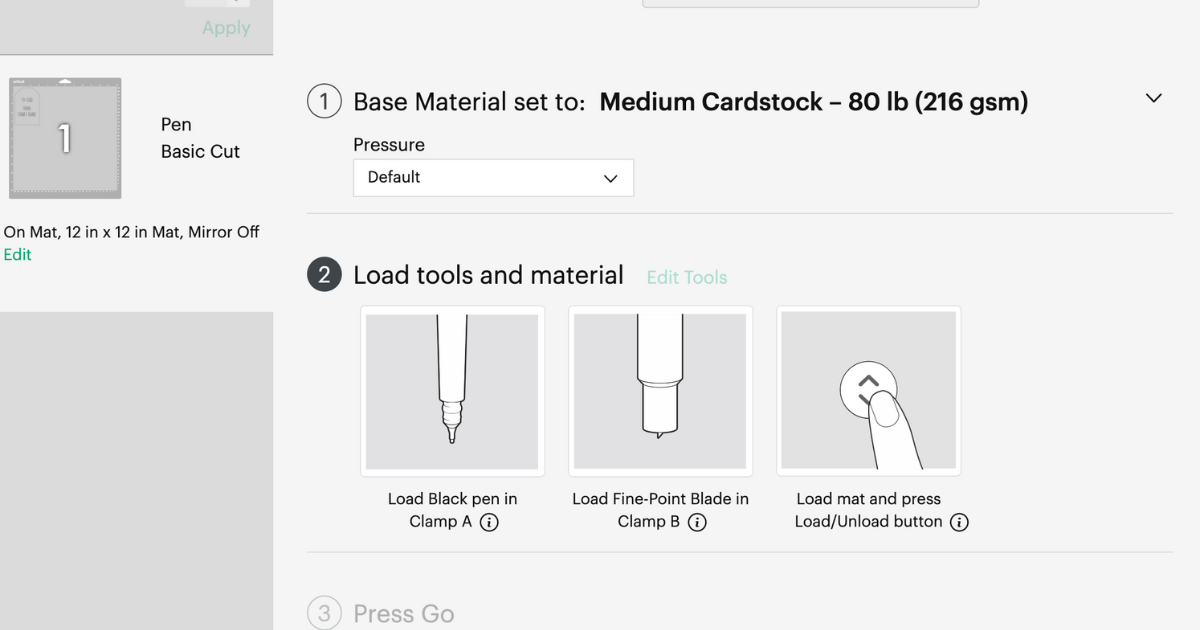
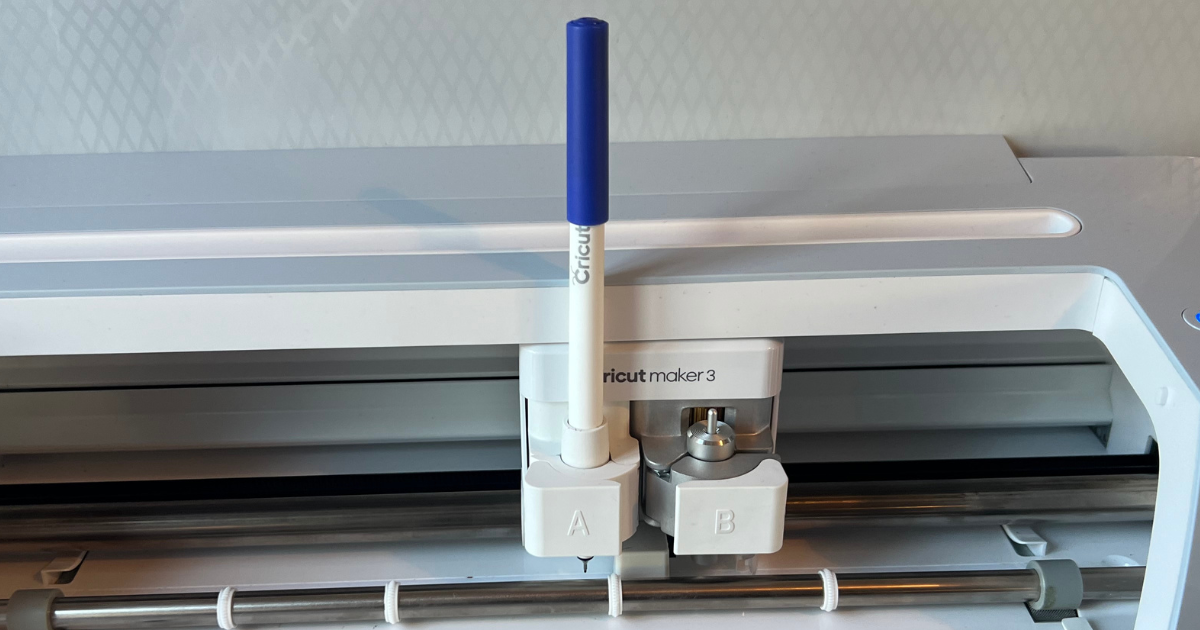
The pen goes in clamp a and press it in until it clicks. I only change my pen color in Design Space if I’m using more than one color. The pens have an arrow on them and you shouldn’t see the arrow once the pen is in the clamp.
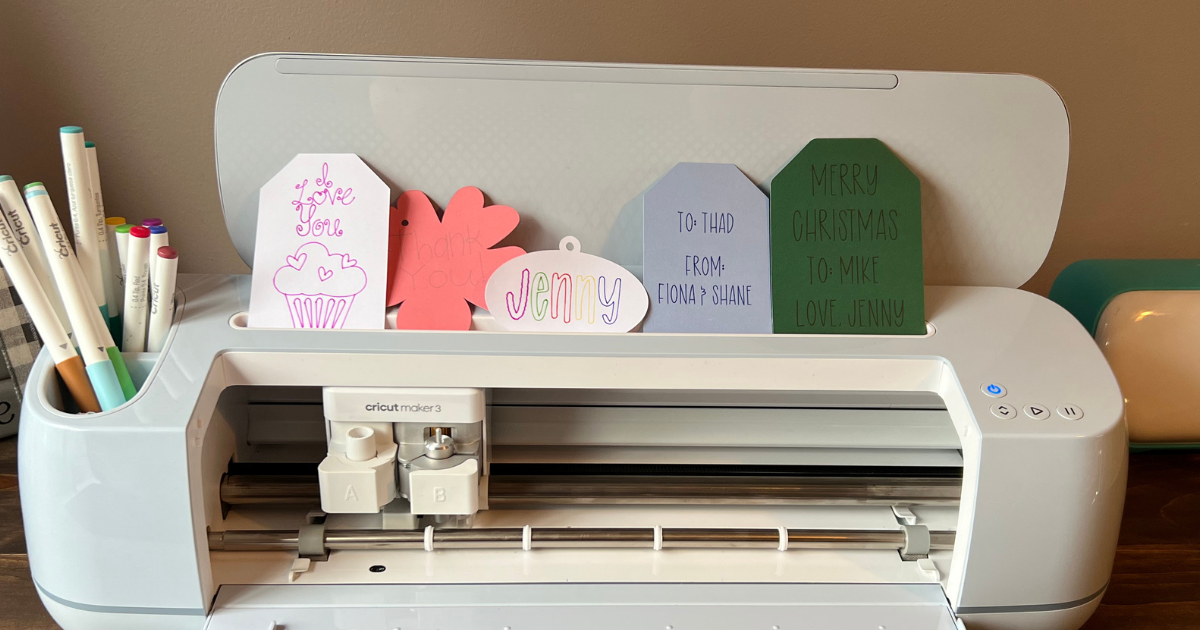
Are you ready to make more personalized gift tags with Cricut now? You can personalize gift tags and decorate them for every special occasion, holiday and birthday. The best part is you have the whole front of the gift tag to decorate!
Cricut Gift Tag with Drawing
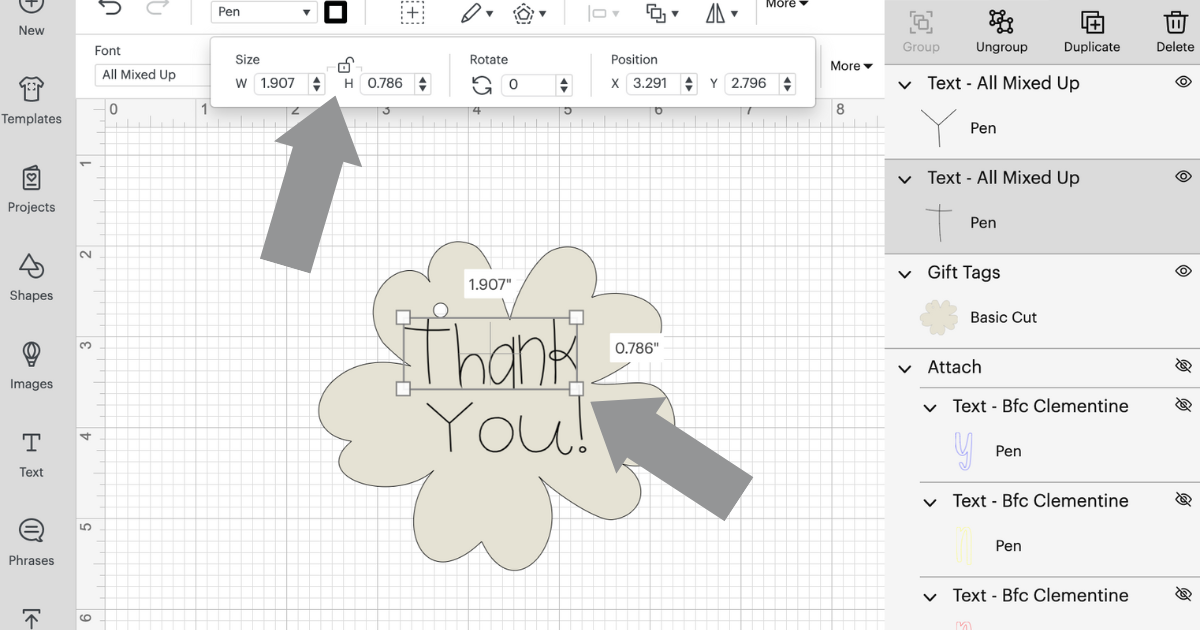
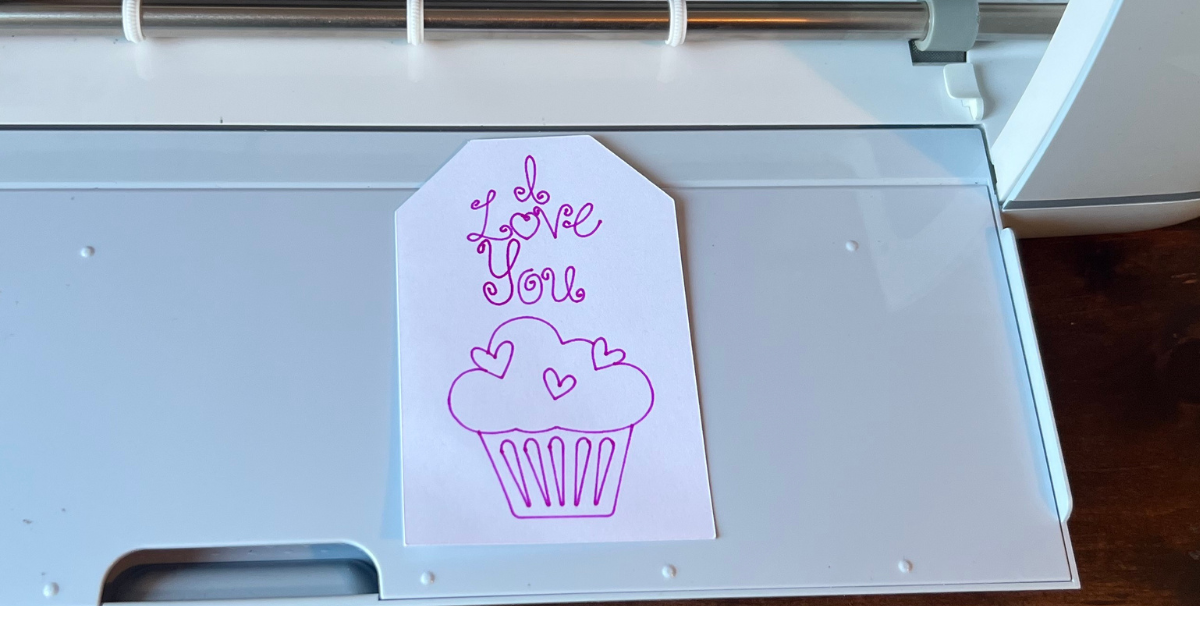
If you want to draw with the Cricut pens on a gift tag, then follow the same steps above. You can search in Design Space for draw only images. For example this gift tag is all draw only. Choose the draw only images and click attach to the gift tag.
Idea for Double Sided Pattern Paper
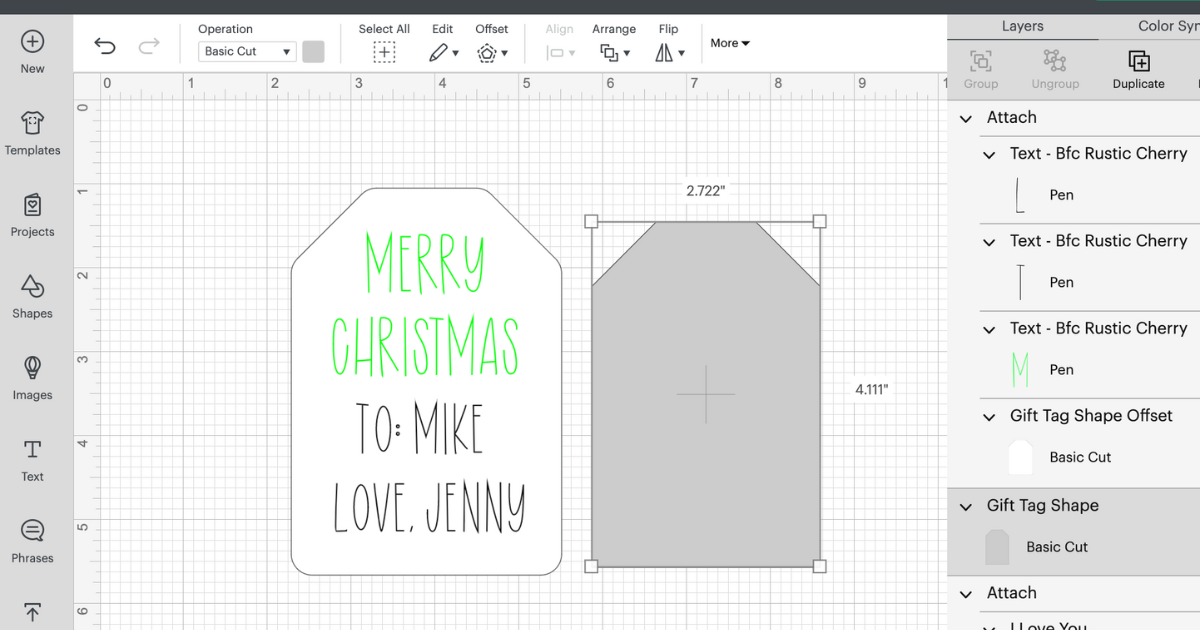
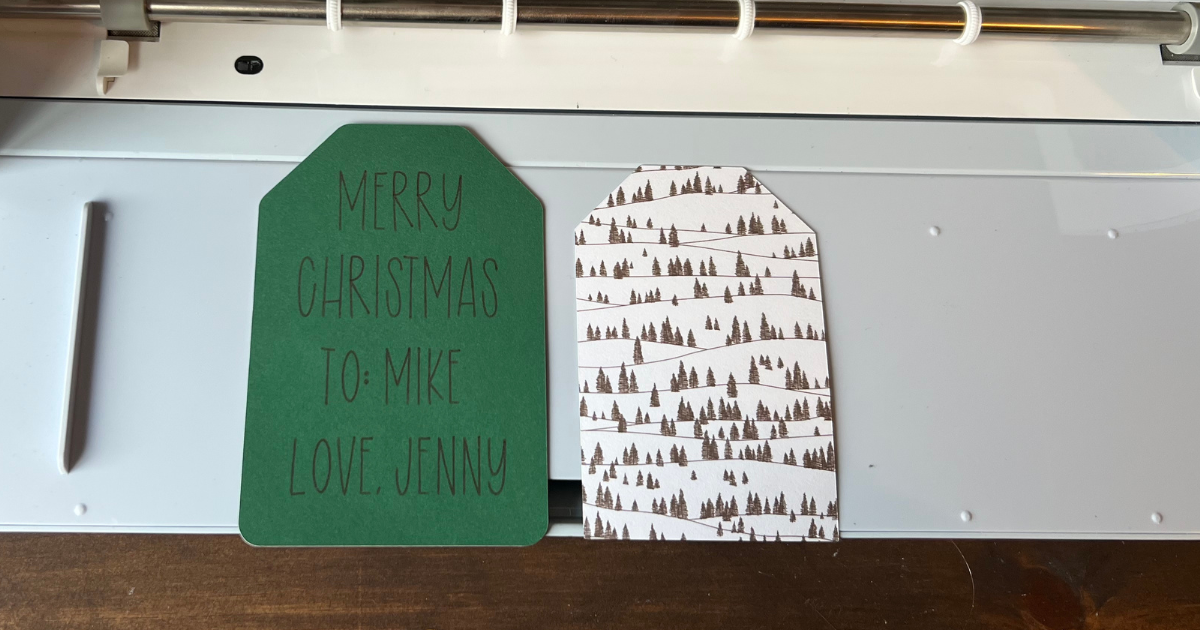
For double sided pattern paper, you can create an offset of the gift tag to write on. Attach the writing to the gift tag which will be the smooth card stock and the grey tag will be the patterned paper (as seen in the photo below).
My husband is a minimalist so I created this for him. One Christmas tag done and tons more to do.
Writing and drawing on gift tags with Cricut is super easy to do once you know how. Just always make sure to attach the text/draw to the gift tag and be creative. Once the writing is on the tag, go ahead and decorate the front.
Who’s ready to go crazy with the pens and writing feature in Cricut Design Space?